Chapters
On this page
Everything else in LoadOut hangs off a recipe. A batch is a run of one; a ballistic profile binds one to a rifle; a Range Day session logs shots fired with one. This chapter covers both ways to write one, the three densities the form comes in, and what happens to a recipe when you share it or delete it.
What a recipe holds
A recipe is a load: what you put in the case and how far the bullet sits out. LoadOut models sixty fields across nine sections, and a usable recipe needs about five of them.
| Section | What it covers |
|---|---|
| Load Identification | Recipe Name, Caliber, Status, Use Case |
| Powder | Powder, Powder Charge, Powder Lot, Charge Tolerance, and the ambient temperature and humidity the load was worked up in |
| Bullet | Bullet, Bullet Weight, Bullet Lot, Bullet Length, Base-to-Ogive, Bearing Surface Length |
| Primer & Brass | Primer and Brass, their sizes and lots, primer pocket size, the linked Brass Log lot, Shoulder Bump, Mandrel Size, Bushing Size, Primer Seating Force |
| Seating & Dimensions | COAL, CBTO, Seating Depth, Primer Depth, Distance to Lands, Jump to Lands, Loaded Neck Diameter, Bullet Runout |
| Bullet Sorting & QC | Meplat trimmed, pointed, weight-sorted, BTO-sorted, diameter-sorted, and the tolerances you sorted to |
| Pressure Signs | Bolt Lift, Ejector Marks, Cratered Primers, Web Expansion at .200″, Primer Flatness, and your own notes |
| Process & Equipment | Loading date, who loaded it, rounds loaded, the press, dies, scale and its calibration date, comparator insert, chronograph, bore state |
| Notes | Free text, always visible |
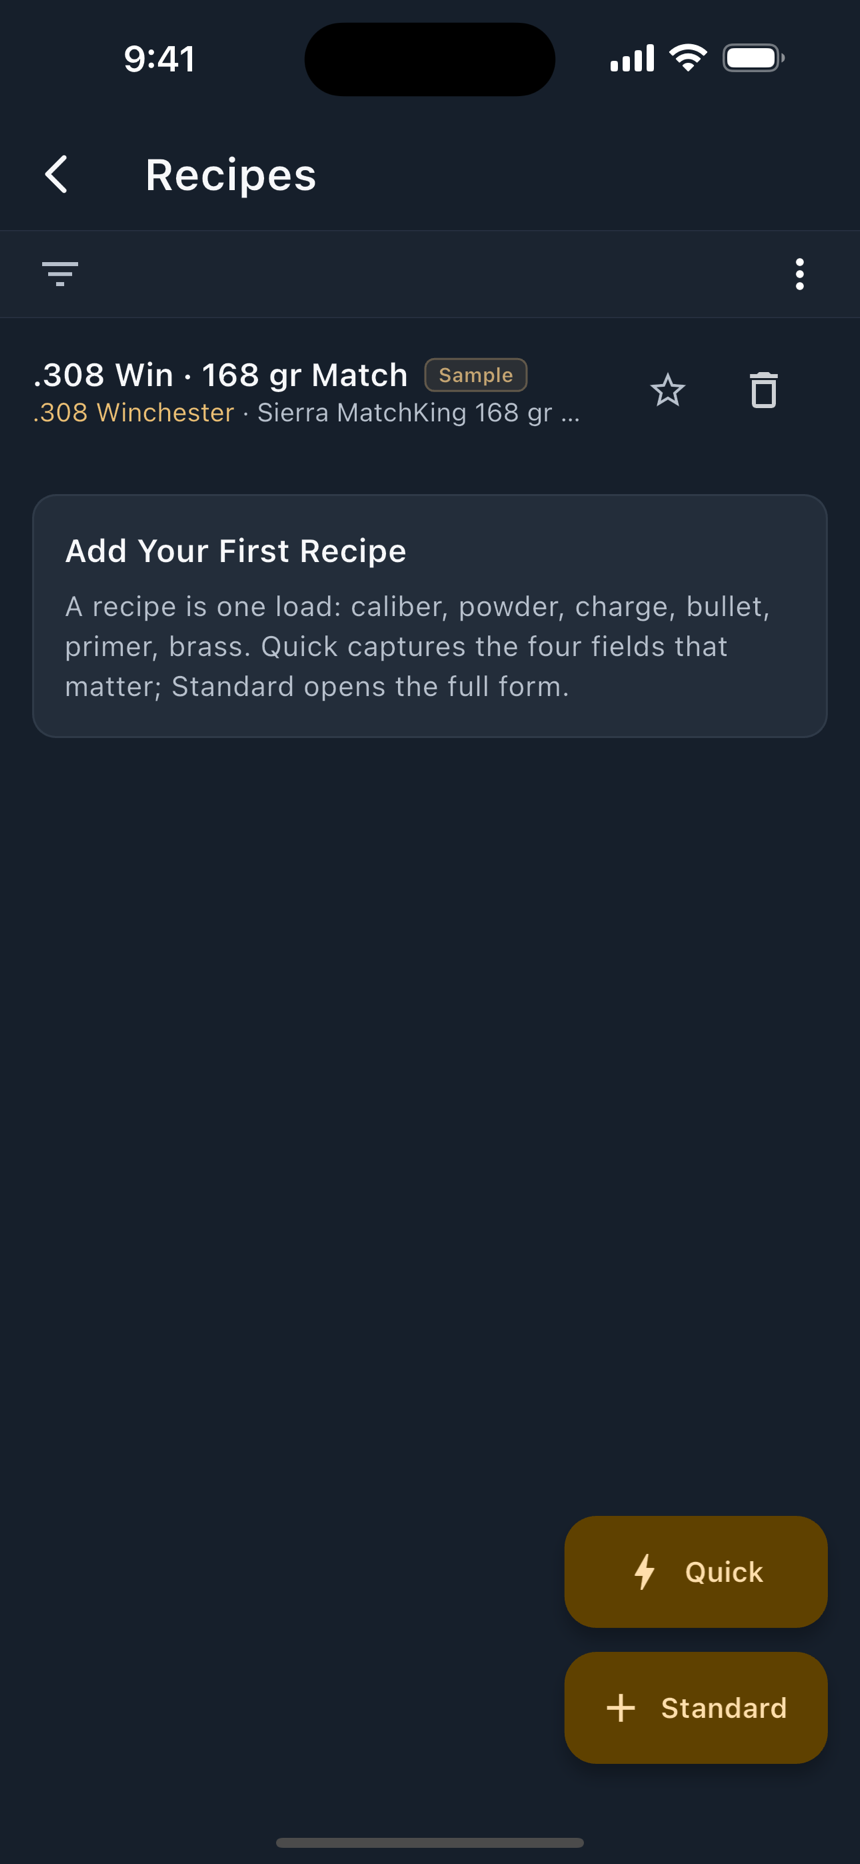
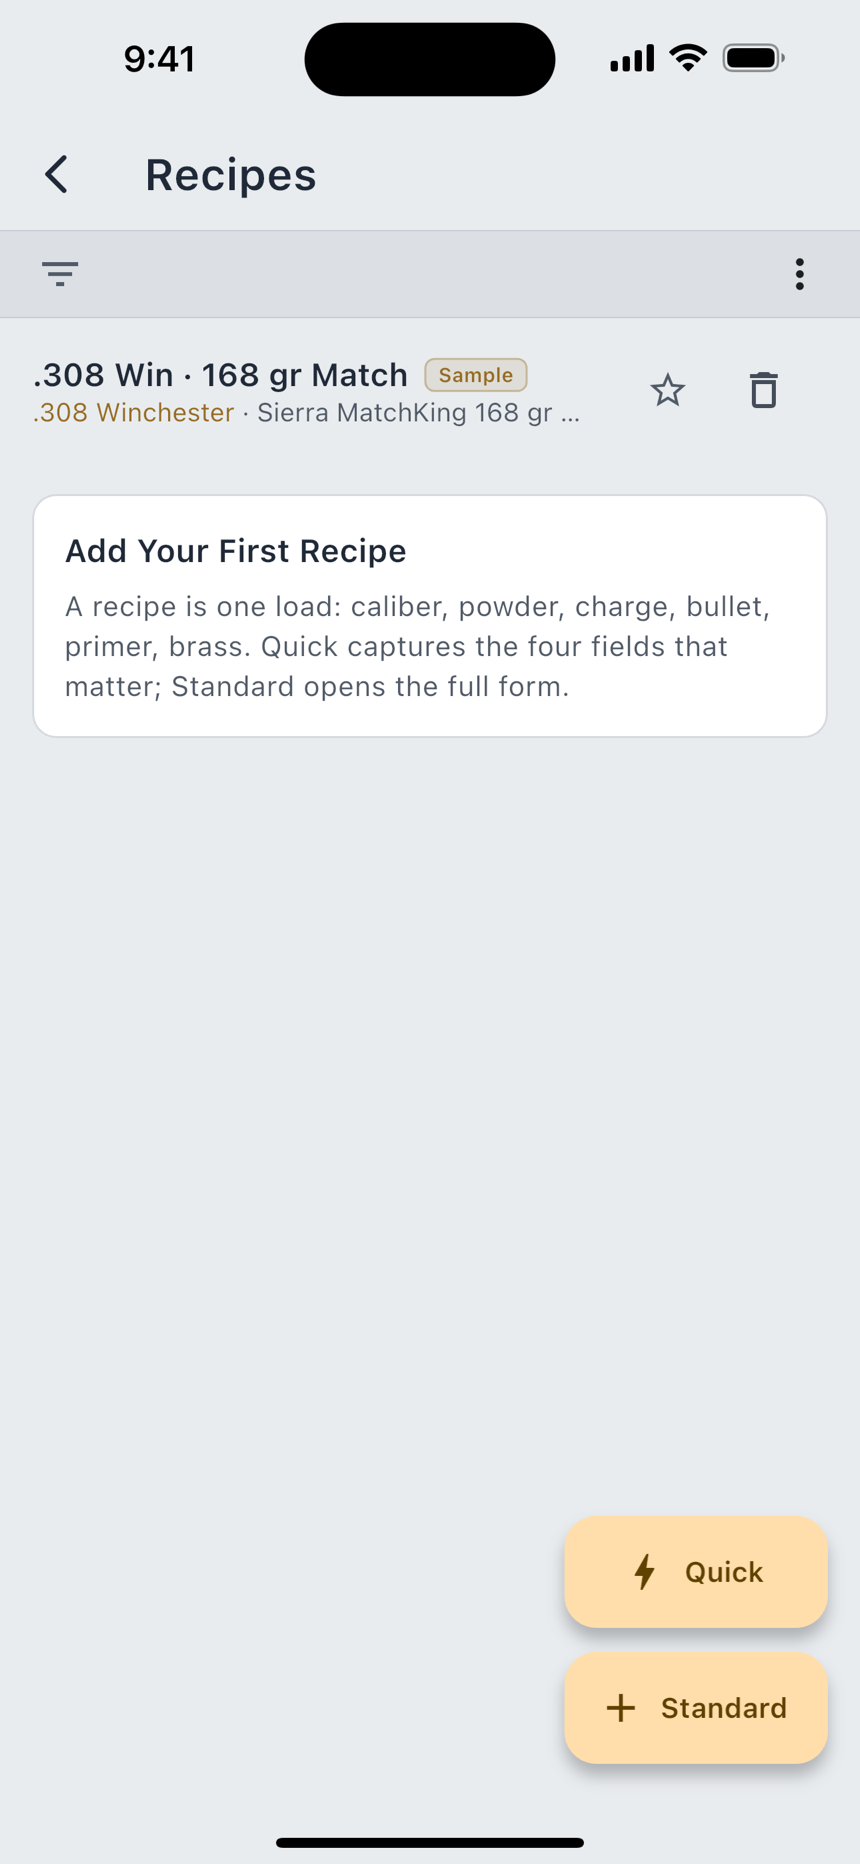
Quick Add
The Quick button opens Quick Add Recipe: a name, six fields, and a notes box. Nothing is scrolled off the bottom.
- Start with the Caliber. Type a few letters and the catalog finds the cartridge. Setting it narrows the bullet list underneath to the ones that fit.
- Powder, then Charge. Powder resolves against the catalog the same way. The charge box is left empty on purpose. That number comes from your reloading manual, never from us.
- The bullet and its weight. Two fields side by side, filtered by the caliber you already set.
- How far the bullet sits out. One control with two positions: COAL (the whole finished cartridge) or CBTO (base to the bullet's ogive). Use whichever your notes already use. You are not asked to convert.
- Save it. The button at the bottom reads Done when Auto Save is on, because the form has been saving as you typed and this just closes it, or Save & Close when you have turned Auto Save off.
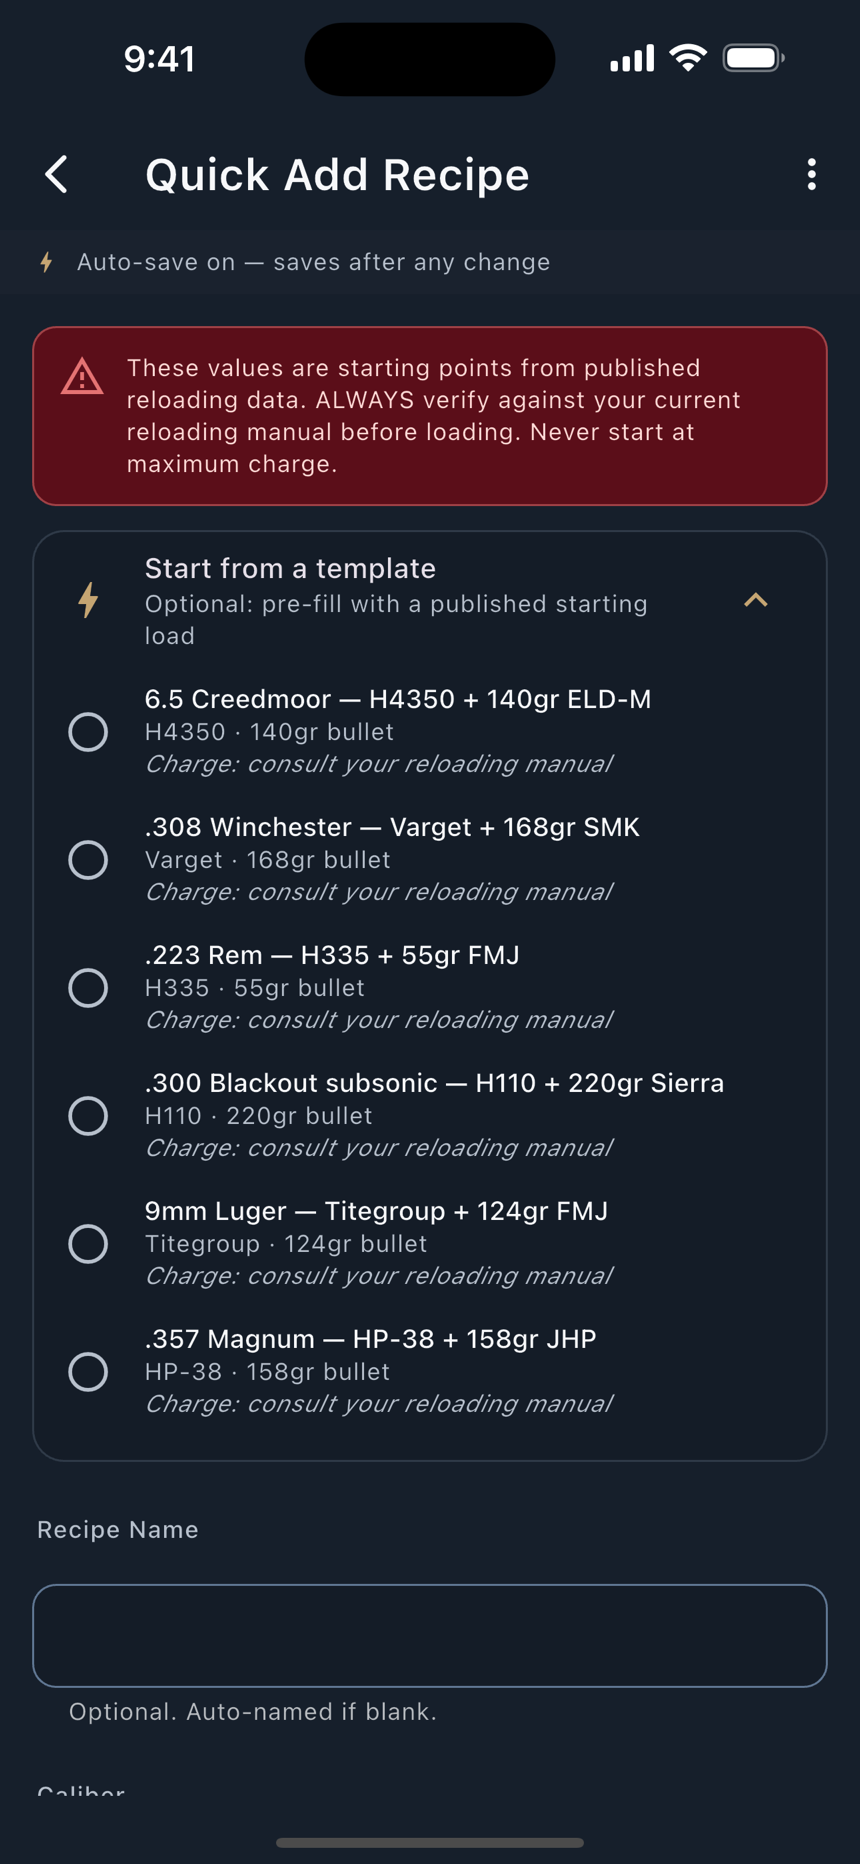
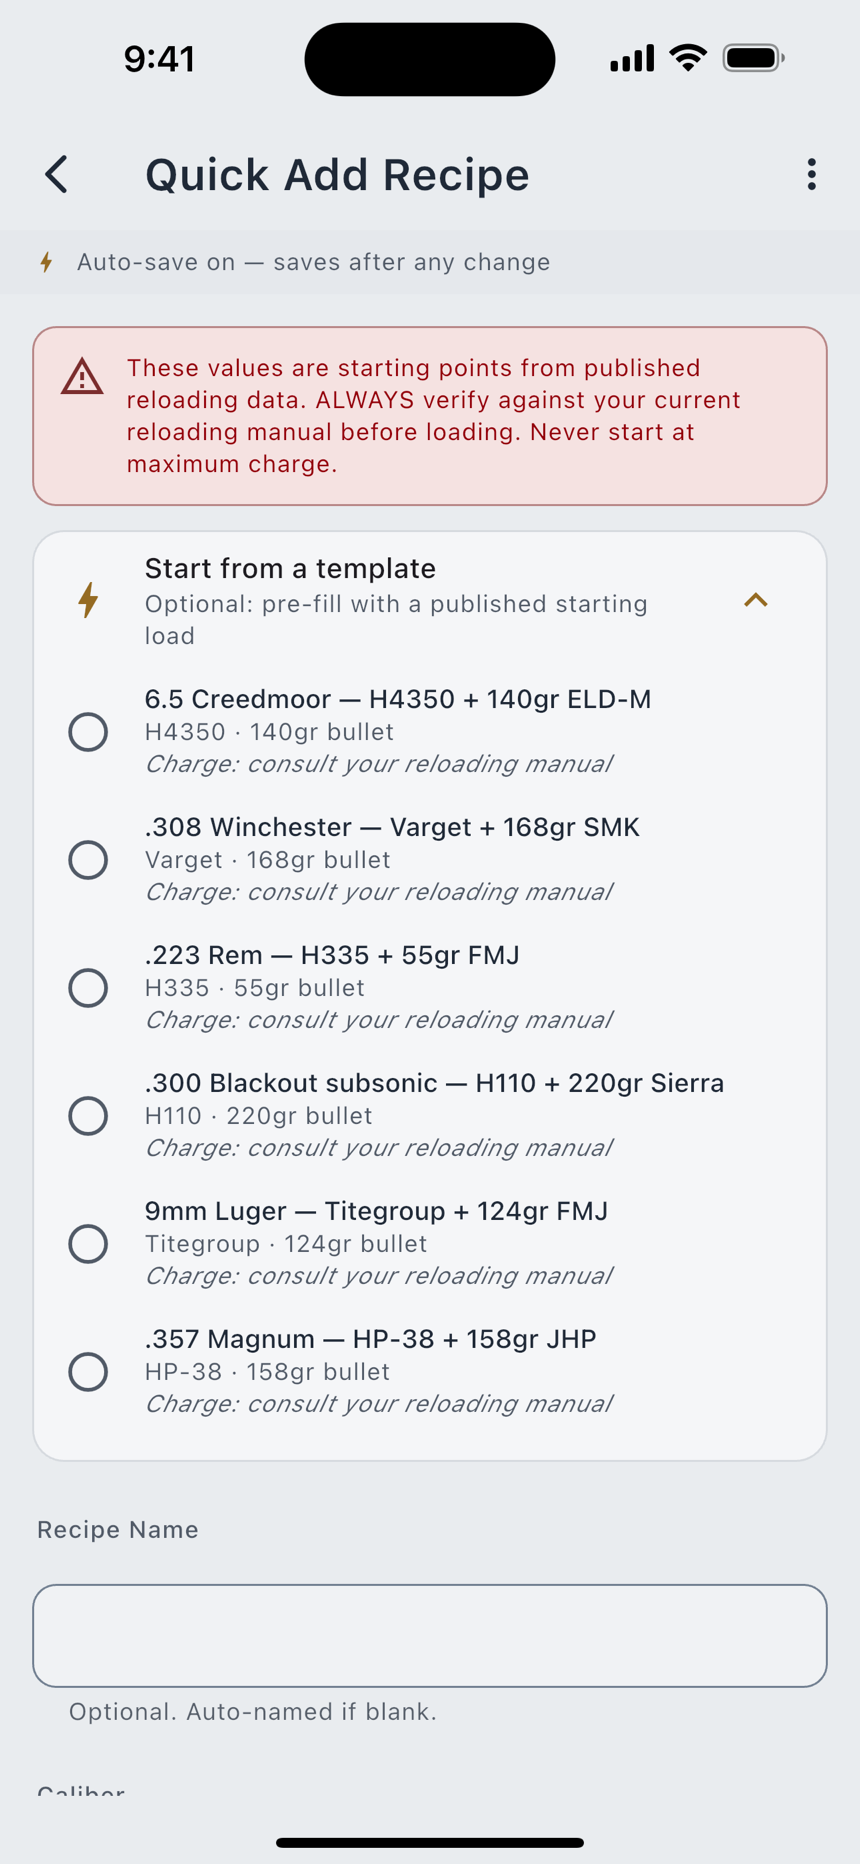
A Quick recipe is a full recipe. Open it later in the Standard form and add the primer, the brass, the seating depth and everything else; nothing about it is a draft. A Switch to Standard button on the form does the same thing mid-entry without losing what you have typed. Start from a template pre-fills the six fields from a load you already have.
These values are starting points from published reloading data. Always verify against your current reloading manual before loading. Never start at maximum charge.
The Standard form
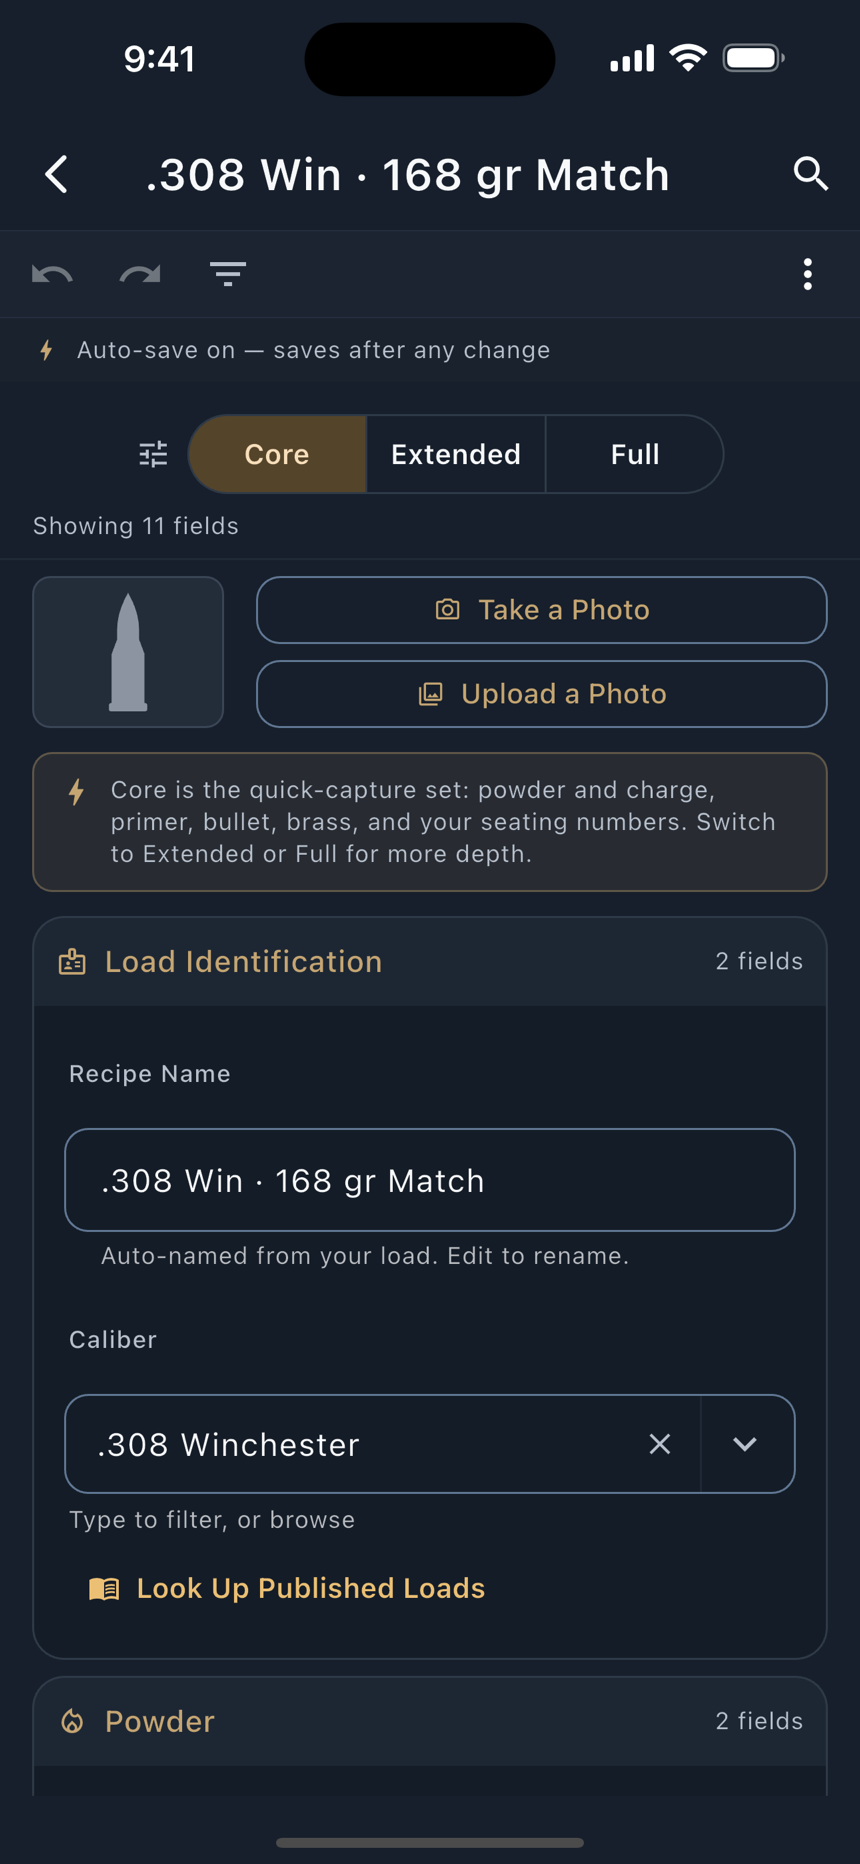
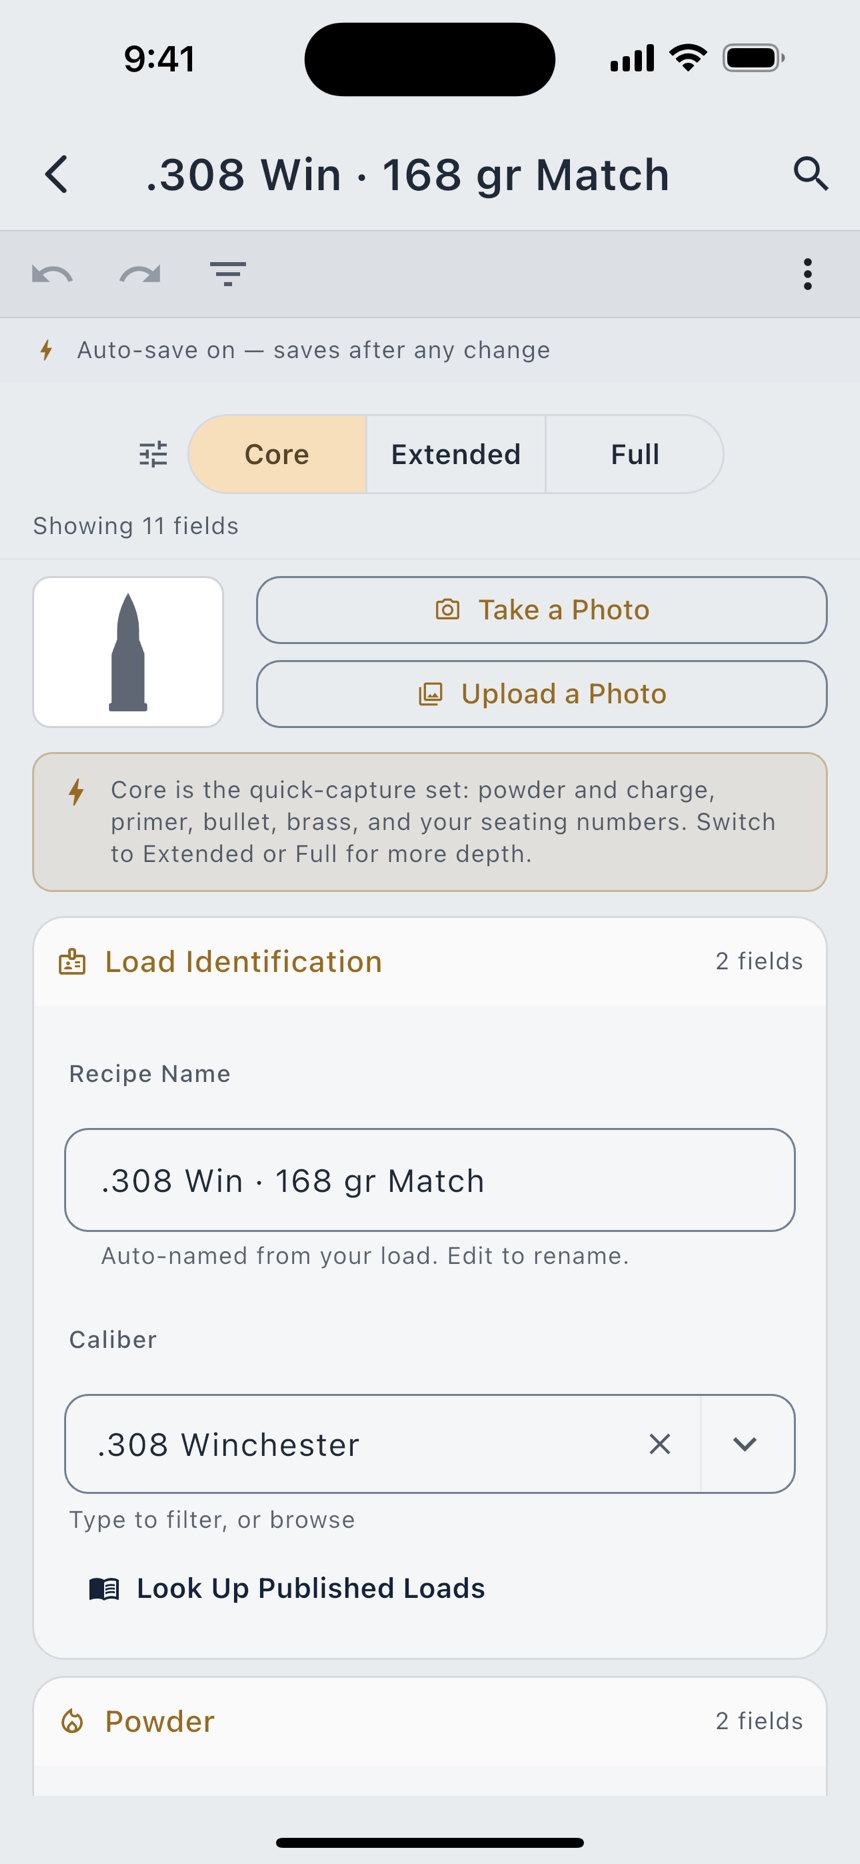
Standard opens the full record: nine sections, each an always-open card with its own icon and a live count of the fields it is currently showing. It saves as you type. There is no Save button in the normal case, and backing out of a half-filled form does not lose it.
Two field pairs are worth knowing before you meet them.
Find a Field at the top of the form filters every section down to what matches. Type bump and everything but Shoulder Bump falls away; clear it and the form comes back.
Date Established is an import field, not a form field. LoadOut stores it and a spreadsheet import will map a "date established" or "first loaded" column onto it, but the form does not draw it. If you want a date on the face of the recipe, the Process & Equipment section's Loading Date is the field that renders.
Core, Extended, and Full
Above the sections sits a three-way toggle. It controls how many of the sixty fields are drawn. It changes nothing about the record itself.
| View | What it draws |
|---|---|
| Core | The load itself: name, caliber, powder and charge, bullet and weight, primer, brass, COAL and CBTO, notes. The Quick Add set, plus the primer and brass. |
| Extended | Core plus the working detail: status and use case, the three component lots, charge and ambient conditions, primer and pocket size, the Brass Log link, shoulder bump, mandrel size, seating and primer depth. |
| Full | Everything. Bullet sorting and QC, pressure signs, the whole process and equipment record, distance and jump to the lands, runout, neck diameter. |
The rule that matters: hidden is not deleted. Enter a runout figure at Full, drop back to Core, and the value is still on the record. It exports, it syncs, and it comes back the moment you return to Full. A section with no visible fields at the current level does not draw an empty card; it simply is not there.
With Beginner Mode on the form anchors at Core every time you open it, regardless of where you left it. Turn Beginner Mode off in Settings › General and the form remembers the level you chose.
Custom fields and layouts
Sixty fields will not cover everything. Two mechanisms extend the form.
Custom fields
A custom field is one you define yourself: a name, a type, and a place on the form. It becomes a real column on the record: it exports, it syncs, it searches. The free tier allows three custom fields per record type, so three on recipes, three on firearms, three on batches, and so on. Pro removes the cap.
Custom layouts
Settings › Reloading › Layouts & Custom Fields holds one row per layout-capable record (Recipes, Batches, Brass Logs, Inventory and Firearms), each opening the same editor: hide or show fields per view; manage custom fields.
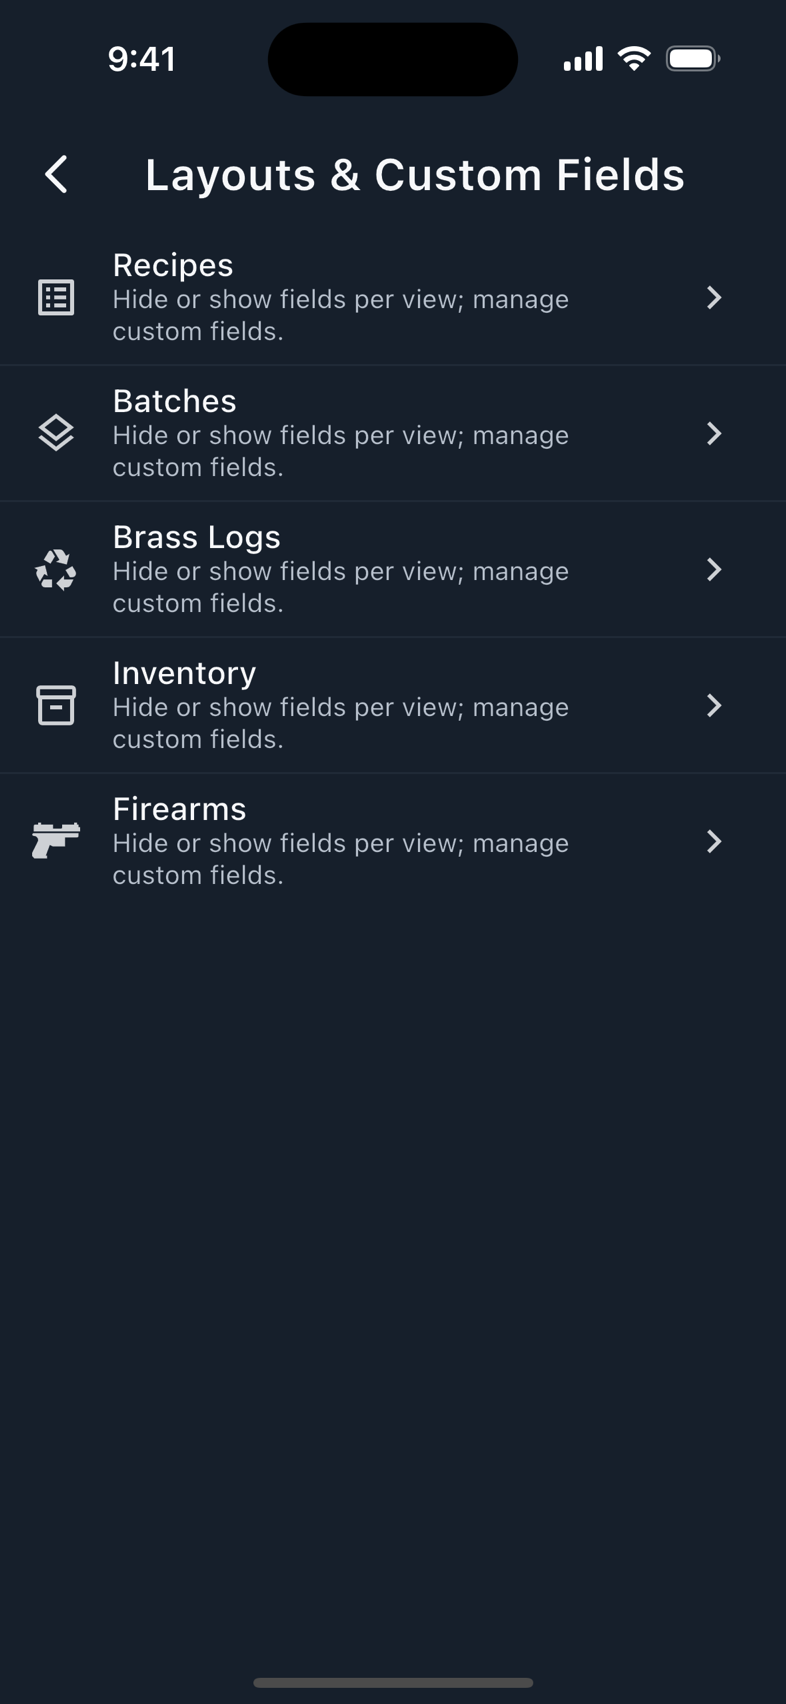
Two things live behind that row and they are different. The per-view field editor is free: it lets you take a field you never use out of Core, or promote one you use constantly up from Full. Custom Layouts is Pro: a named arrangement of your own sections and fields, in your own order, that you switch the whole form to. A recipes list with a saved layout gains a third button, Custom, beside Quick and Standard.
The hub shows the Pro rows locked, not hidden. You can open the designer and see what a layout would do before you decide. Restoring a backup also restores layouts and custom fields you created while subscribed, even if you are no longer Pro. A lapsed subscription never strands your own structure.
Photos on a recipe
A recipe can carry one photo: the loaded round, the powder measure setting, the page of the manual you worked from. Attaching one is Pro. The controls are Take a Photo and Upload a Photo, then Replace Photo and Remove Photo once one is attached.
Existing photos always show, on every tier, forever, and removing one is free. A lapsed Pro subscription does not blur, lock or delete a picture you already attached. Replacing a photo puts the old one in Recently Deleted for 30 days.
Looking up published load data
LoadOut ships no load tables. Not in the bundle, not on a server, not cached, not scraped. Your recipes are yours, the manufacturers' data is theirs, and we host neither.
What the app does instead is hand you off. Fill in the Caliber field and a Look Up Published Loads button lights up beneath it. Tapping it opens a sheet with four cards, and tapping a card opens that manufacturer's own load-data page in your browser:
- Hodgdon, the Reloading Data Center
- Hornady, Load Data
- Sierra Bullets, Load Data
- Vihtavuori, the Reloading Data Tool
The cartridge you typed is shown on the sheet for your reference and is deliberately not passed to the manufacturer's site. You land on their top-level page and search there yourself. The link opens in your real browser rather than a window inside LoadOut, so their site sees an ordinary visitor and not our app.
These values are starting points from published reloading data. Always verify against your current reloading manual before loading. Never start at maximum charge.
Sharing and exporting a recipe
One recipe goes out three ways, from Import & Export › Export a Recipe: Share via QR (scan-to-import for a shooter standing next to you), Share as PDF (a one-page printout formatted for print), and Share as Text (a plain, copy-pasteable record). The recipe form's ⋮ menu carries Share for the record you have open, and the list lets you select several and share them as a PDF at once.
Whole-library export is a separate thing and is free: Export All Data (JSON) writes every record you own as plain JSON. Free users export exactly what Pro users export. The Import & Export chapter covers both directions in full, including what happens to a shared recipe when it lands on someone else's phone.
Deleting, and Recently Deleted
The recipe form's ⋮ menu carries Delete, subtitled Move to Recently Deleted, and that is exactly what it does. The list's selection mode has the same action for several at once.
A deleted recipe sits in Recently Deleted for 30 days, reachable from Settings › Privacy & Data. Restore it from there and it comes back whole. Remove it for good and it is gone, including from your encrypted cloud copies, so it will not reappear on another device.
Two smaller actions sit beside Delete in the same menu. Clear blanks the fields but keeps the record and its name. Duplicate copies the recipe so you can change one variable (a charge, a seating depth) without editing the load you already trust.