Chapters
On this page
LoadOut opens on a bench you have not stocked yet. This chapter gets the app onto every device you own, walks you through the four screens between the App Store and your first recipe, and sets the handful of preferences the rest of the app reads from. It ends with the Sample: a complete rifle, load, profile and target card the app seeds on first launch so that nothing you see is a blank rectangle.
Install LoadOut
LoadOut is one app with one purchase across every platform. Install it wherever you keep it, sign in with the same account if you want Pro to follow you, and the workspace is the same on all of them.
- iPhone and iPad: the App Store. One universal app; the iPad build uses the wider layout described in the next chapter.
- Android phone and tablet: Google Play.
- Mac: the Mac app.
- The web: the web app, in any current browser. Your data lives in that browser's own storage, so clearing site data clears it.
The three companion watches install from their own stores, not from LoadOut. Apple Watch: open the Watch app on your iPhone and install LoadOut from the list. Wear OS: open the Play Store on the watch itself. Garmin: install from the Connect IQ store onto a supported watch. The Companion Watches chapter covers what each one shows once it is on your wrist.
| Platform | What it needs |
|---|---|
| iPhone, iPad | iOS 16 or later |
| Android | Android 10 or later. Android 12 for the weather meters and the shot timer; Android 11 for watch pairing and the watch motion sensors |
| Mac | macOS 11 Big Sur or later |
| Web | Any current browser |
| Apple Watch | watchOS 10 or later |
| Wear OS | Wear OS 3 or later |
| Garmin | Connect IQ 3.4, across 31 supported watches |
Camera, motion sensors and watch pairing are phone and tablet features. They need hardware a desktop does not have. Bluetooth weather meters and the shot timer also pair on the Mac. The Mac app runs the whole workspace and the whole solver without them. The web app runs the workspace but not LoadOut's full solver: firing solutions are computed in the phone, tablet, and Mac apps, and the web app says so on the screens it affects. If a device on your Android phone is greyed out, Settings › Device Compatibility names the requirement it is missing; that row only appears when something is actually gated.
First launch
Four screens sit between a fresh install and your first recipe. Only the first is compulsory.
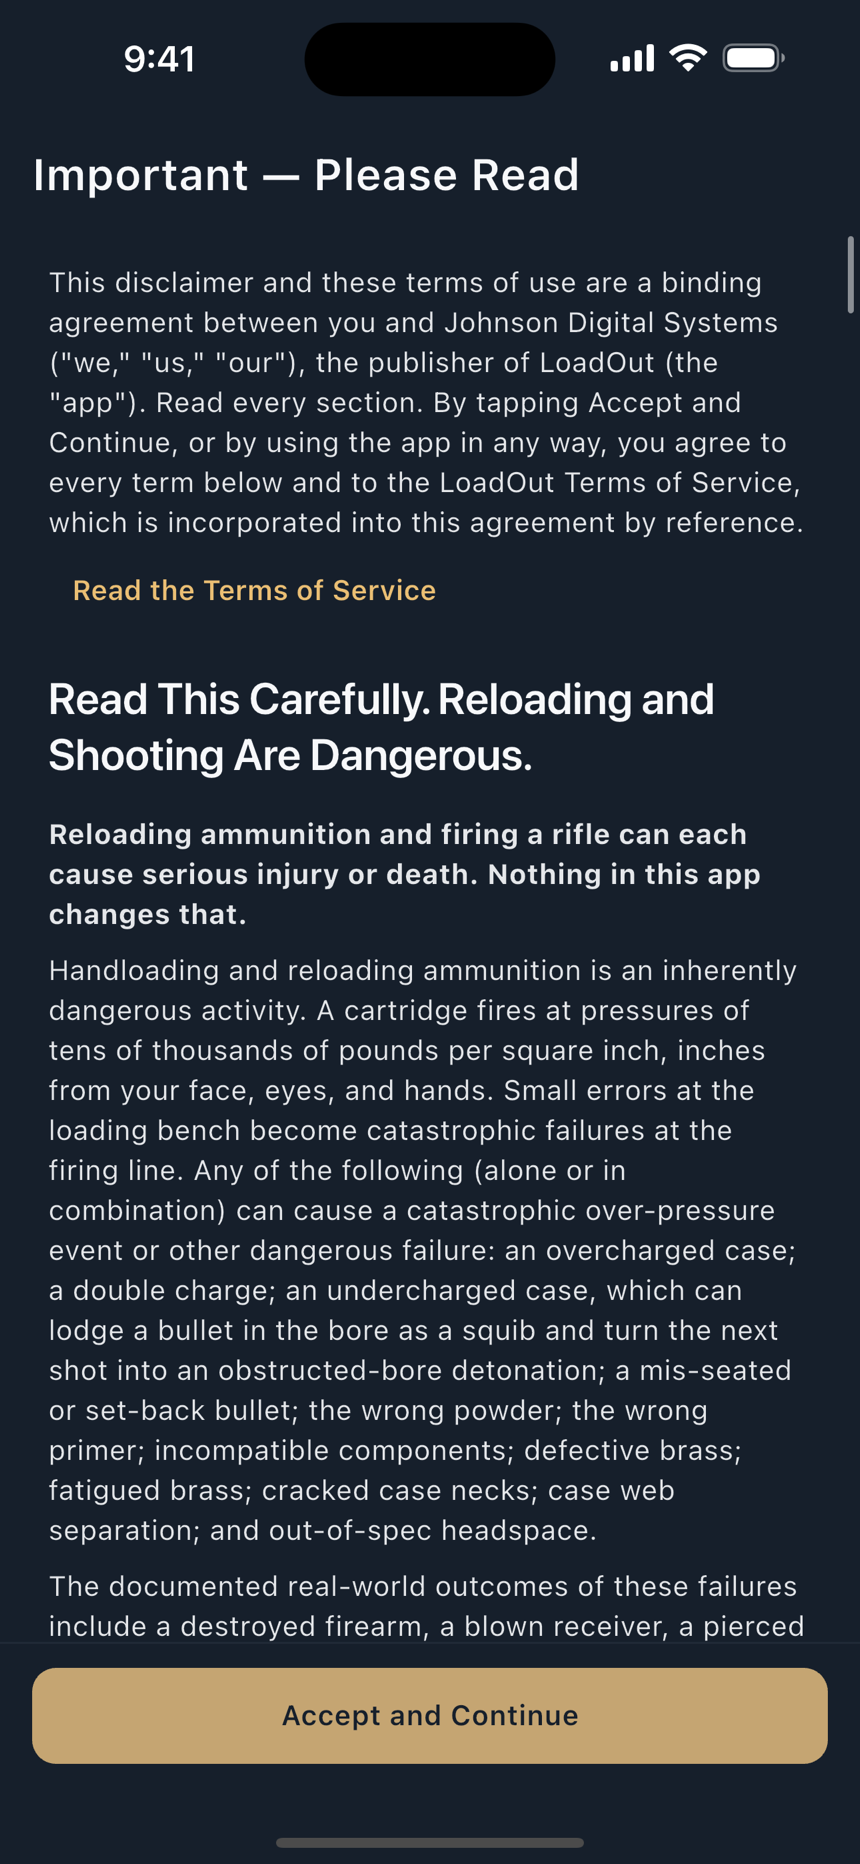
- Read the disclaimer. The first screen is titled Important — Please Read, and it is a binding agreement rather than a formality. It opens with the sentence that governs everything else in the app: reloading ammunition and firing a rifle can each cause serious injury or death, and nothing in the app changes that. It also says plainly what LoadOut is not: not a reloading manual, not a pressure-testing instrument, not a substitute for range-verified data of your own. Accept and Continue is the only way forward.
- Take the two-slide welcome. Welcome to LoadOut states the shape of the app in one line: your reloading bench and ballistic solver in one place, with your data on your device. Learn as You Go points you at the Learn section. Skip sits in the app bar throughout; on the second slide Next becomes Get Started.
- Decide about Beginner Mode. The switch is on that last slide, already on. See the next section for what it changes.
- Take the full tour, or don't. Under Get Started sits Take the Full Tour, a six-slide deck. You can reach the same ground later from Learn.
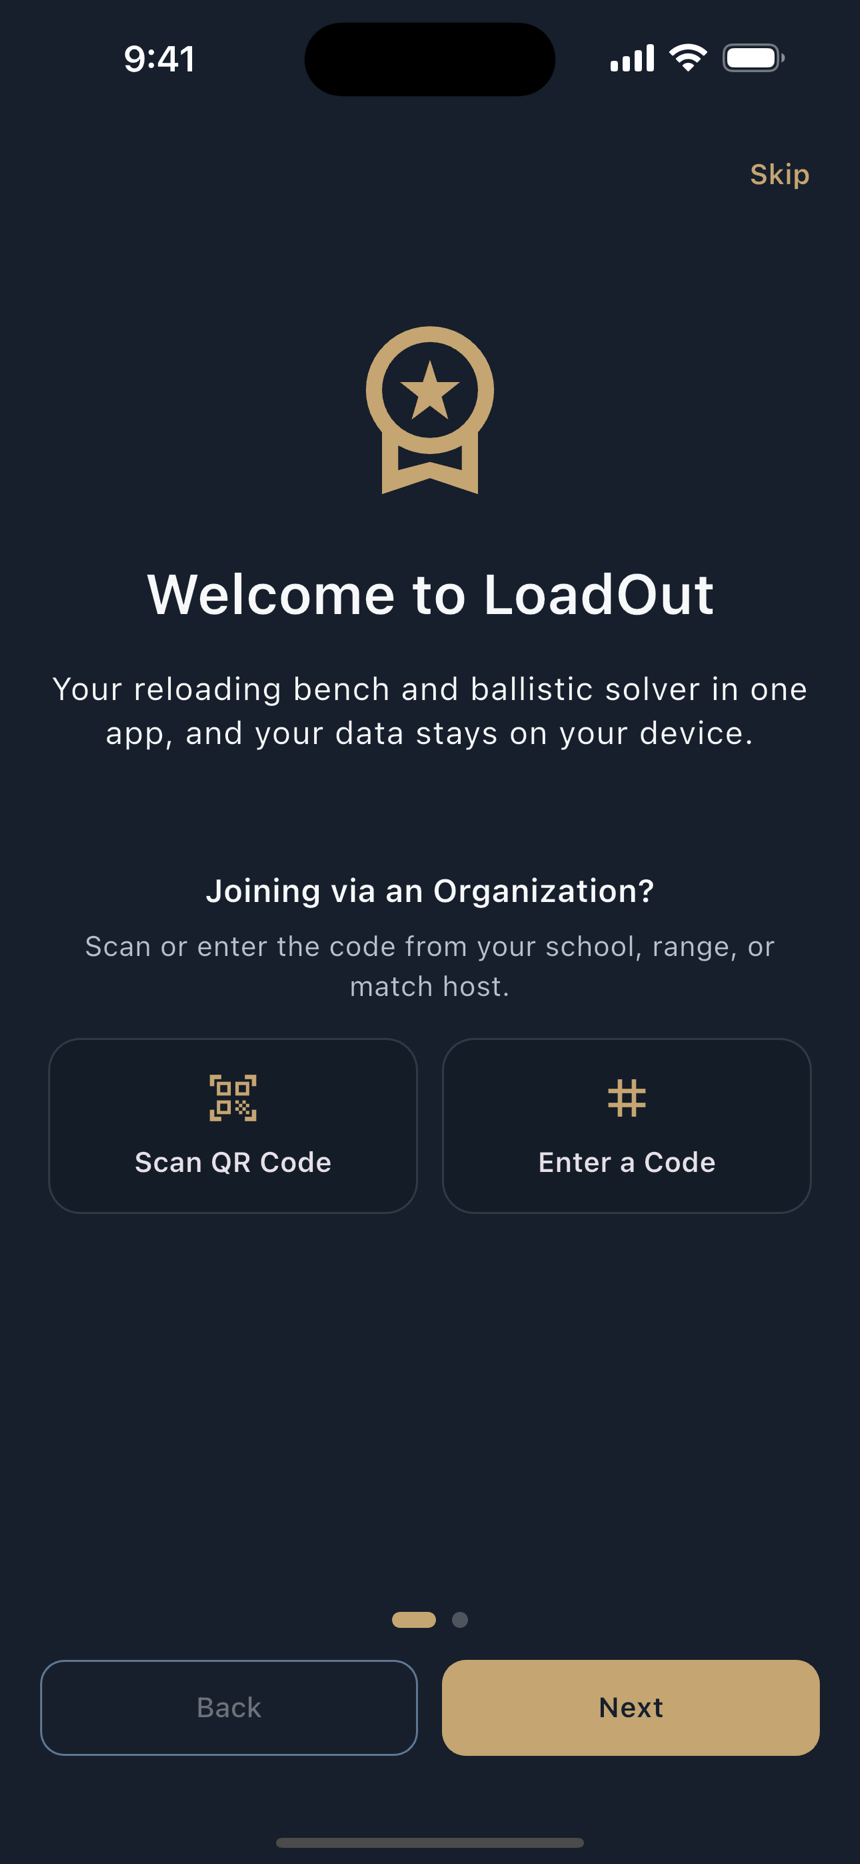
If you are joining through a school, range or match host, the welcome screen carries a Joining via an Organization? block with two buttons, Scan QR Code and Enter a Code. Use whichever your host gave you; it re-skins the app and, where the organization has granted it, carries Pro with it.
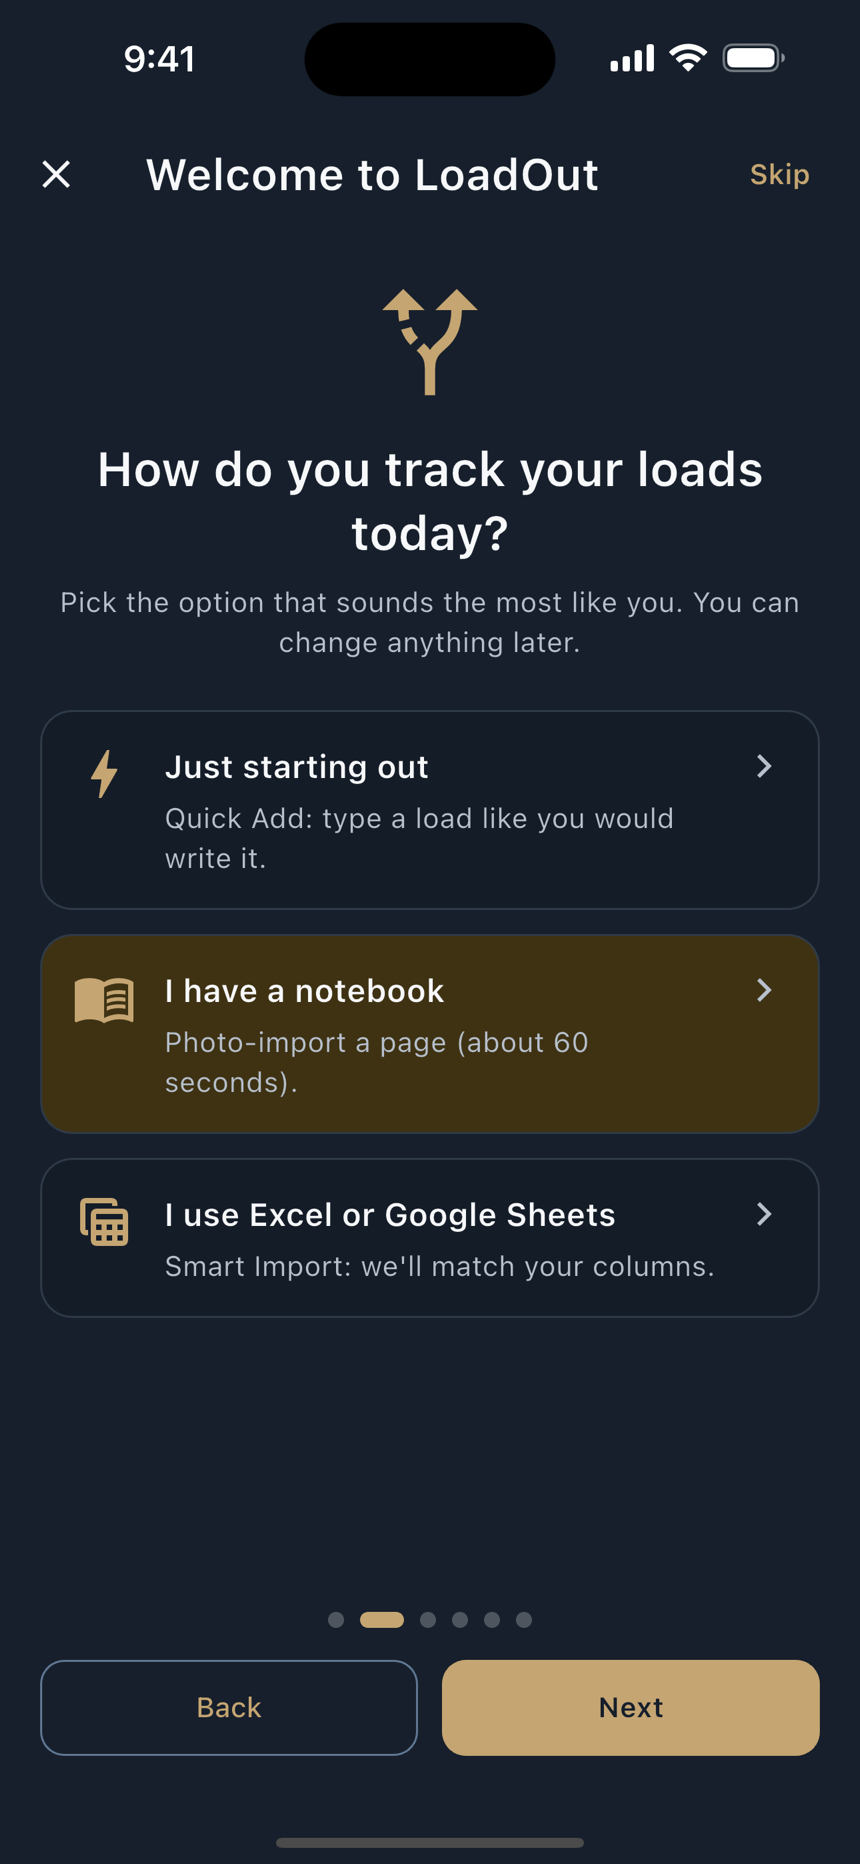
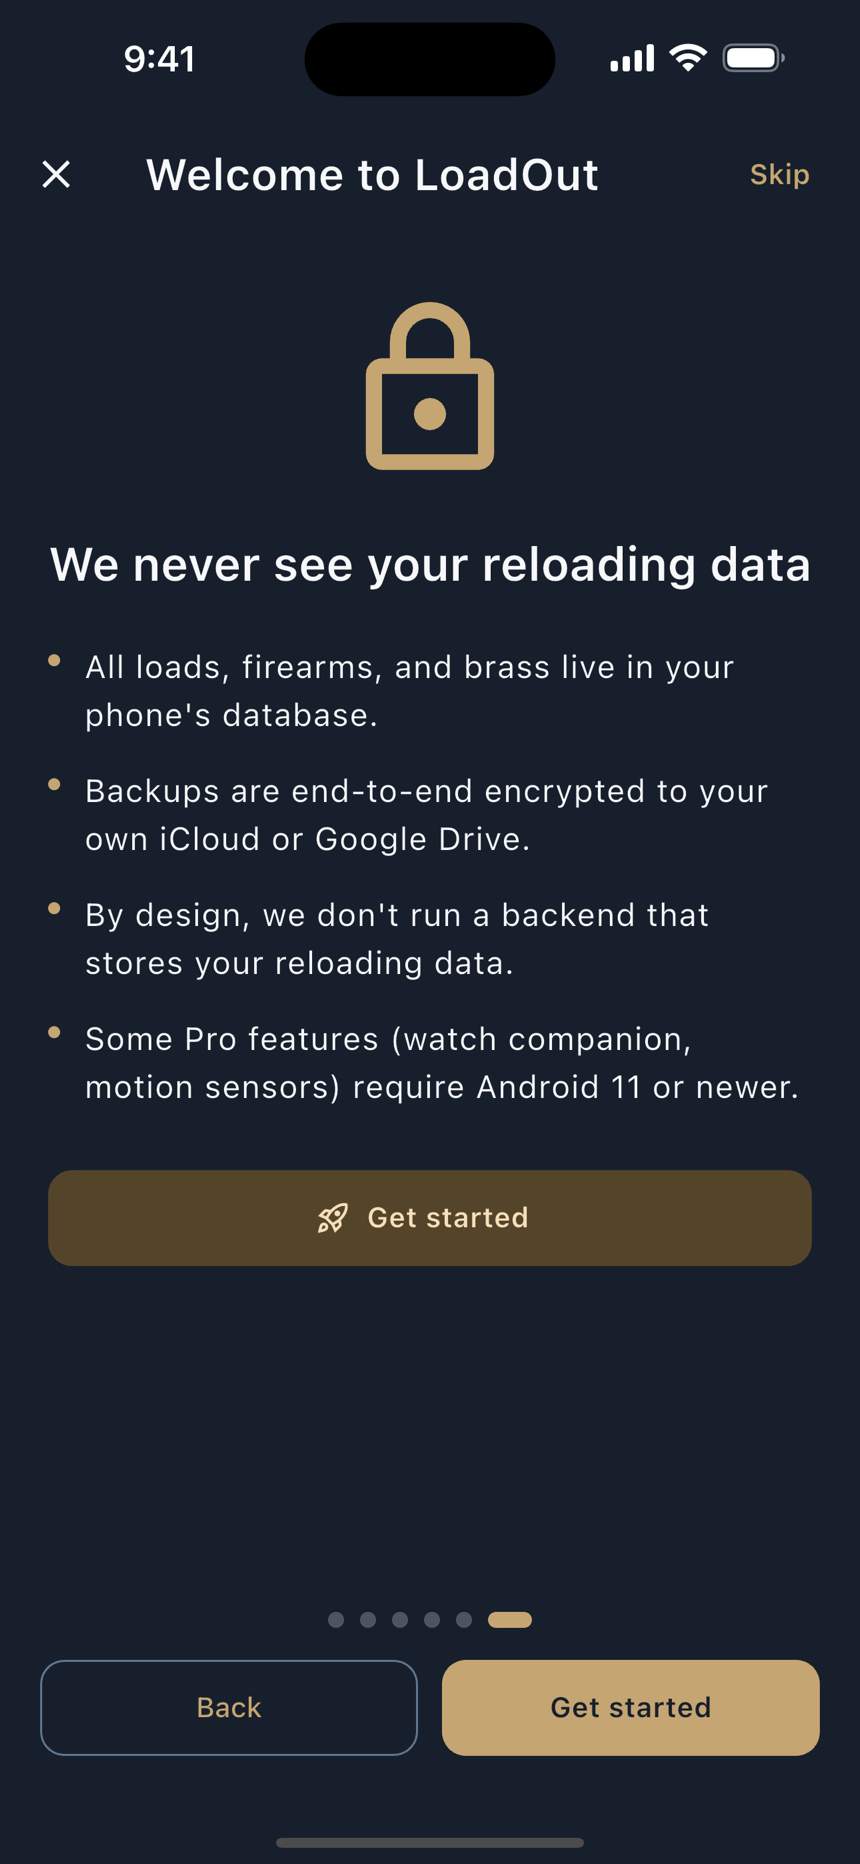
The full tour's second slide asks How do you track your loads today? and gives three answers: Just starting out, I have a notebook, and I use Excel or Google Sheets. It is a routing question rather than a profile. Picking one sends you to the way in that fits, and picking none costs you nothing. The rest of the deck covers Quick Add, the import formats, the optional detail, and where your data lives.
Beginner Mode
Beginner Mode is on for a new install. It does not remove anything; it changes what a form shows you first.
- The recipe form opens at Core and stays there, rather than at whatever level you last used.
- Every field's label gets a ? beside it that opens a plain-language explanation of what the field is and why it matters: CBTO against COAL, what a twist rate decides, what a ballistic coefficient is doing.
- A Glossary shortcut appears in the app bar.
Turn it off from Settings › General, where the switch reads Simplifies forms and adds plain-language notes beside fields, plus a Glossary shortcut. Turn it off to see every field. Nothing you entered under Beginner Mode changes when you flip it. The fields that were hidden come back with whatever is in them.
The Sample
On a genuinely empty database LoadOut seeds five linked records so that every screen has something real to show. They are marked with a Sample badge, and the badge means exactly one thing: an example you can edit to adopt, or delete.
The Sample recipe carries no powder charge, and that is the point. A charge weight is a safety recommendation rather than a description of a load, so it comes from your current published reloading manual and never from us. Every other field on the Sample is there to be read; that one is there to be filled in by you, from your own data.
The badge clears the first time you save an edit through the form, and there is no "adopt" button beyond that. Edit the rifle's name and it becomes your rifle, tracked as a factory Remington rather than as something we handed you. Delete any of them and nothing else breaks; the recipes list offers Restore the Sample in its empty state, which brings the recipe, rifle and profile back together.
Nothing about the Sample's firing solution is stored. Open the Ballistics page and the drop and wind holds you see are solved right then from those inputs plus the ICAO standard atmosphere, with the Environment row saying so. Change the distance and the whole flight is solved again.
Units, language, and appearance
Settings › General holds four groups: General, Appearance, Saving, and Units of Measurement.
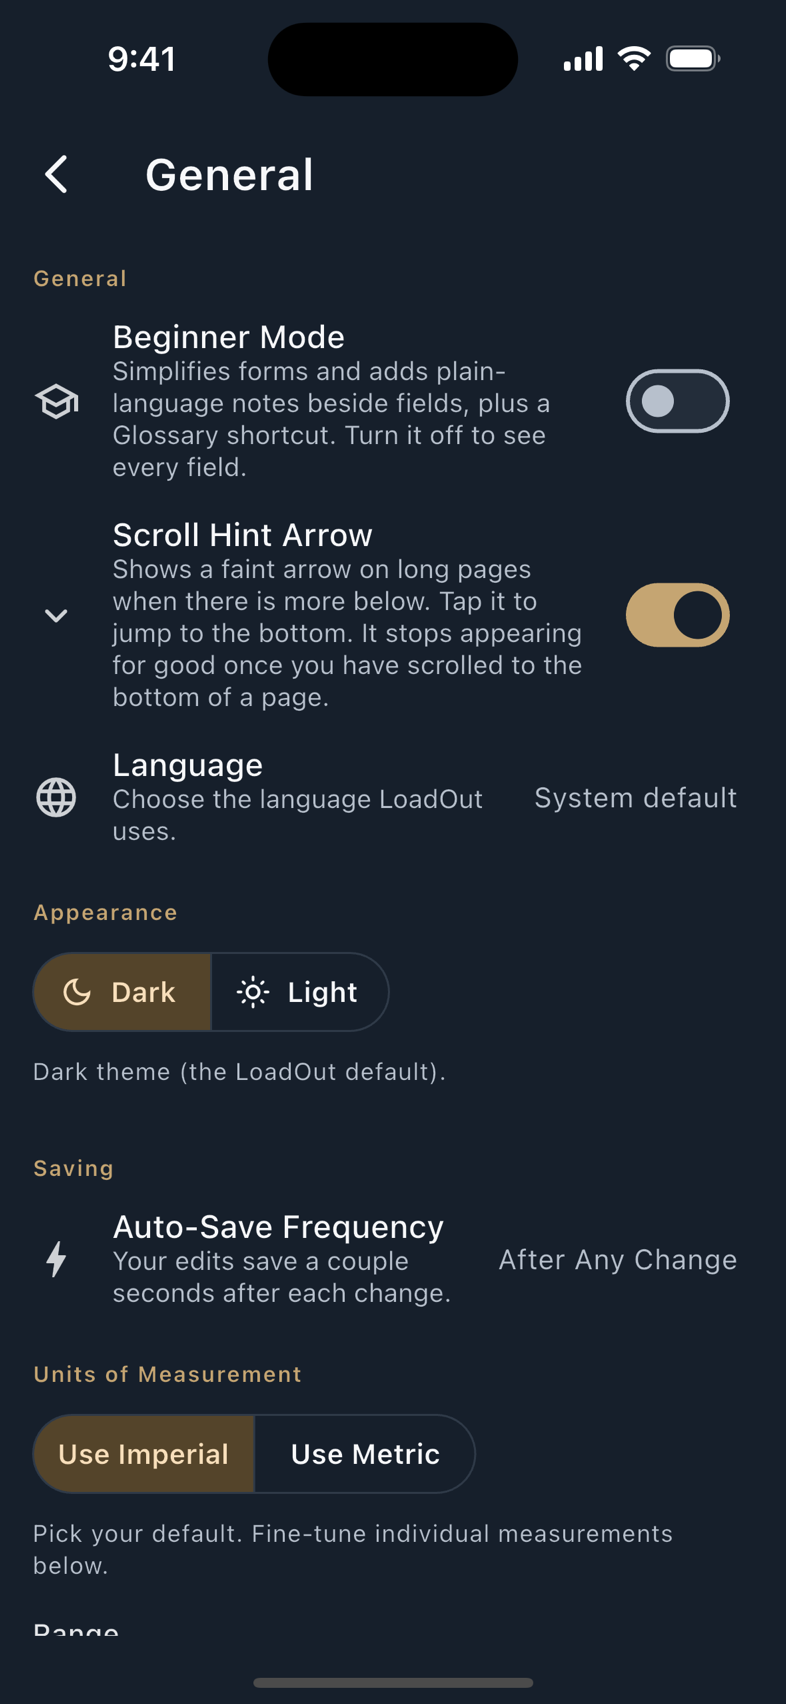
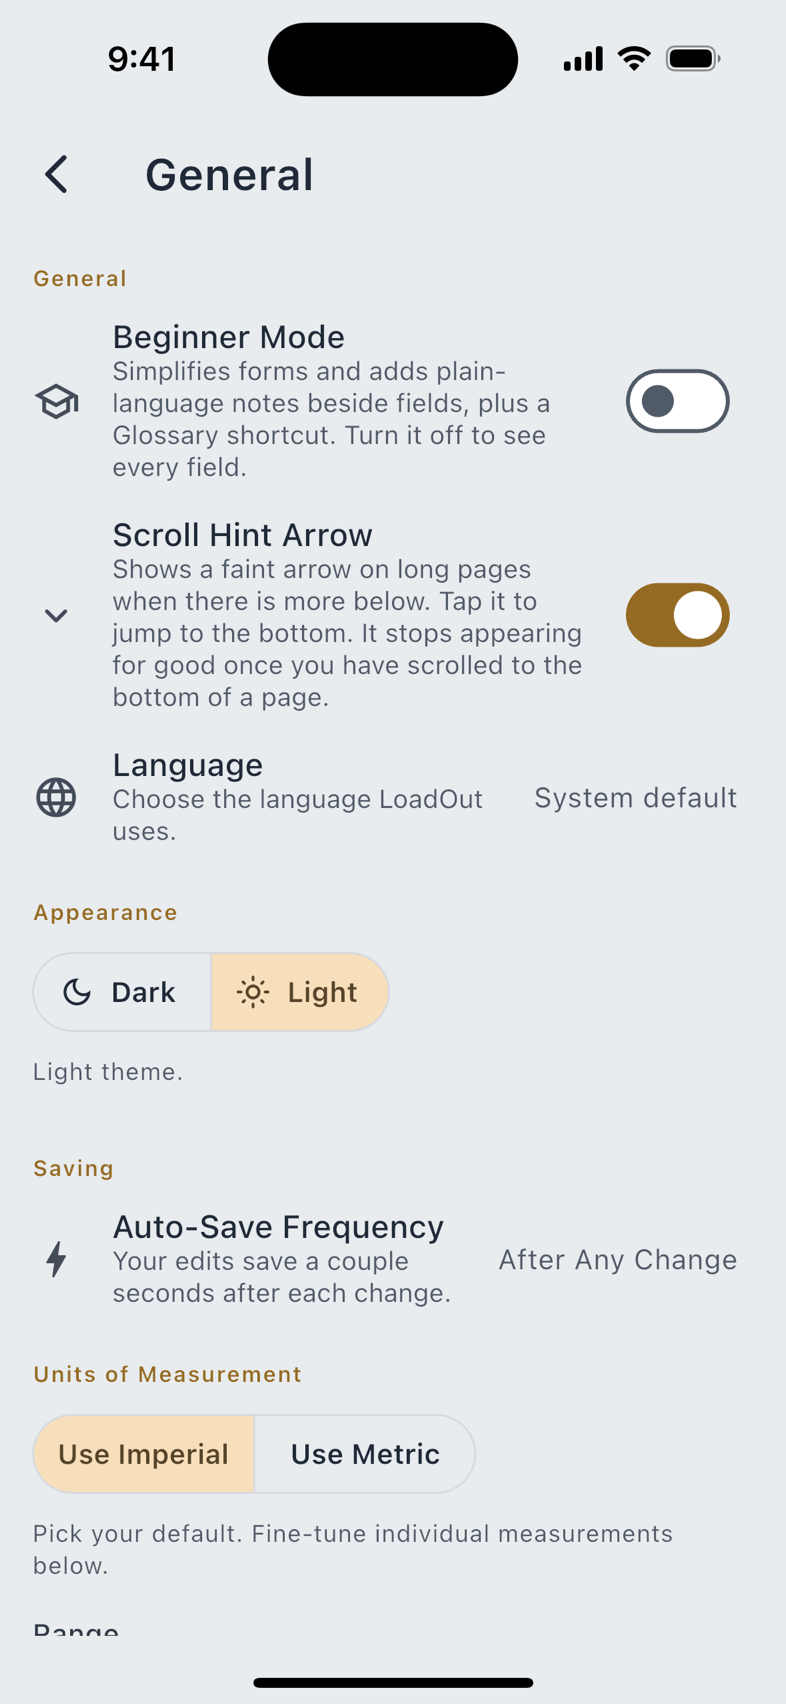
Units of Measurement starts with one choice, Use Imperial or Use Metric, and then lets you override any single measurement below it. Pick imperial and switch temperature to Celsius; pick metric and keep bullet weight in grains. Each row is set independently of the others, and changing Use Imperial / Use Metric clears all of them at once, so it is a fresh start rather than a partial one.
| Measurement | Choices |
|---|---|
| Range | yd · m |
| Muzzle velocity | fps · m/s |
| Drop & sight height | in · cm |
| Bullet weight | gr · g |
| Bullet diameter | in · mm |
| Angle | MOA · MRAD |
| Energy | ft-lbs · J |
| Temperature | °F · °C |
| Wind velocity | mph · m/s · km/h |
| Pressure | inHg · mmHg · hPa |
| Altitude | ft · m |
Angle does not follow the imperial switch. LoadOut's holds read in MRAD by default even on imperial, because the precision audience dials mils. If you dial MOA, set the Angle row to MOA and the choice is stored. Flipping Use Imperial / Use Metric clears every per-row override, MOA included, so set it again after a flip.
Appearance is a straight two-way choice, Dark or Light. Dark is the default. There is no follow-the-system option; the app holds the mode you picked.
Language offers fifteen languages across sixteen locales, Portuguese appearing as both Brazil and Portugal. Every locale ships in the app, so you never download a language to use it. LoadOut does fetch published wording corrections for the locales it already carries, in the background, when the app cold-starts.
Your account, and why you do not need one
LoadOut opens as a guest. There is no sign-up wall, no email, no card, and no time limit. Recipes, firearms, batches, brass logs, the full solver, Range Day, the reference catalogs and a free local export of everything all work with no account at all.
Signing in buys two things and only those two: Cloud Backup and Cloud Sync. That is why the app never nags a free user to do it. The sign-in screen offers Continue with Google, Continue with Apple and Continue with Microsoft, plus a Having Trouble? Contact Us link. All three are the same account to LoadOut; pick whichever you already have.
An account does one further thing, and it is narrower than a feature: it links your purchase identity, so a subscription bought in one store is recognised in the other one. Buy Pro on iPhone, sign in with the same account on Android, and Pro is there. Restoring inside the store you bought from is a different matter and needs no account at all: Settings › Account carries Restore Purchases, which asks the store directly.
Learn inside the app
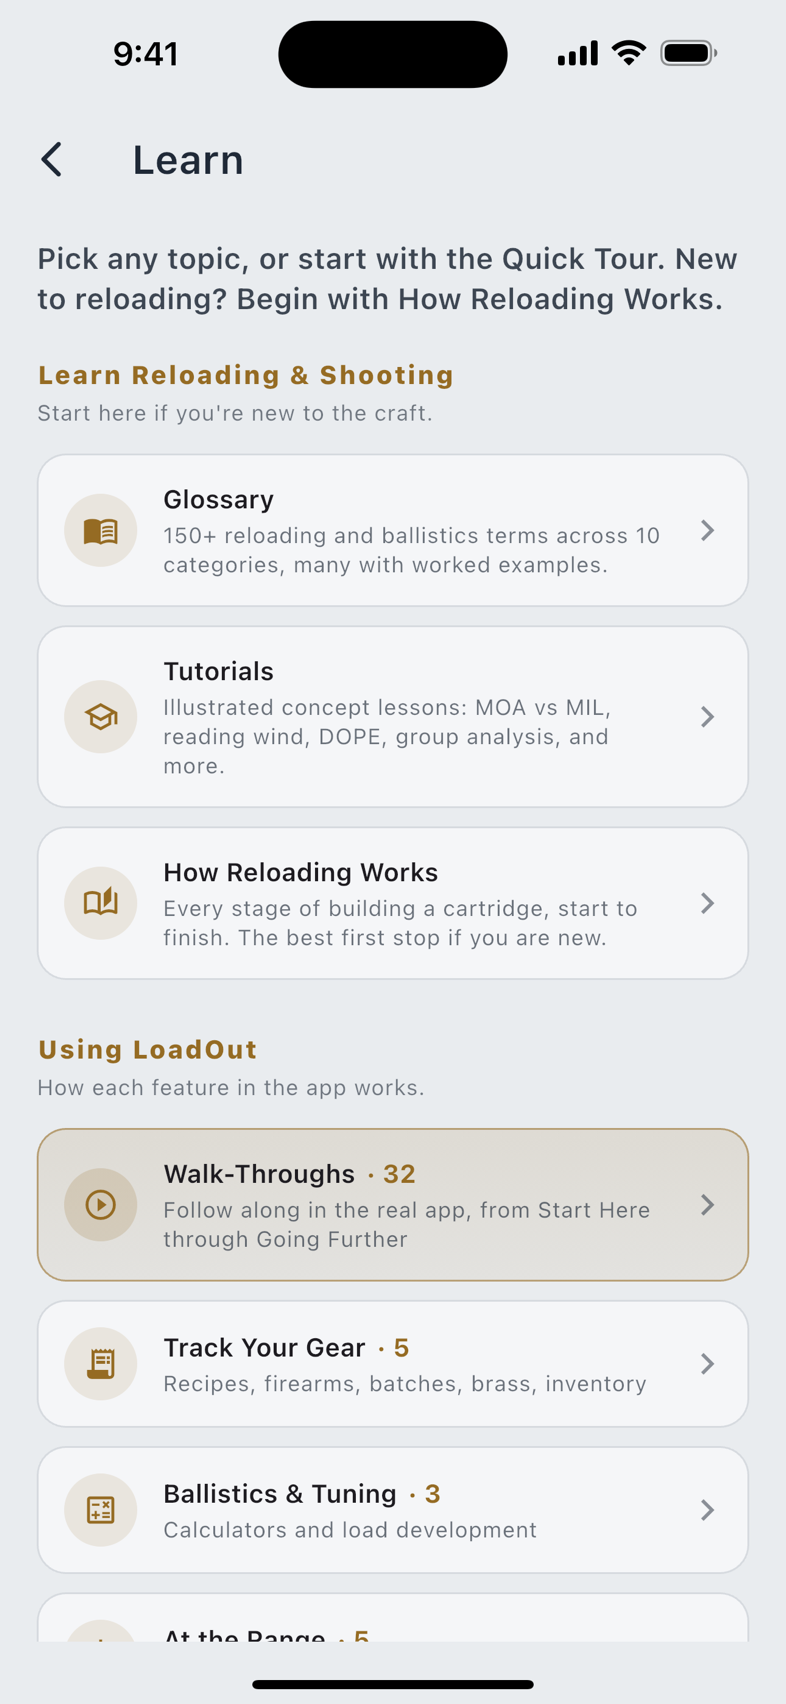
Learn is the first row of the side menu, and it is a real teaching surface rather than a help index.
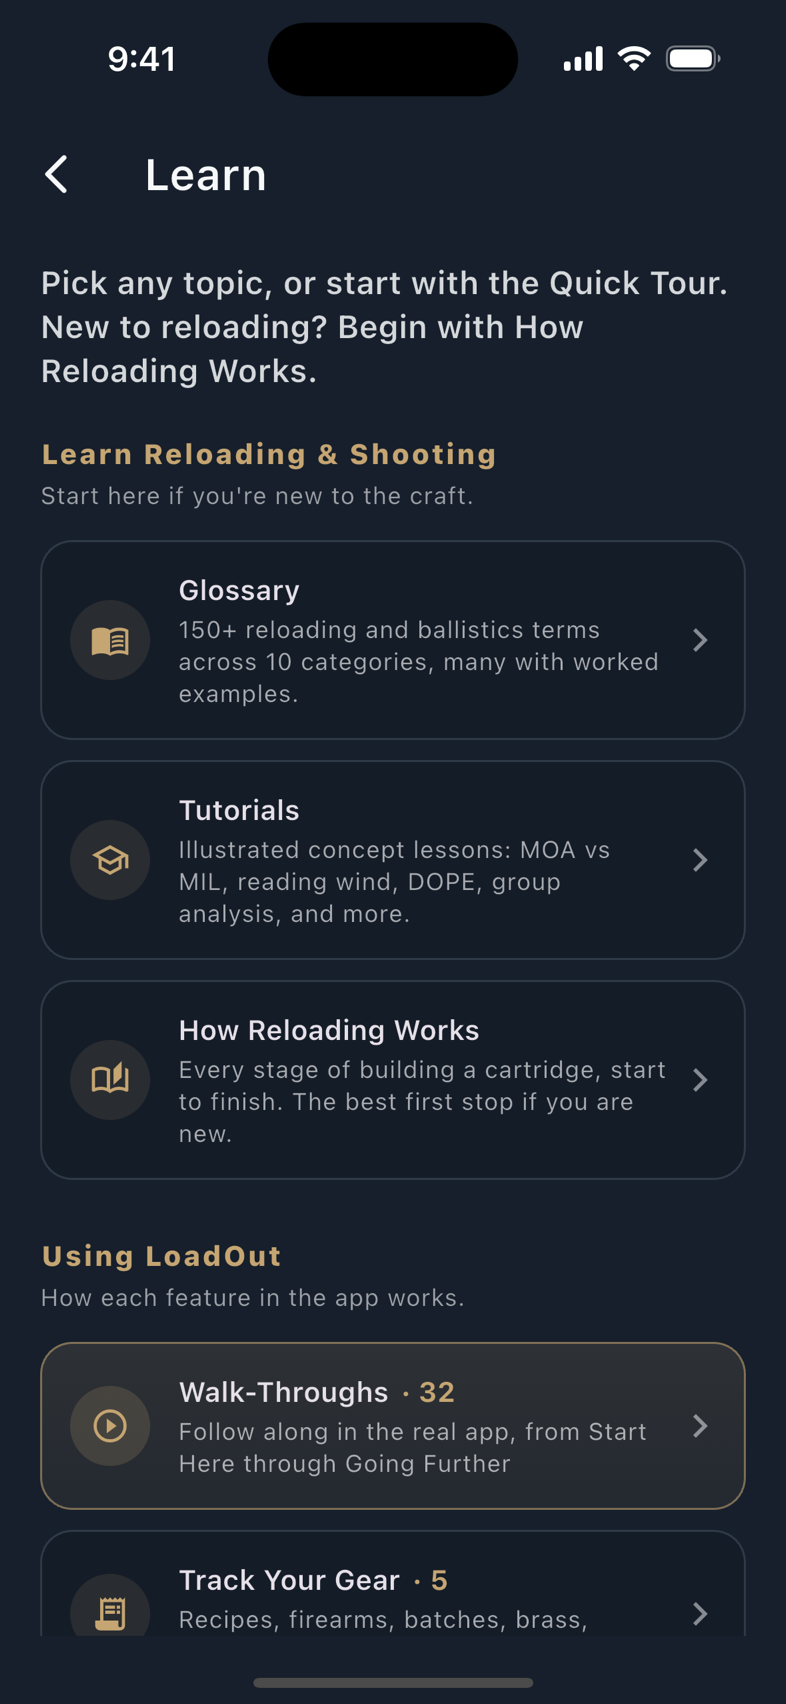
- Take a Quick Tour. A two-minute walkthrough of the essentials.
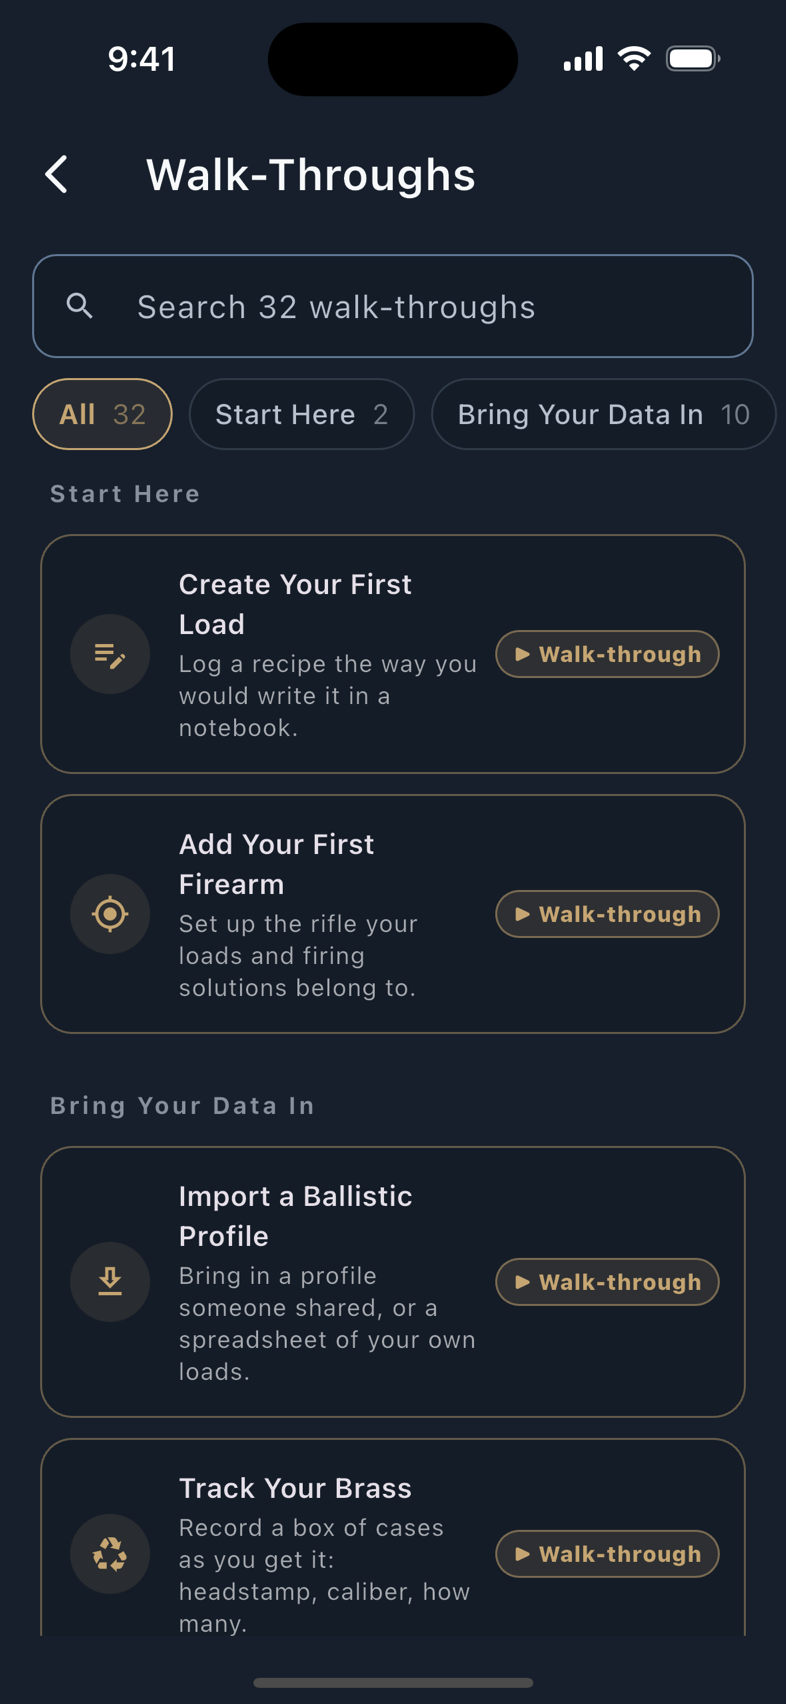
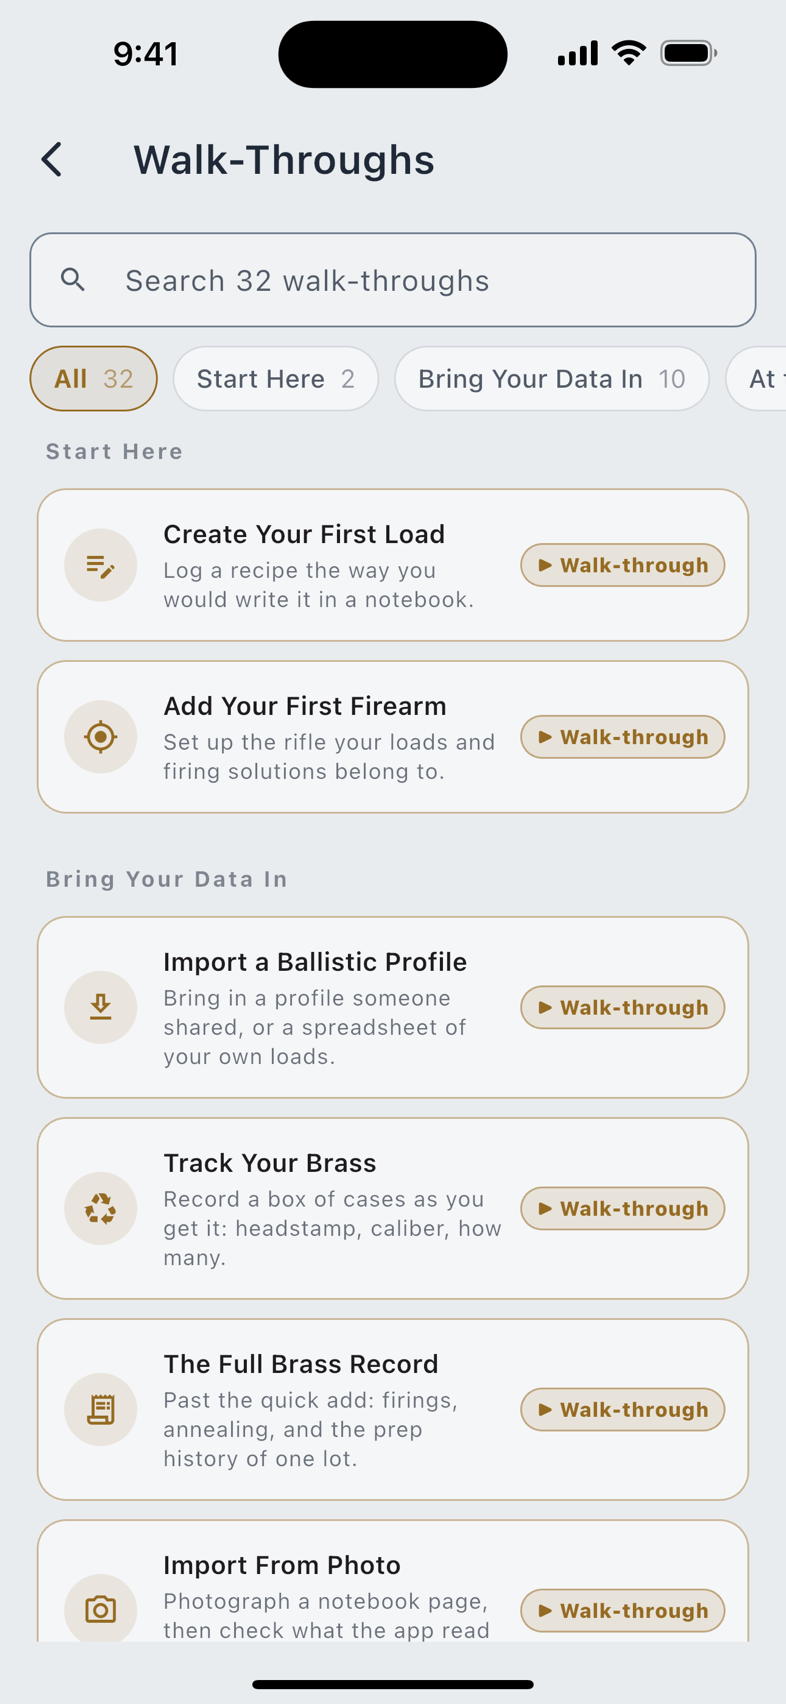
- Walk-Throughs. 34 lessons in five sections: Start Here, Bring Your Data In, At the Range, Competition, Going Further. Lessons that do not apply to your device are left out of the list.
- Glossary, Tutorials and How Reloading Works: the craft rather than the app. Start with How Reloading Works if you are new to reloading; it walks a cartridge from start to finish.
Every walk-through runs in two phases on the real screen, not a diagram of it. The demonstrate phase populates the actual form with seeded demo data and coach-marks the field being explained. Then the same screen comes back empty under the heading Now Your Turn, with live coaching, and nothing you type in that phase is saved. It is practice, and the app's own suite pins that it writes no rows. Most lessons close with a Do It Here → button that drops you on the real thing.
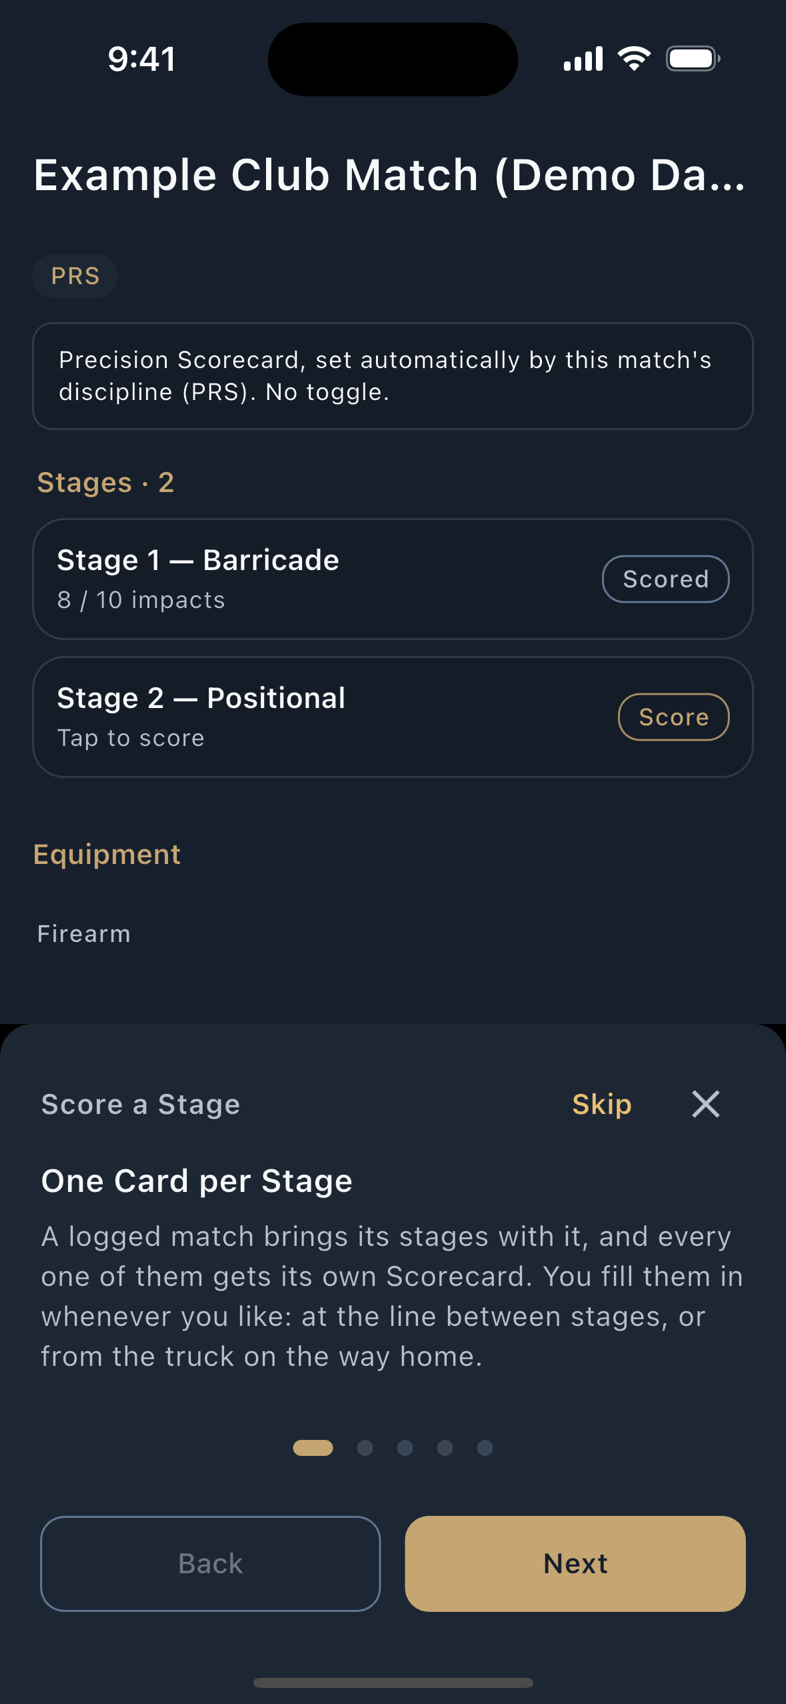
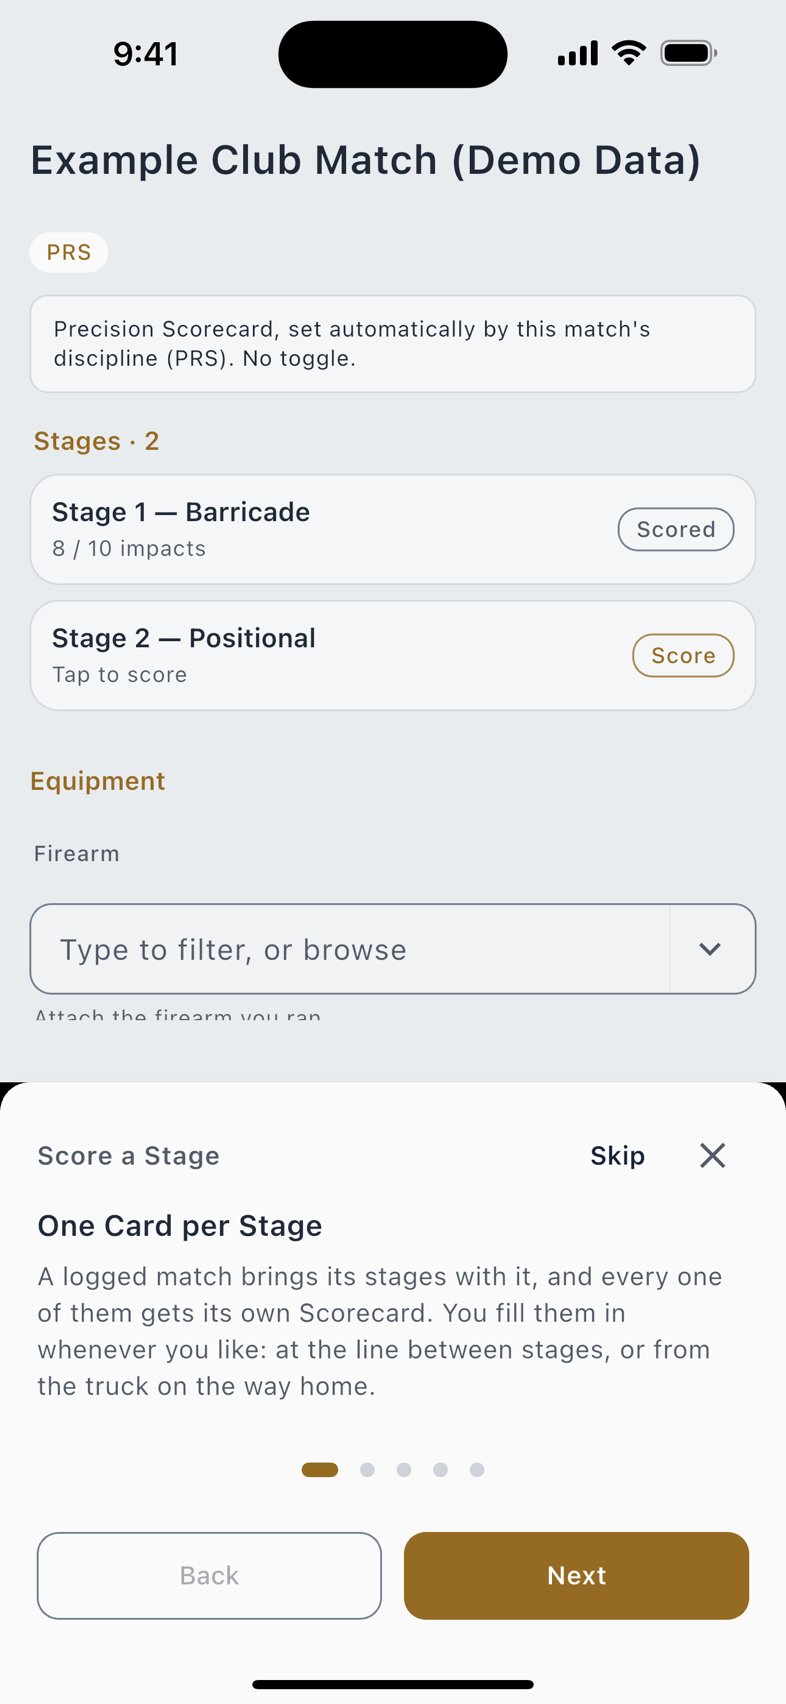
No lesson is paywalled. A walk-through for a Pro feature runs in full on the free tier and says inside the lesson that the feature itself is Pro, so you can see exactly what you would be buying before you buy it.
Where to go next
Three routes out of this chapter, depending on what you came for.
- Find your way around first. The App at a Glance covers the four tabs, the side menu, the wide layout on iPad and Mac, and the handful of conventions that repeat on every screen.
- Write a load. Recipes starts with Quick Add: six fields, the way you would write them in a notebook.
- Get a hold. Firearms then Ballistics: a rifle and a load bound into a profile is all the solver needs.
If your loads already live somewhere else, in a notebook or a spreadsheet or a PDF or another app, go to Import & Export instead and bring them in before you type anything.