Chapters
On this page
The Ballistics page answers a question. Range Day runs a session: the load and rifle you brought, the target you set up, the distance, the conditions, and every shot you fired, kept together as one saved record.
The Range Day screen
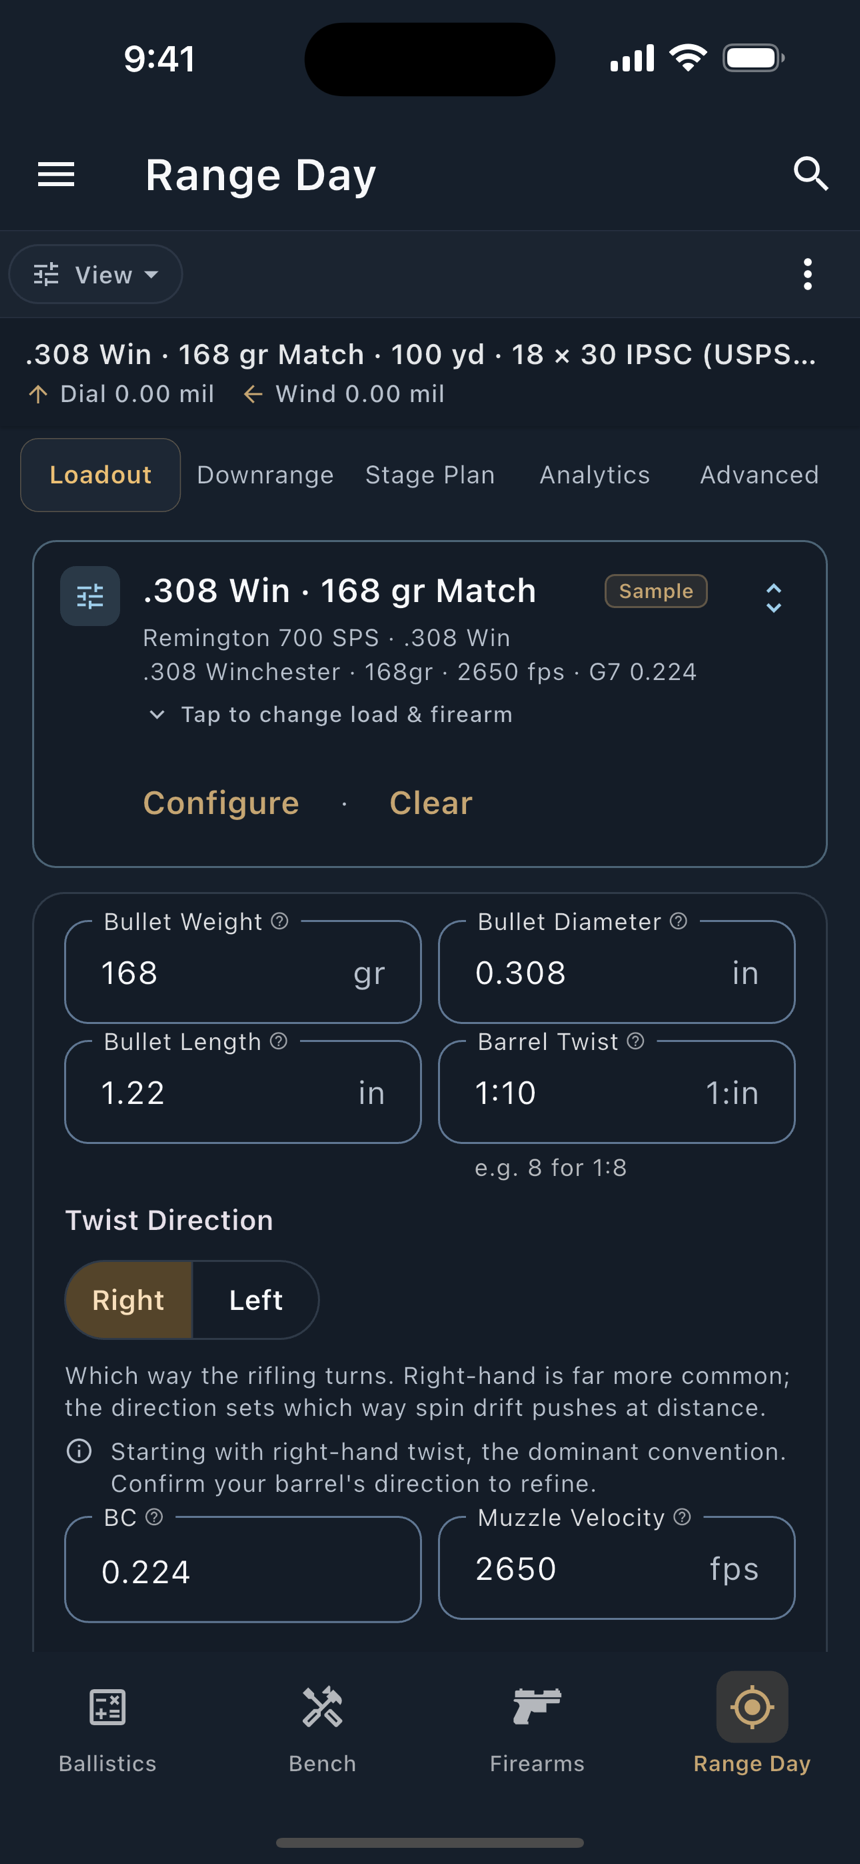
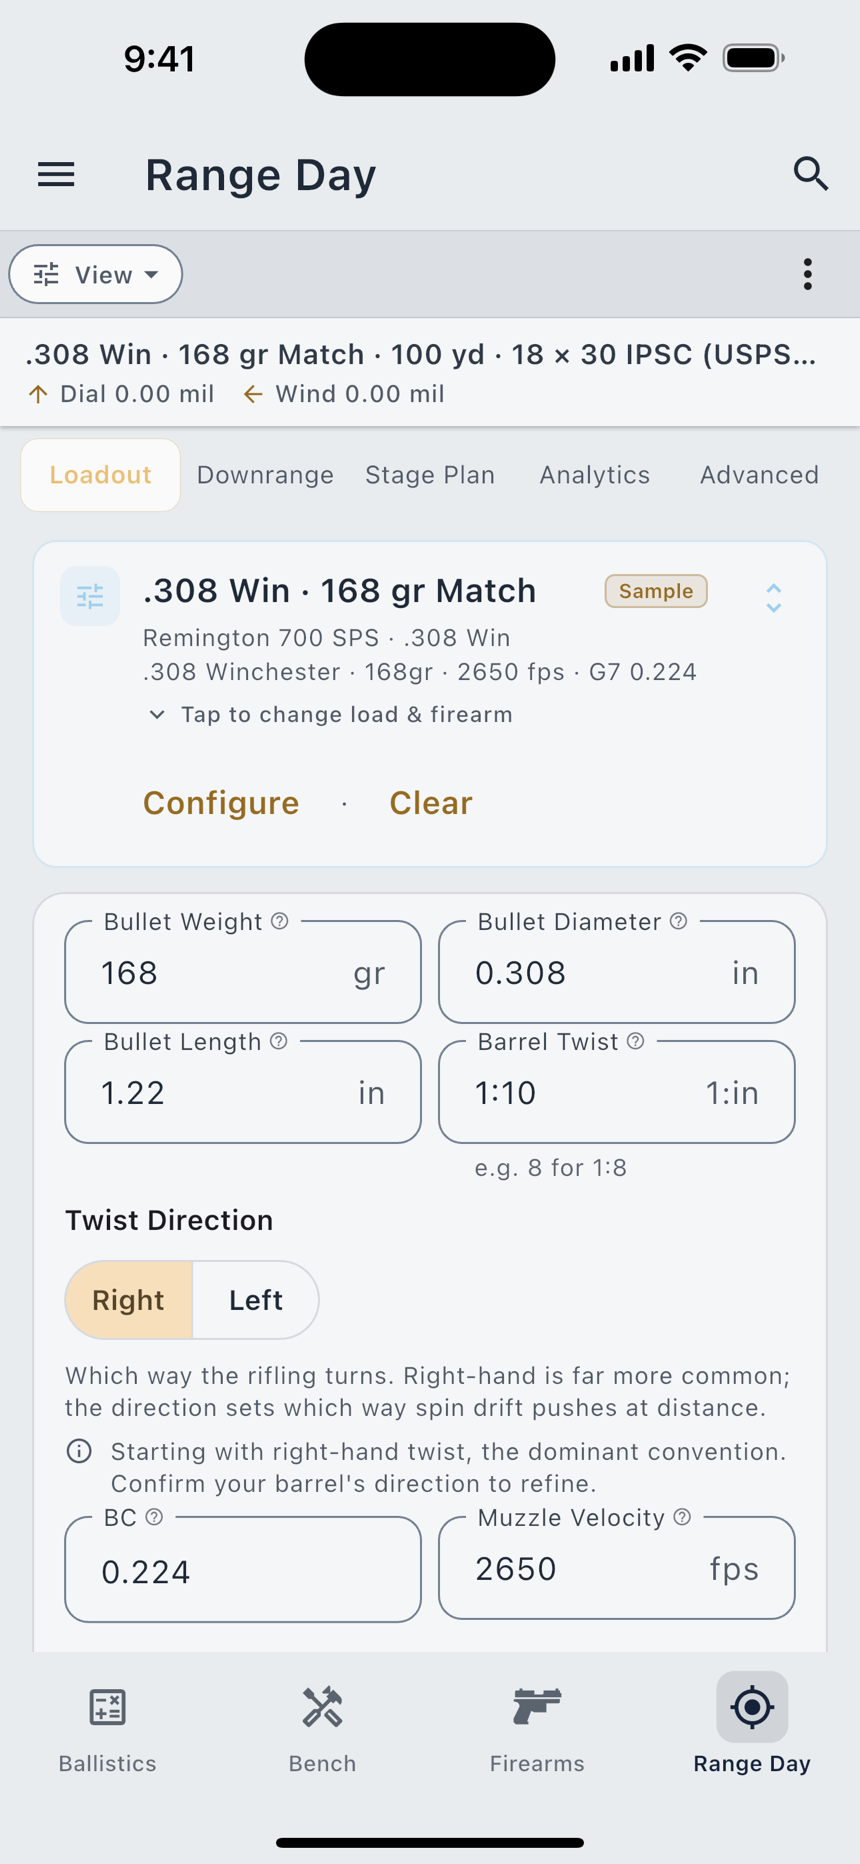
Range Day is one of the four bottom-bar destinations, and the page is a strip of five tabs across one session. Swipe between them or tap.
| Tab | What lives there |
|---|---|
| Loadout | The Ballistic Profile card, the load and firearm pickers, the load details line, and the stability read-out. |
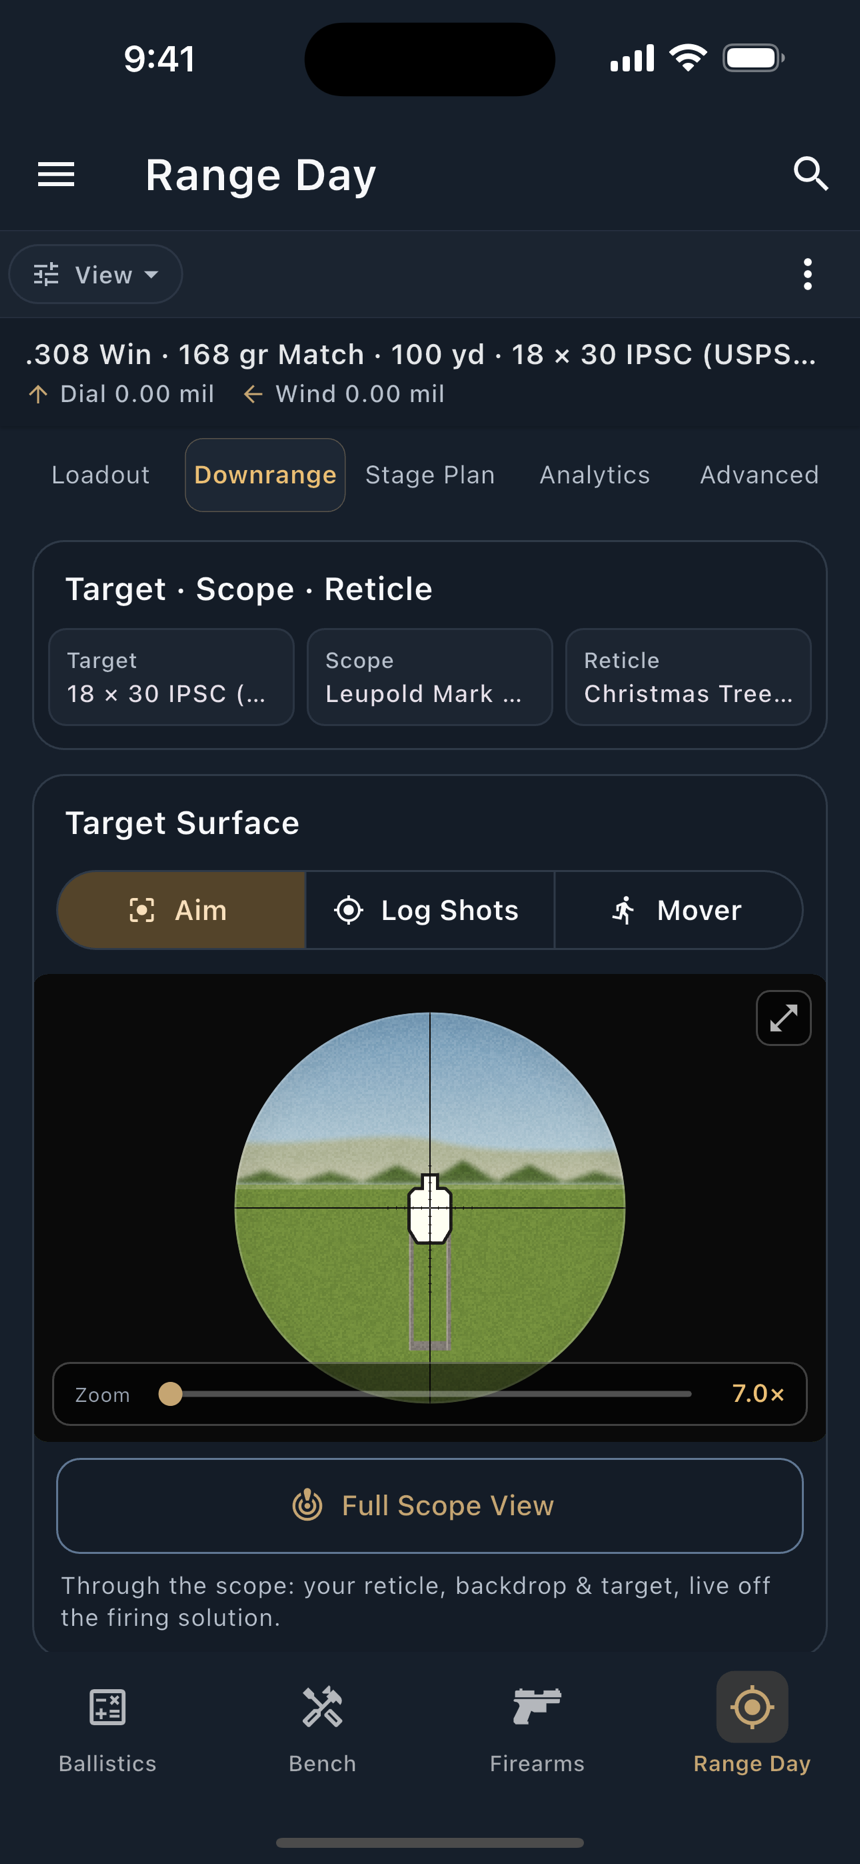
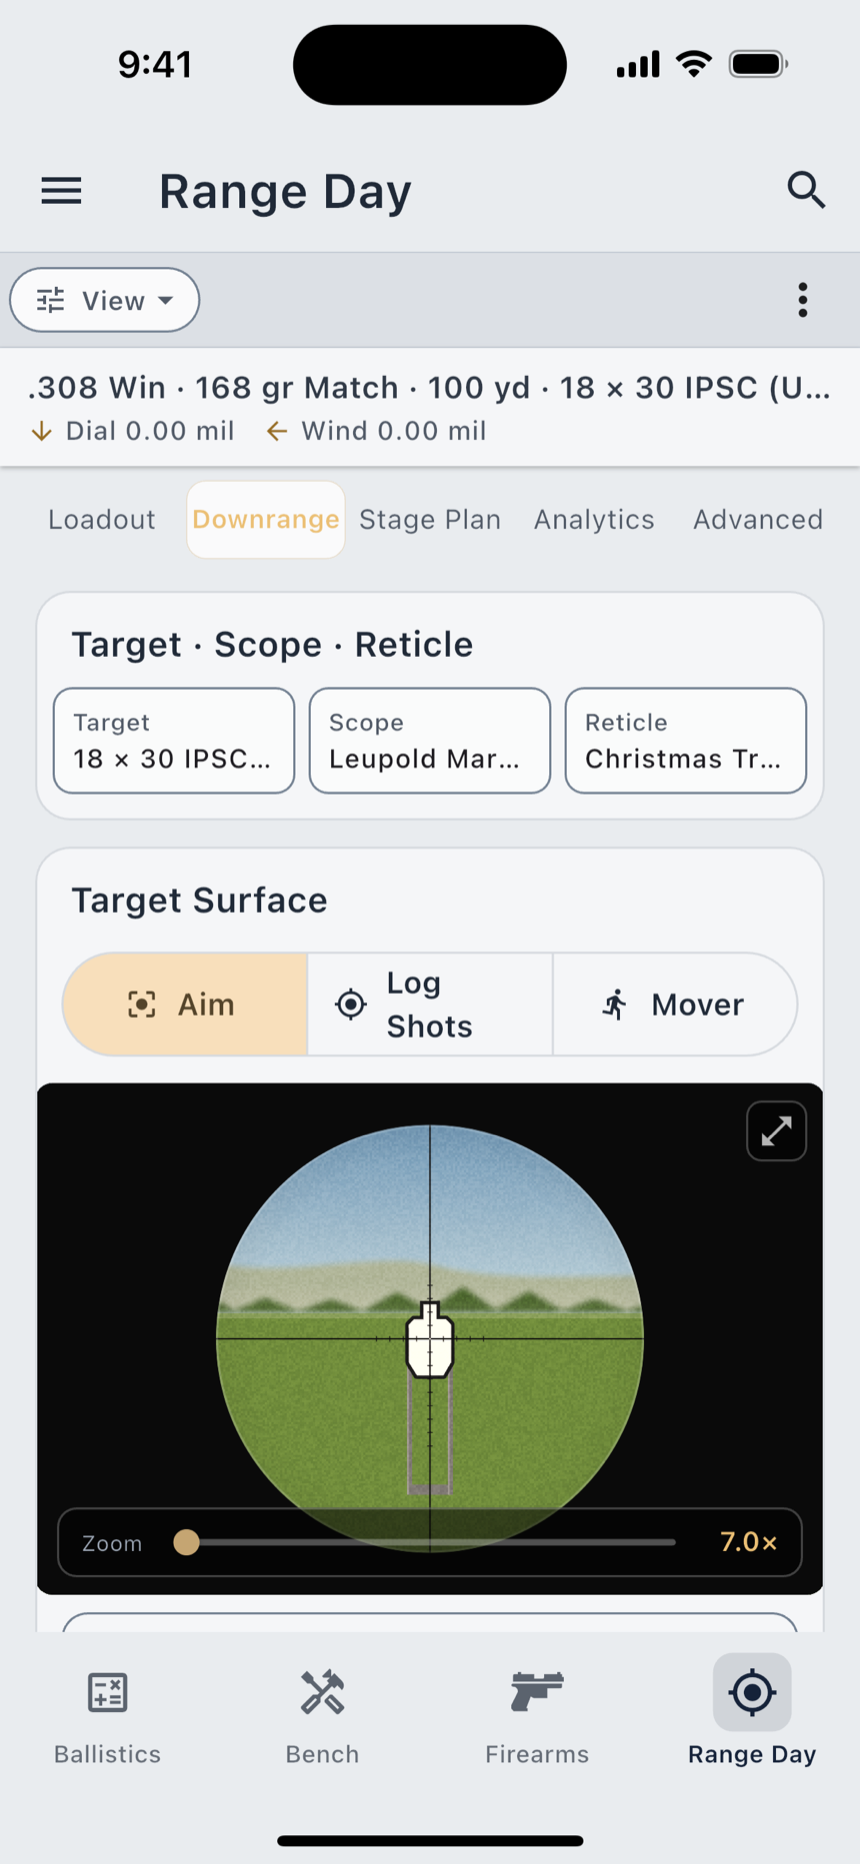
| Downrange | The target, scope and reticle chips; the Target Surface with its three modes; the range control; the firing solution; and your wind call. |
| Stage Plan | The plan attached to this session, or the two doors that attach one. Permanent, whether or not a plan is on the session. |
| Analytics | The hit-probability gauge, the analysis launchers, shot splits once you have shots, and Shooter Capability. |
| Advanced | Environment, Orientation & Angles (shot azimuth, incline, cant and heading), and the notes tied to this session. |
The DOPE table is not on the strip: it is a pushed screen, Open DOPE Card in the ⋮ menu, which is also where the wind bracket lives.
Setting up a session
- Pick the profile, or the load and firearm. The Loadout tab fronts a Ballistic Profile card with two pick-or-create boxes under it, both always shown. Pick a saved profile and both halves fill in; pick a load and a firearm separately if you are trying something out.
- Set the distance. The range control on the Downrange tab starts at 100 yd, a yardage you would have typed anyway. Change it with the steppers, the slider, a preset chip, or by tapping the number.
- Pick a target. The catalog ships 91 targets in six categories and 13 target racks. A new session starts on the 18 × 30 IPSC (USPSA Classic) silhouette; add your own under Settings › My Target Entries.
- Pick a scope and reticle. 55 reticles and 257 scopes ship. If neither you nor the firearm has chosen one, the session falls back to a LoadOut original, Christmas Tree Flare (Mil).
- Choose how you read the come-up. The view control carries a Dial / Hold pair; it relabels the same panel to match how you shoot, and the number never changes.
The target surface: Aim, Log Shots, Mover
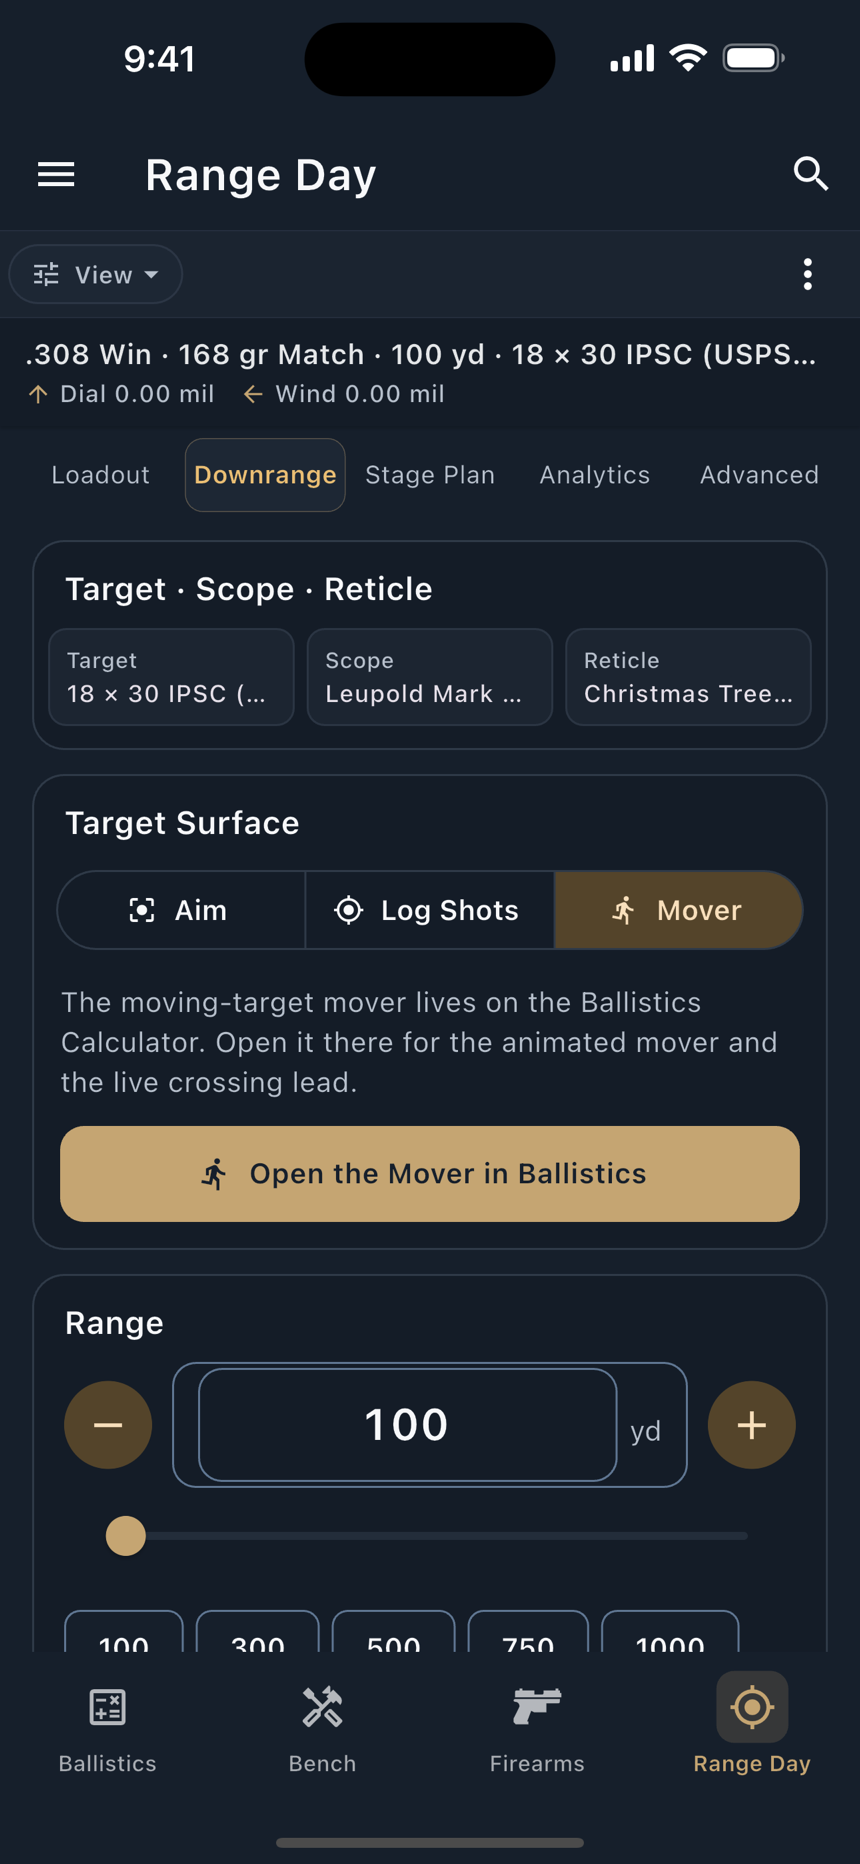
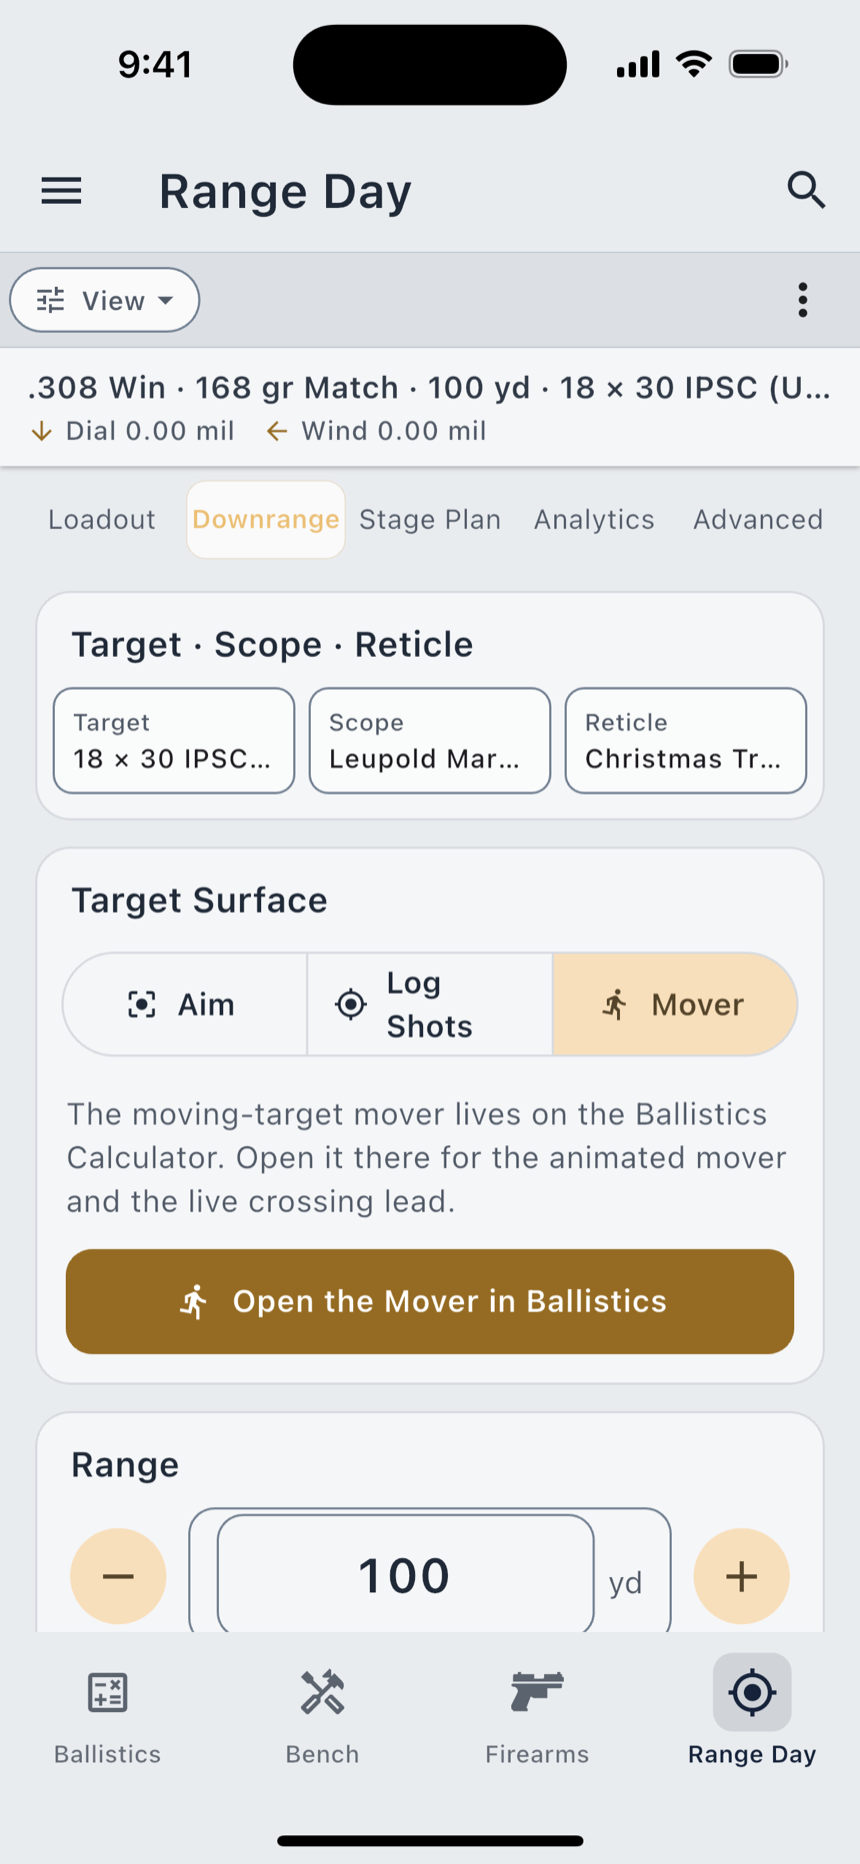
One scene, three modes, under a header reading Target Surface. Each reuses the same through-the-scope render, so the picture does not change when you switch. Only what you can do with it changes.
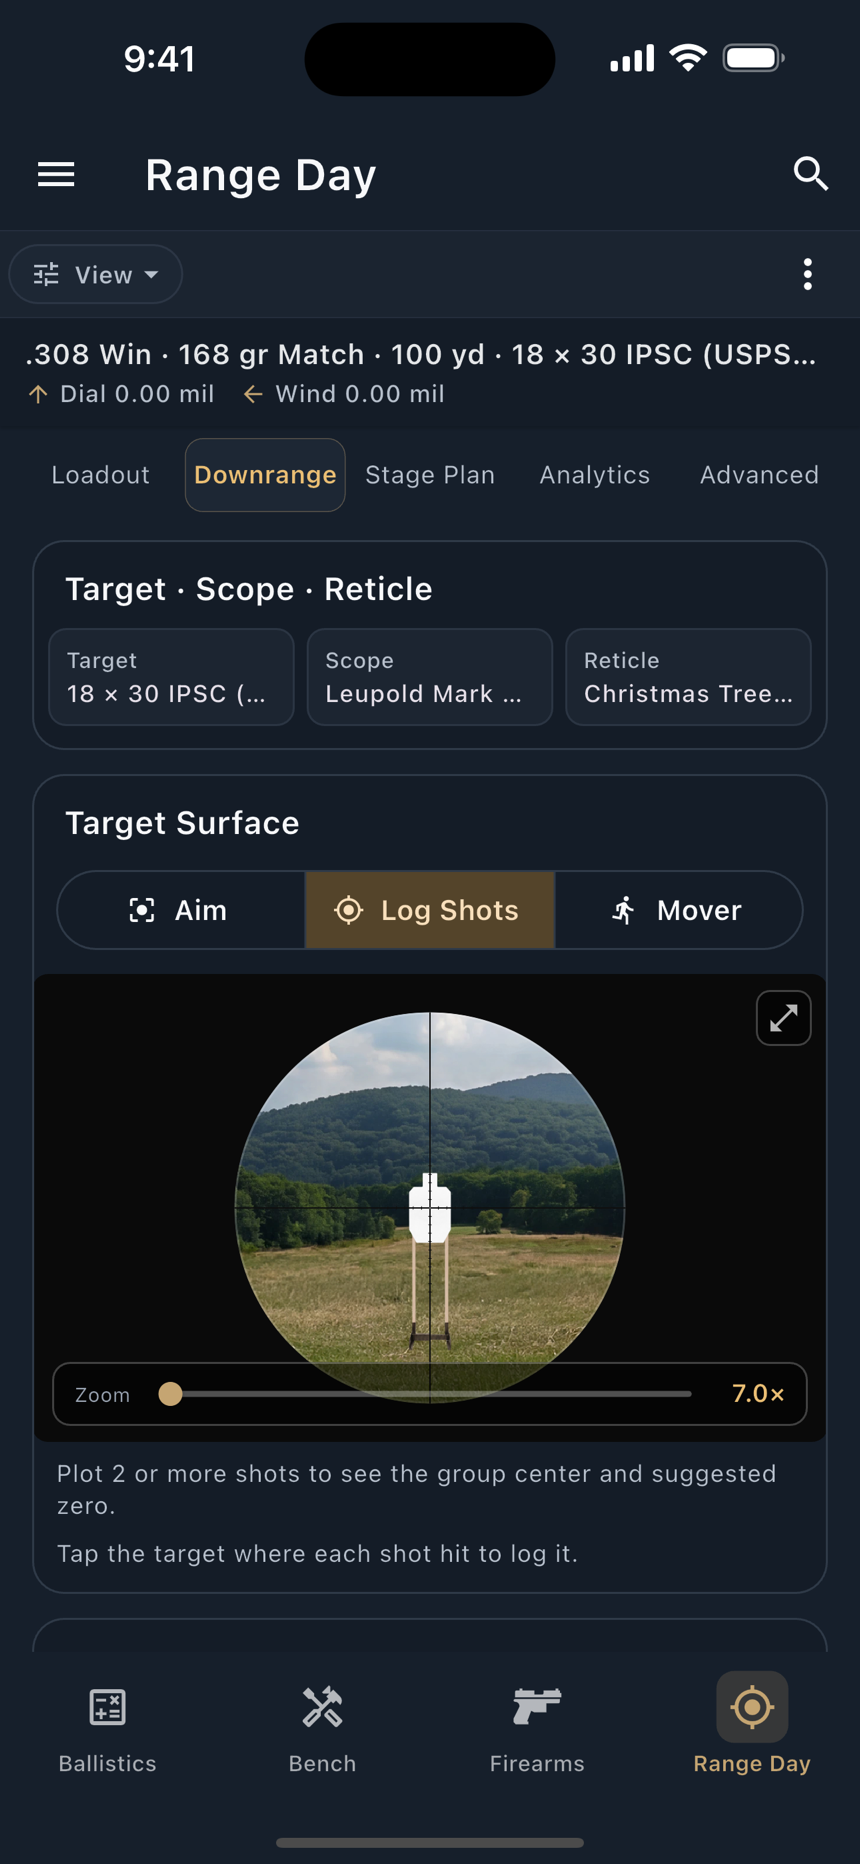
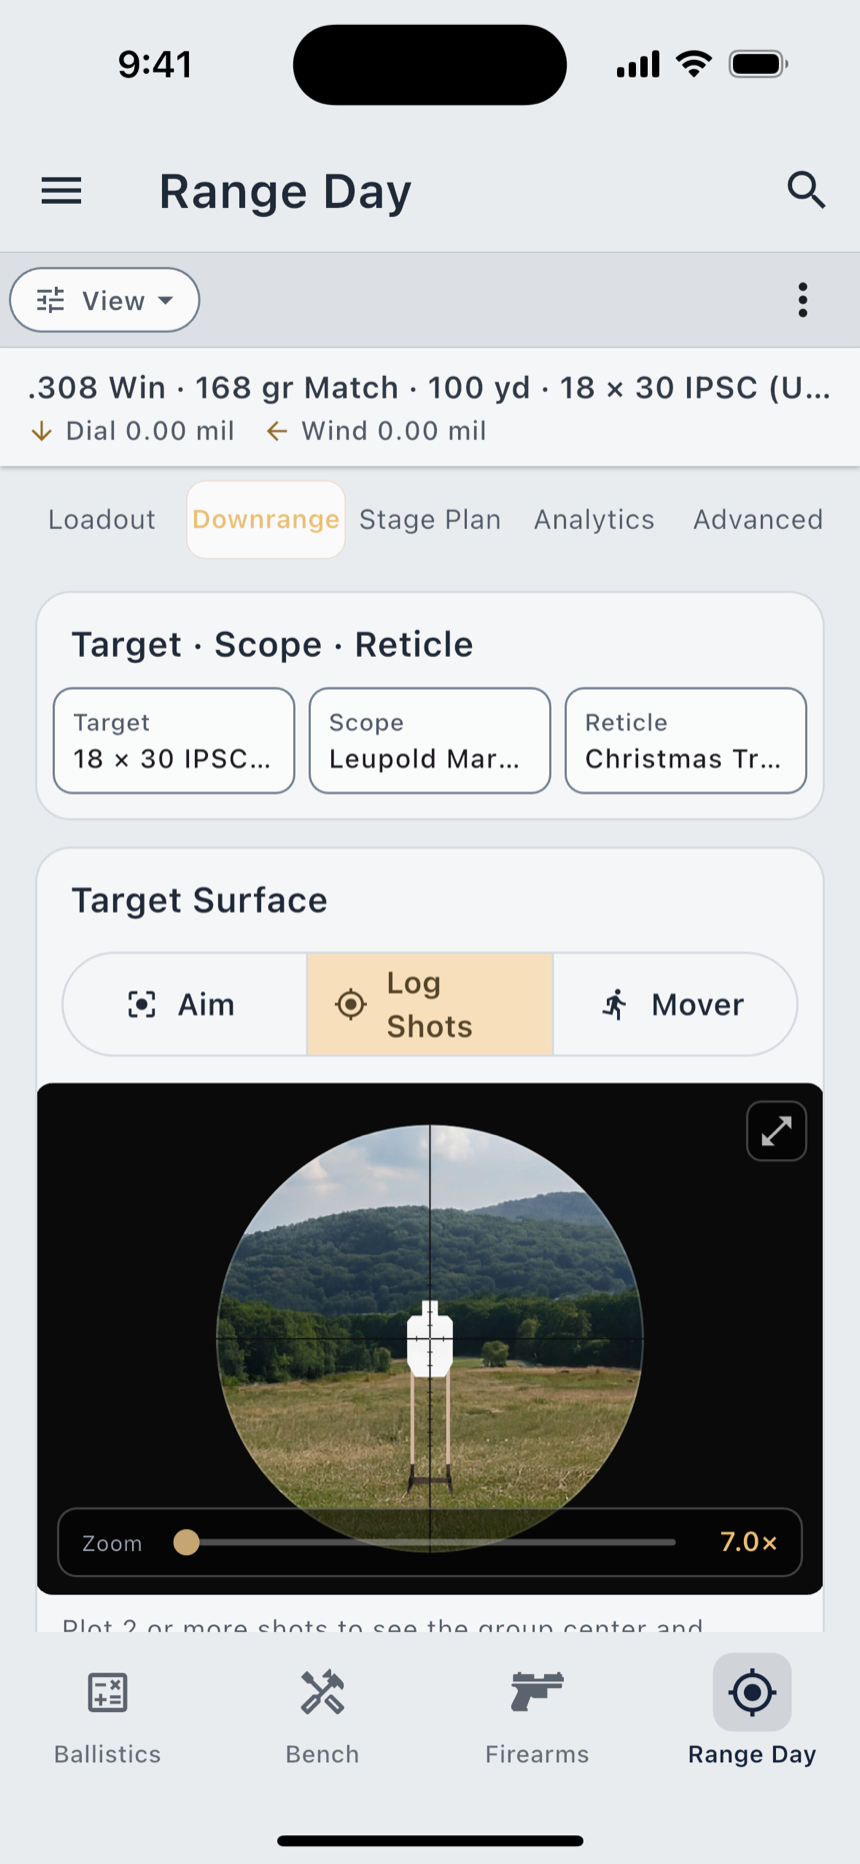
The group center and the suggested zero correction appear once two real impacts exist. A shot logged from your watch has no impact point, so it is counted but left out of the group center. Treating it as dead center would drag the marker toward the middle of the target and hand you a point of impact you never shot.
Visual tiers
Two tiers, on the view control.
| Tier | Tier state | What you get |
|---|---|---|
| Stylized | Free | A clean geometric scope view. All 55 reticles, every target and rack, target and reticle selection, the full zoom range, and the whole Scope View. |
| Scenic | Pro | Photo backdrops behind the same target and reticle, placed on a real perspective ground plane. |
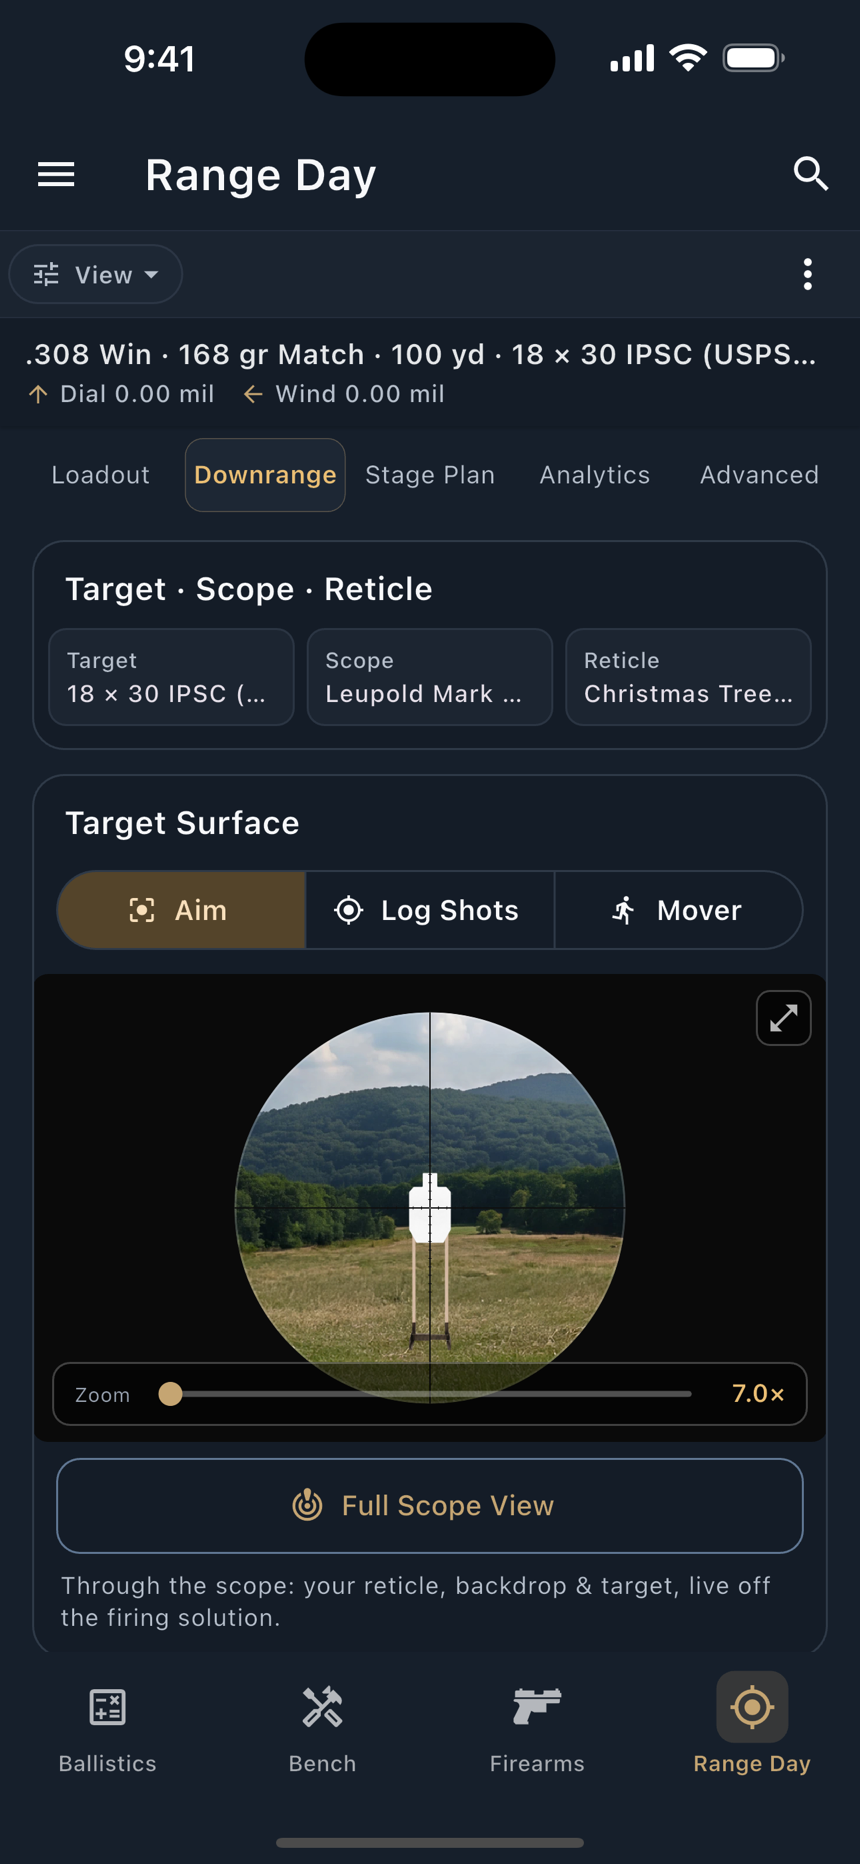
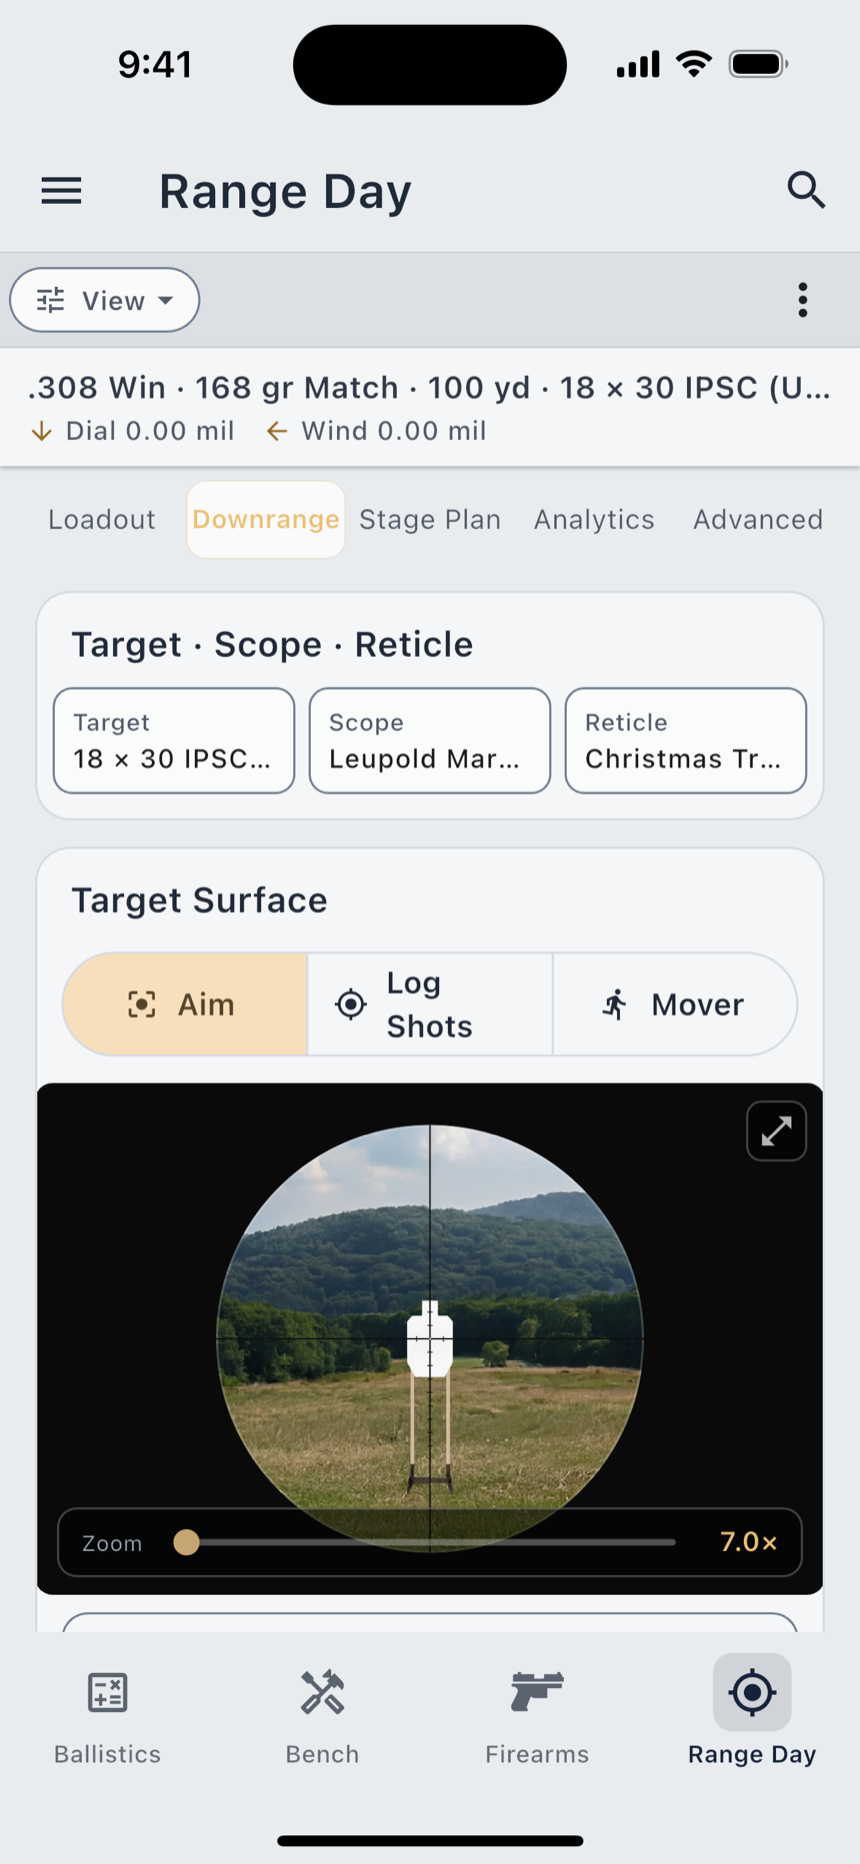
Scenic is not locked away: free users see it live and reacting under a soft blur with an unlock CTA. Stylized is the default and the fallback, and a complete scope view on its own. Nothing about aiming, reticle math or field of view is behind the paywall. On the Mac and in the browser the control shows Stylized alone, rather than offering a tier that cannot render there.
Full Scope View
The Full Scope View button opens the scene full-screen, and appears only once a real solved trajectory exists.
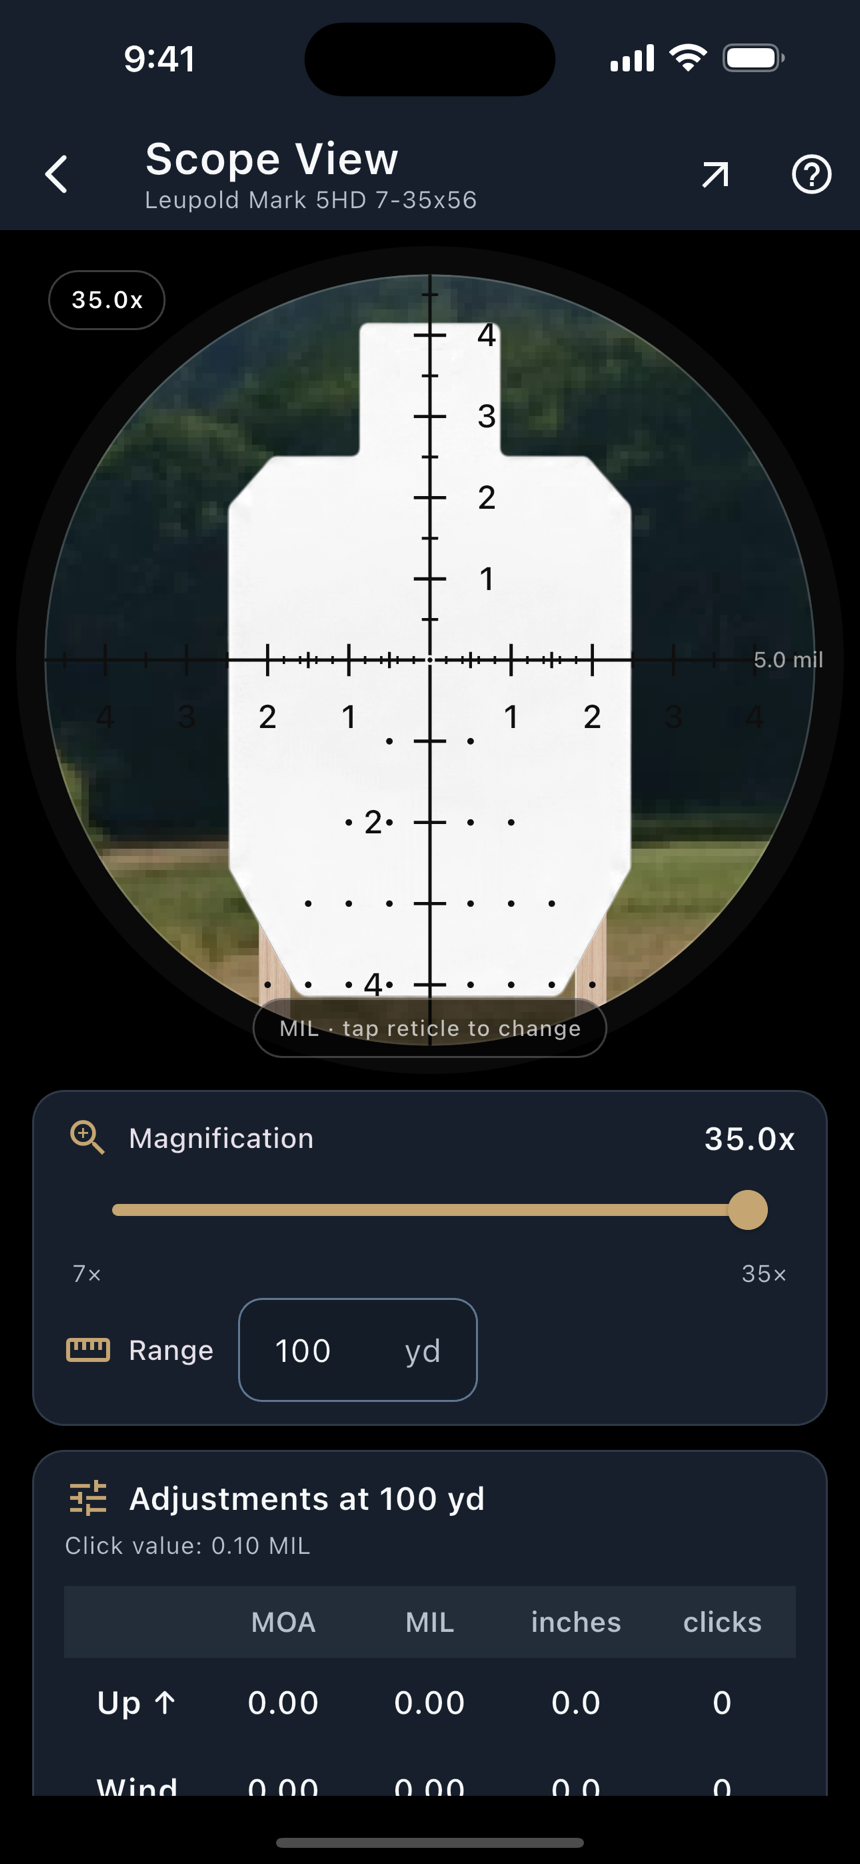
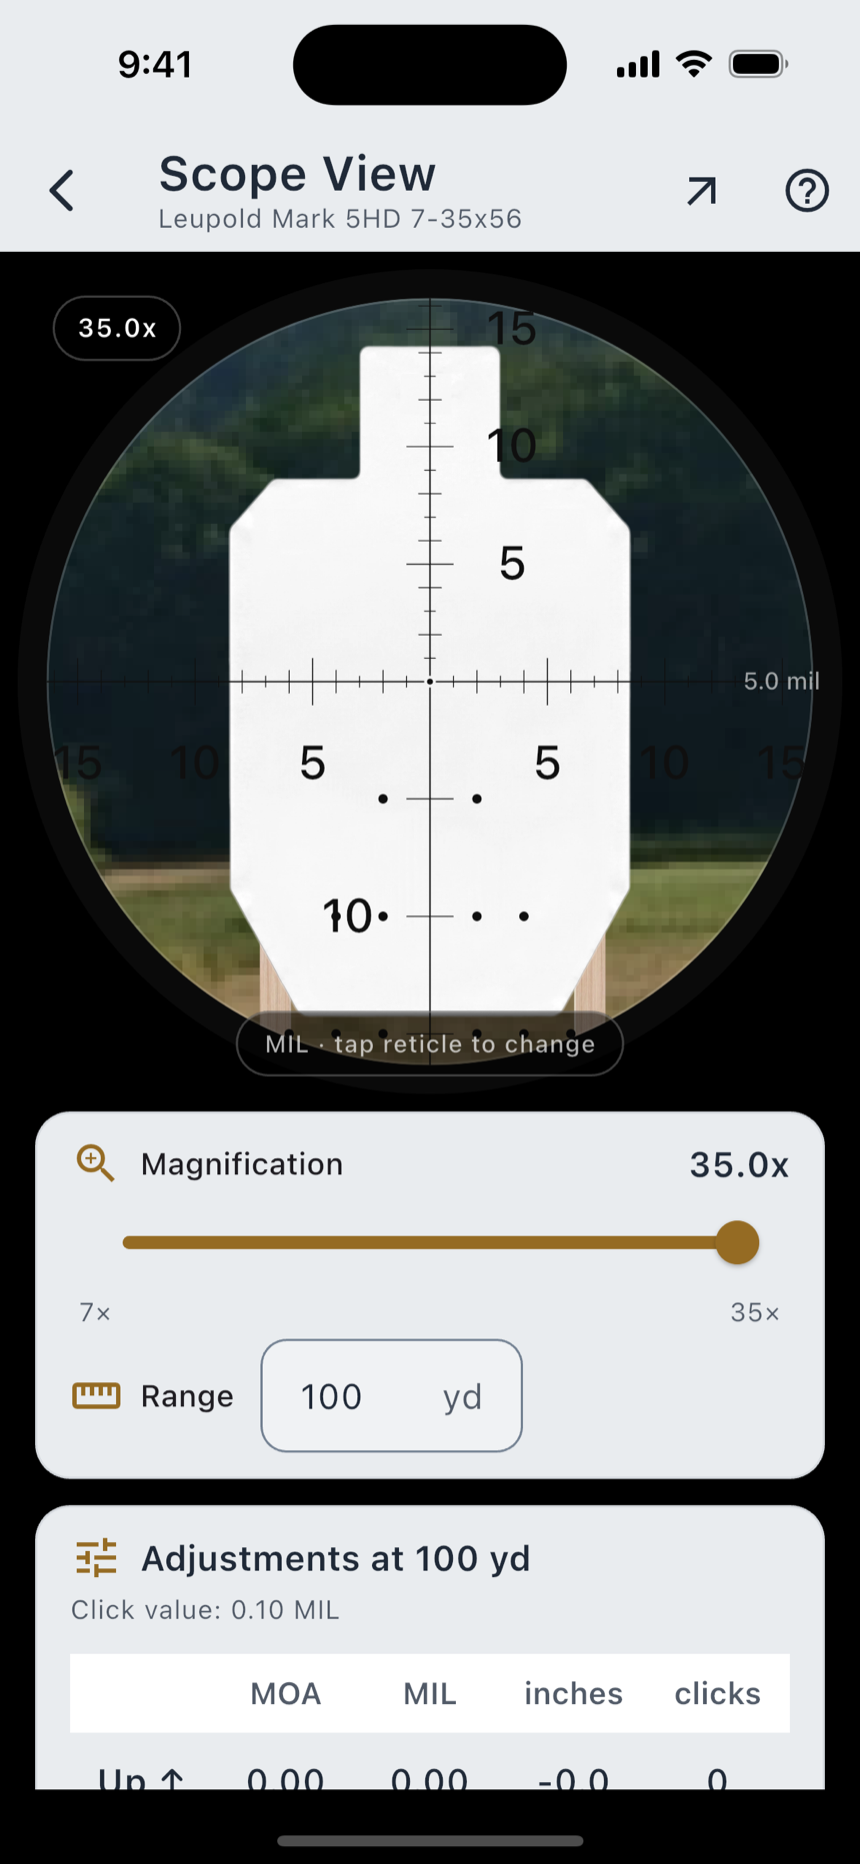
It carries its own Magnification and Range controls plus an Animated mover toggle, so you can walk a target in and out and watch the reticle subtensions cover it.
Sensors and conditions
Range Day reads three things off the phone, each offered rather than assumed, on the Advanced tab under Orientation & Angles.
Cant and heading
The Cant chip reads your rifle's roll live, and warns past two degrees, roughly where a canted scope starts moving your impact enough to notice at distance. Use Phone Level sets the current pose as level: hold the rifle as you actually hold it and tap once. A refresh button clears that calibration, and Apply Cant Correction feeds the angle into the solution. It is free.
The heading chip reads the phone's magnetometer about twice a second and fills the shot azimuth (0 north, 90 east, 180 south, 270 west), which is what a Coriolis correction needs.
Conditions
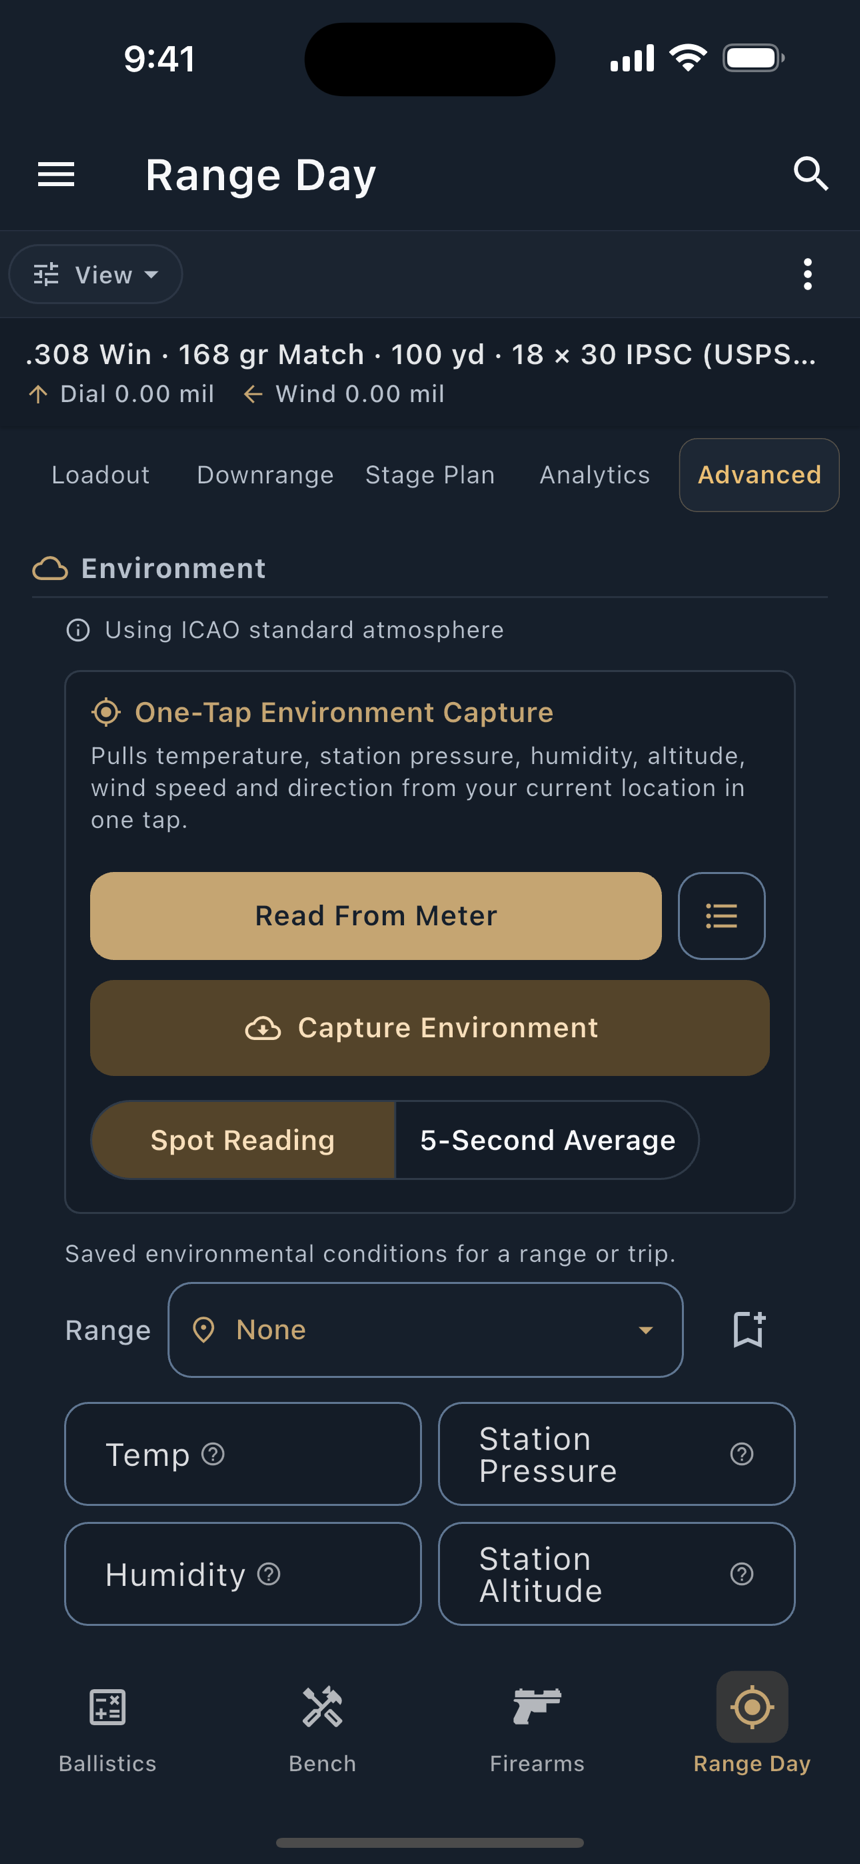
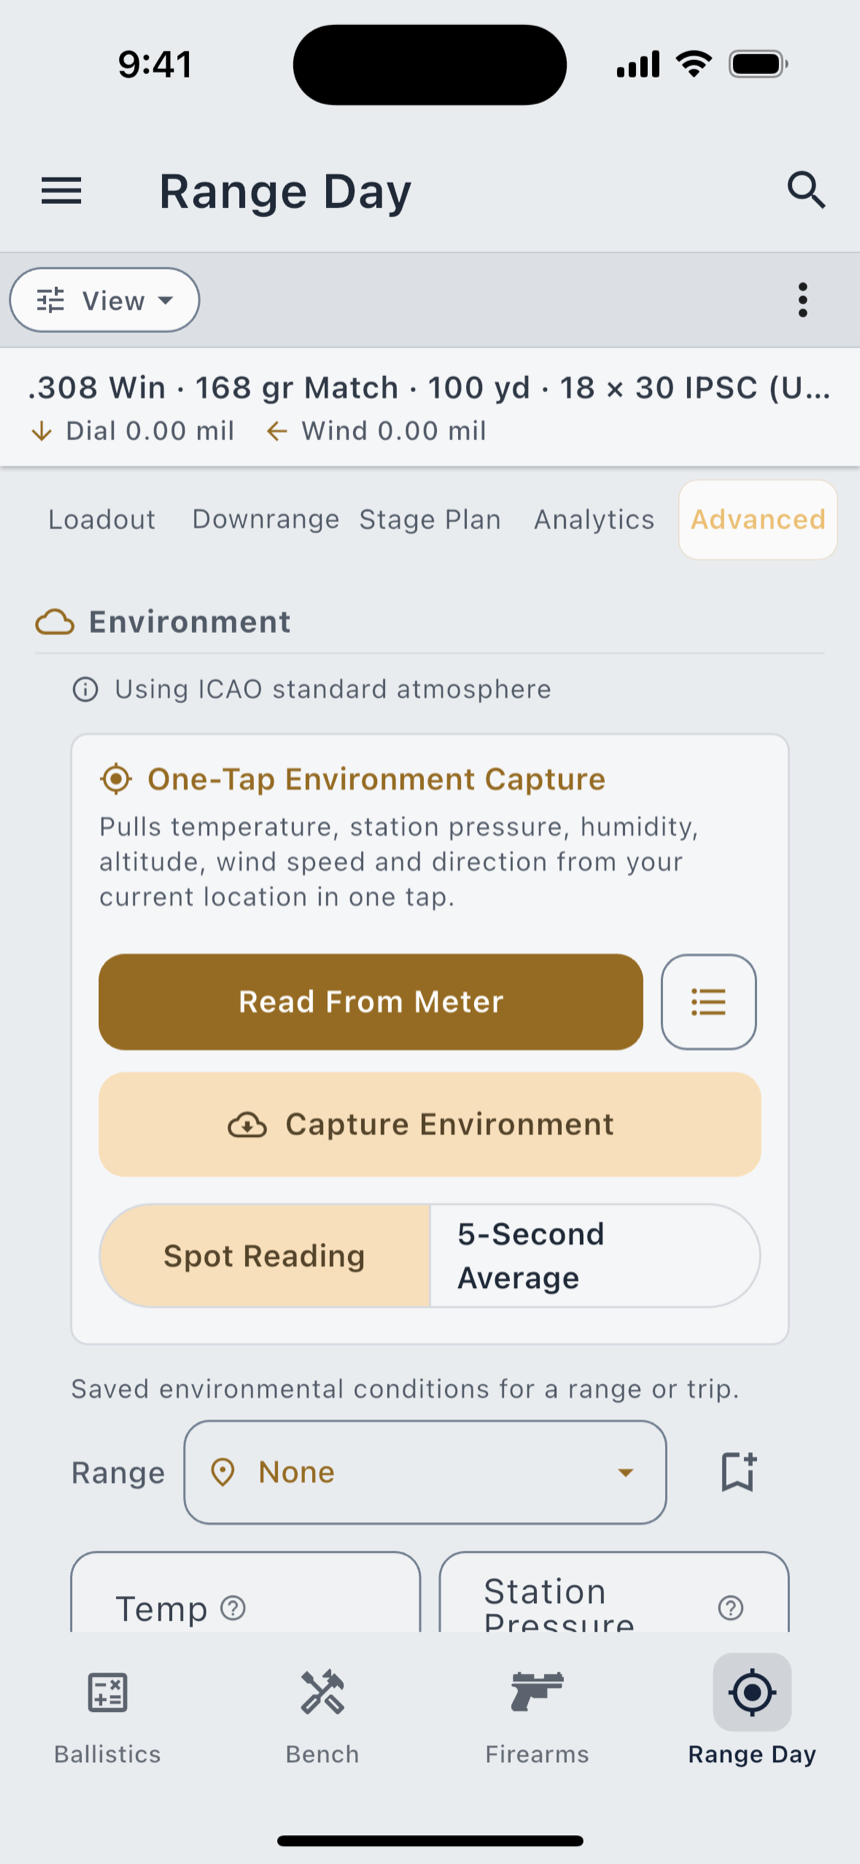
The Environment block carries a One-Tap Environment Capture panel with two buttons: Read From Meter and Capture Environment.
Pro Capture Environment pulls temperature, station pressure, humidity, altitude, wind speed and wind direction from where you are standing, and reports back Captured from your location with what it wrote. Wind arrives as a compass bearing and is rotated into the shooter-relative direction the solver uses. A Spot Reading / 5-Second Average toggle decides whether the applied wind is the instant sample or a short average.
Free users see the button and the panel, which is not hidden, and tapping it says Weather pull is a Pro feature. Enter conditions below. It writes nothing. Typing the same numbers by hand is free and always has been; what Pro buys is not having to.
Leave the environment empty and the solver falls back to the ICAO standard atmosphere, and the session says so on screen: Using ICAO standard atmosphere. You are told which day the solution was computed for, rather than shown numbers that look like a measurement of yours.
The wind bracket
A wind call is a call, not a measurement, and the Wind Bracket is where you say how sure you are of it. Give it a speed and an uncertainty and it solves three trajectories and shows the hold for each: your low estimate, your call, your high estimate. It lives on the DOPE Card screen, under the table.
The middle row reads the same solve the Downrange card does, with cant, spin drift, Coriolis and any truing included, so the bracket cannot quietly disagree with the number you are dialling. The card's own line says how to use it: Hold the mid; the bracket is your ± bound if you misjudge the wind.
It renders nothing until you enter a wind-call uncertainty. There is no default spread, because a default would be the app telling you how confident you are.
Shooter Capability and hit probability
Hit probability is a question about you as much as the rifle, so it reads a Shooter Capability section on the Analytics tab: your group size, how confidently you read wind, and how confidently you know the distance.
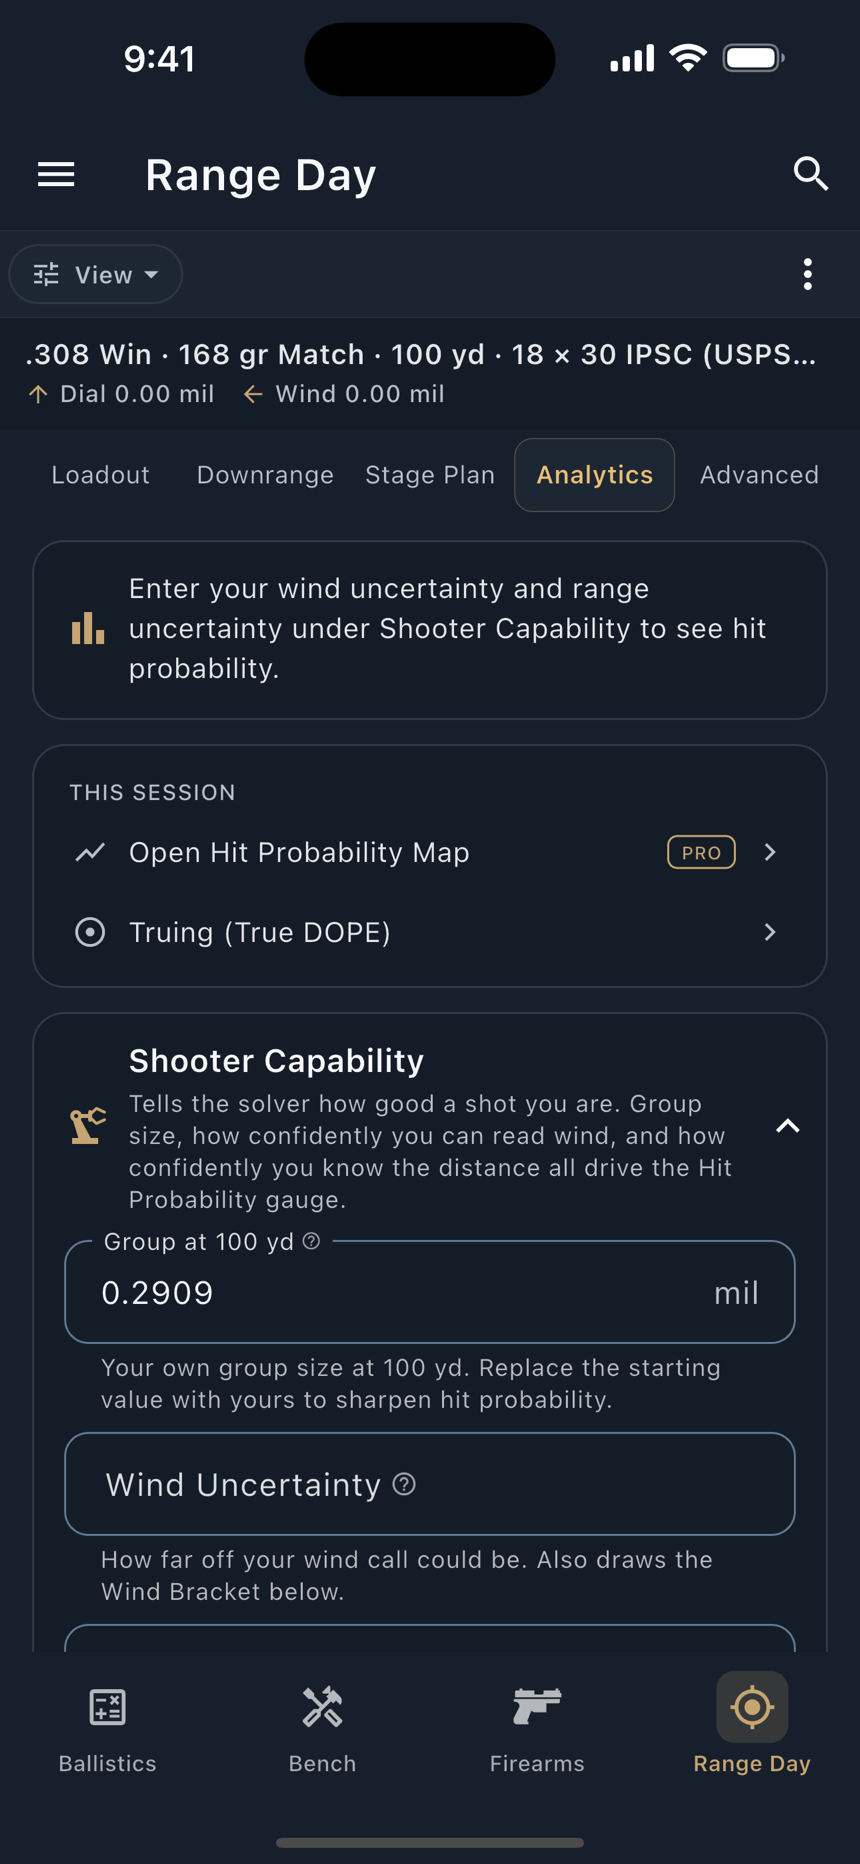
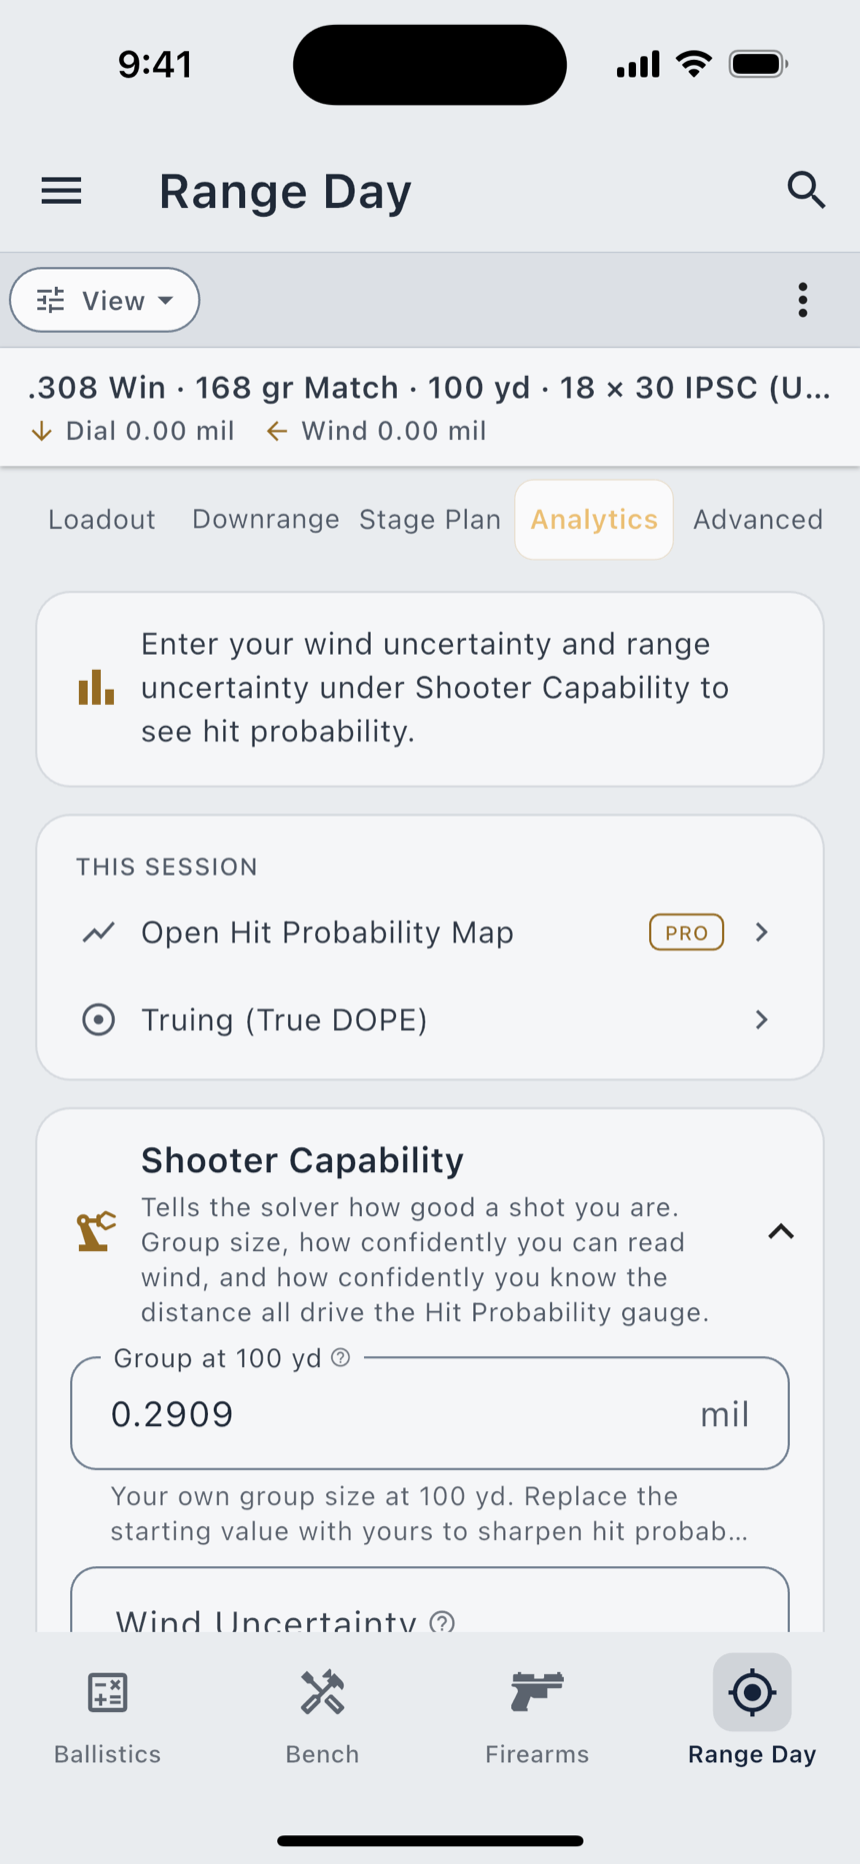
The group field starts at 1.0 MOA, and the card says where that came from: Starting with a 1.0 MOA group. Enter yours to refine. It is a place to start your analysis from, not an assumption about your rifle. The disclosure stays for as long as the starting value is in play and disappears the moment the number is yours. The starting value is never written into your session. The collapsed glance shows only capabilities you actually entered.
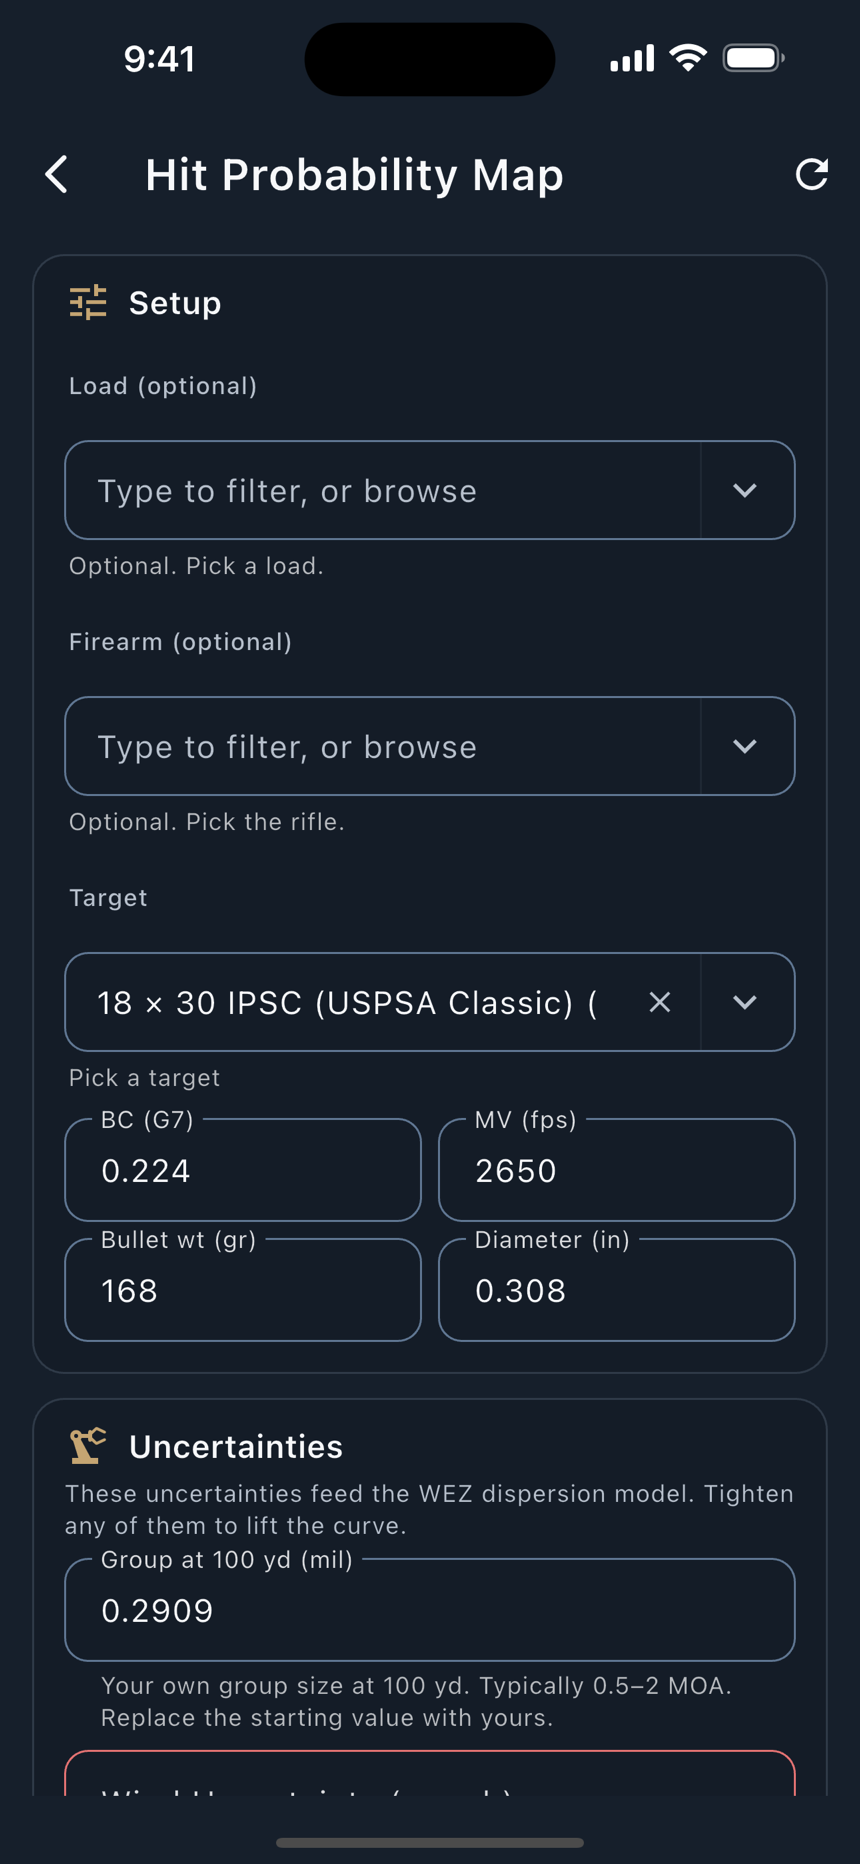
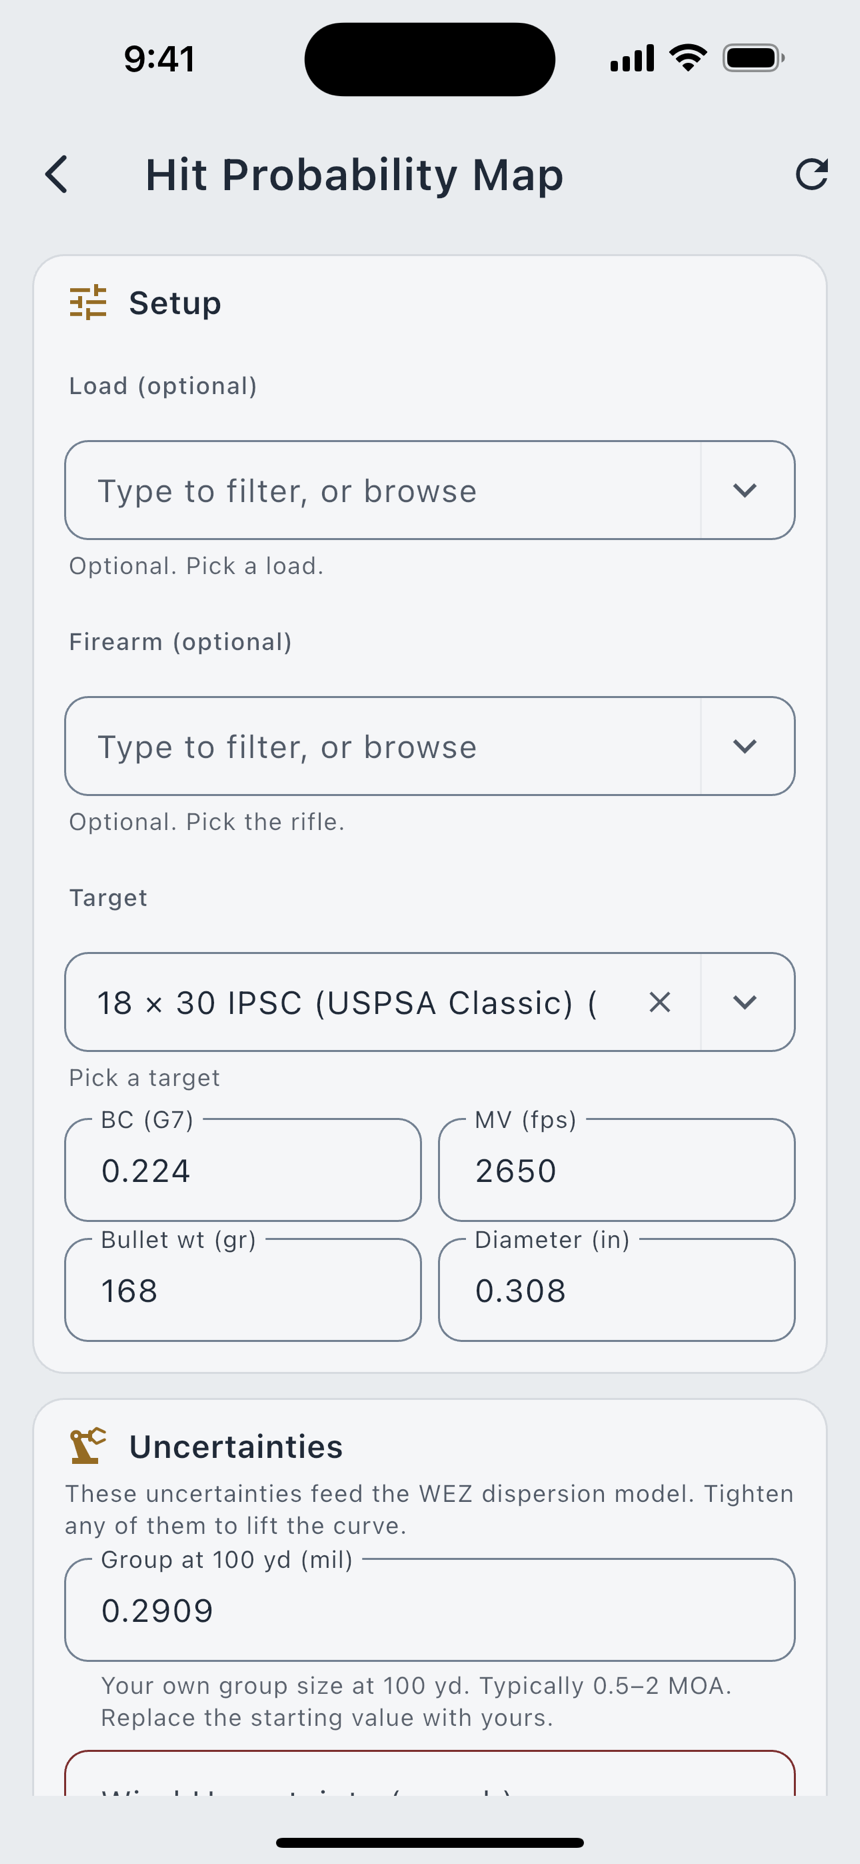
Pro Open Hit Probability Map plots first-round hit odds across distance, with its own Setup and Uncertainties sections. Where the dispersion model cannot be solved, usually because the bullet is transonic or subsonic there, it says so and asks you to lower the range or the uncertainty, rather than drawing a curve it does not have.
Group Analysis
Group Analysis reads a photograph of a target and answers two questions: how tightly the shots cluster, and where the cluster sits against your aim. A tight group in the wrong place is one turret adjustment from right.
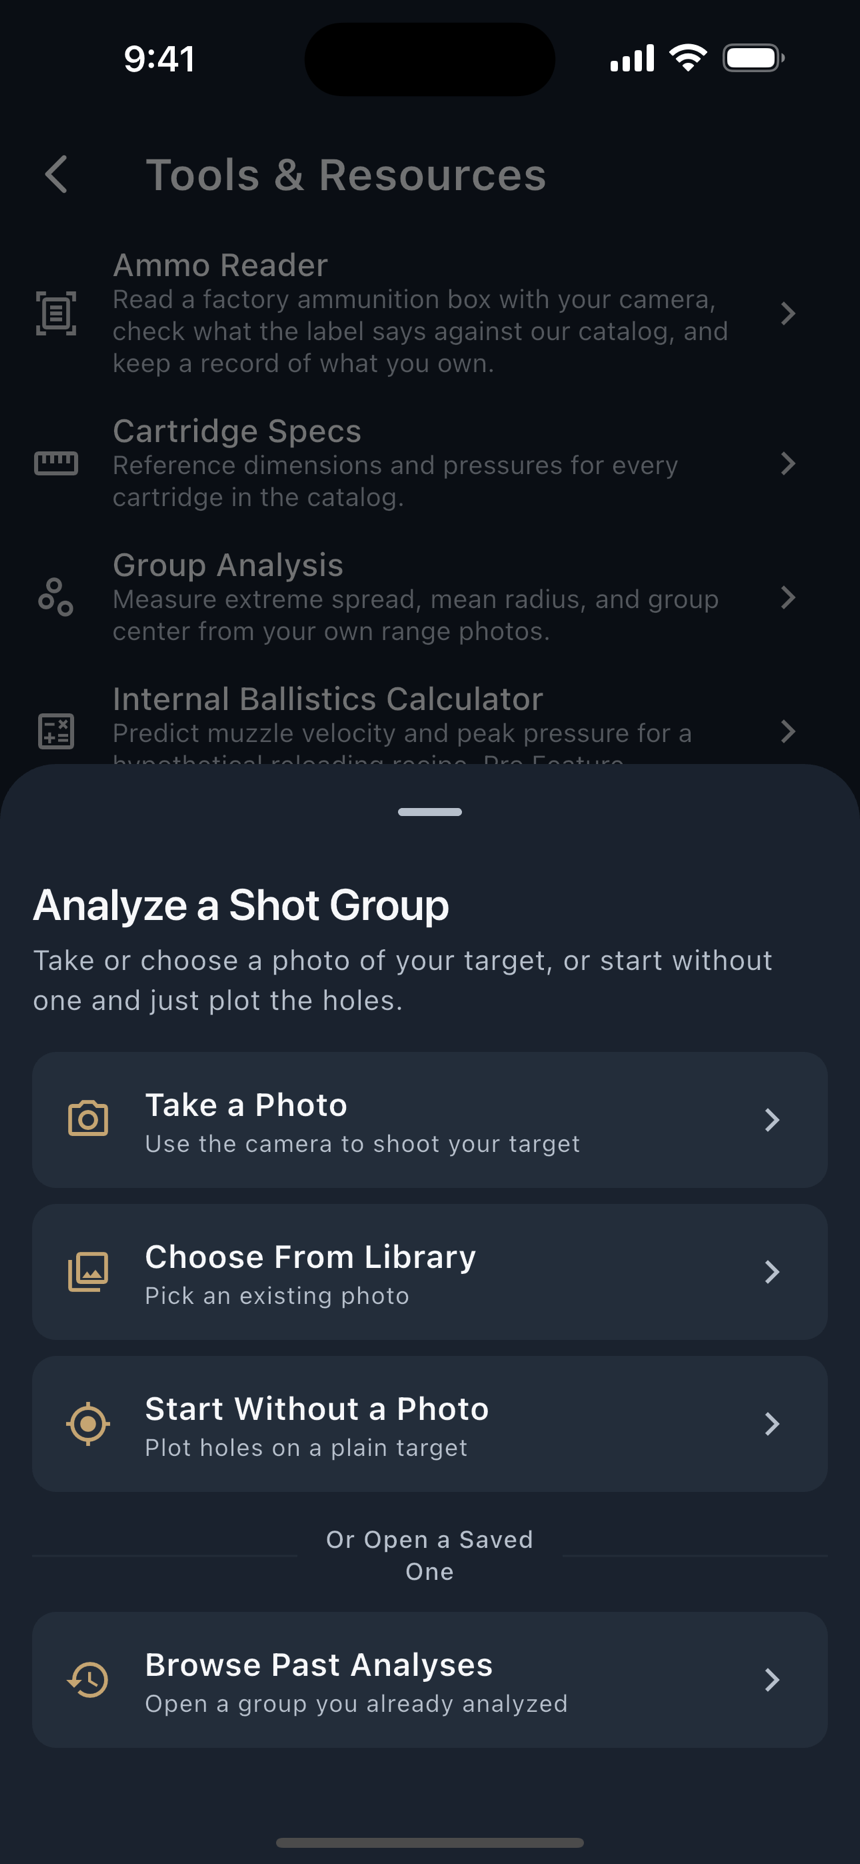
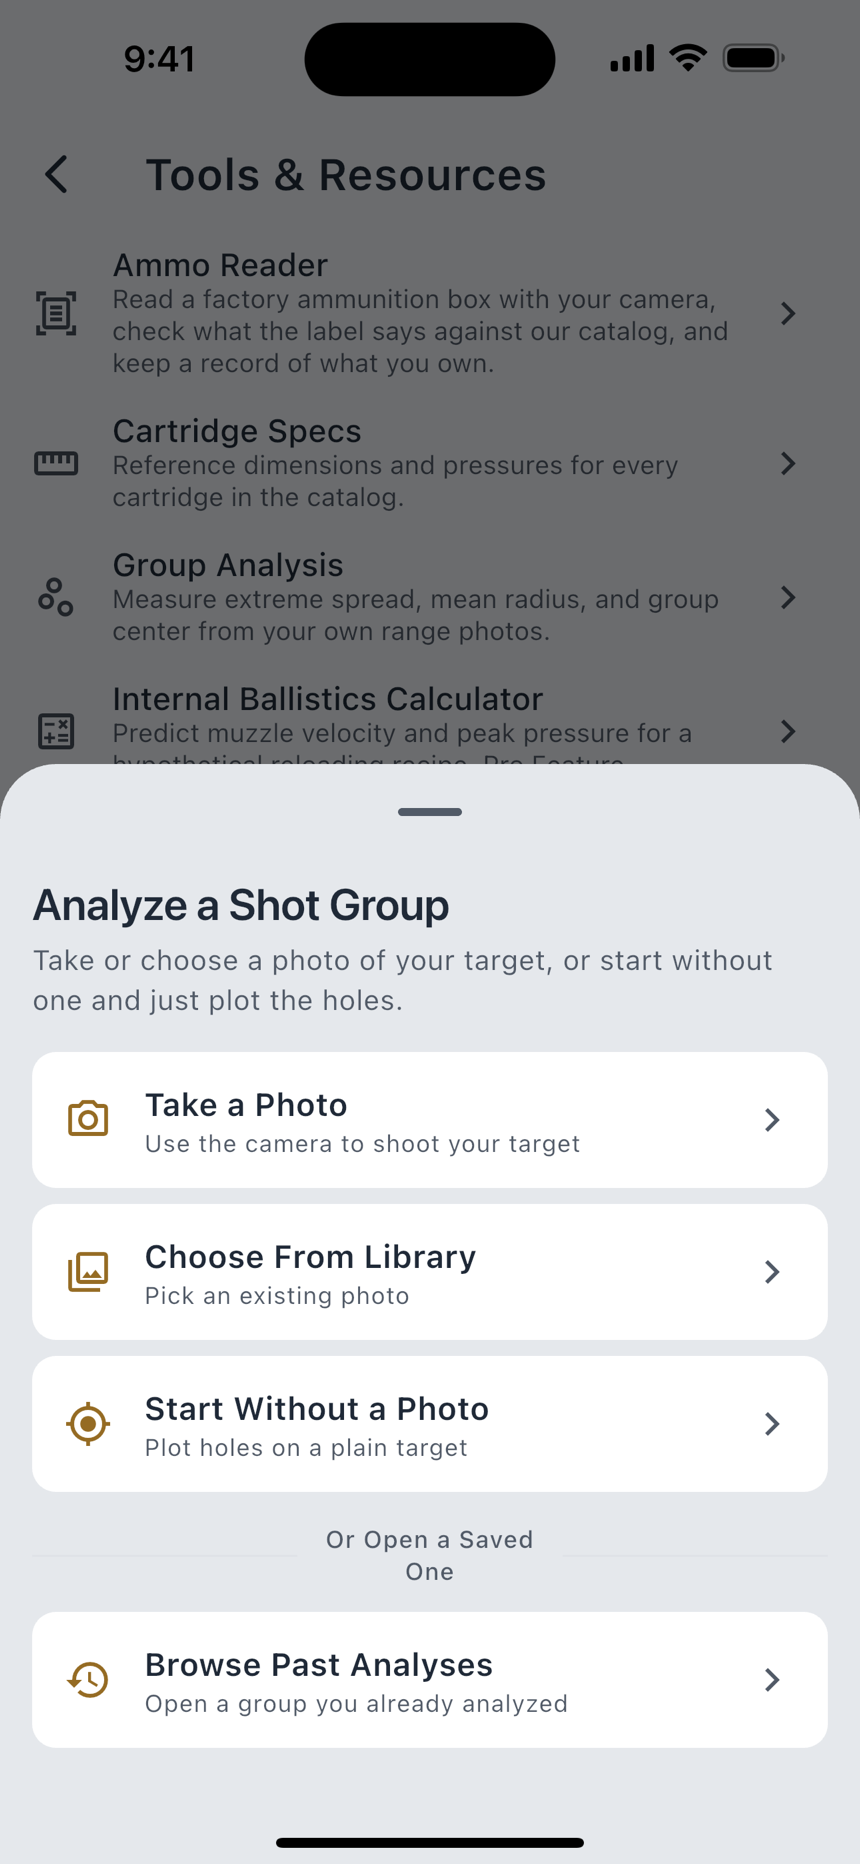
- Set the scale. Photograph the target, then tell LoadOut a real size on it using Two-Point, Shape Fit or 4-Point, with presets for common targets. An implausible scale is named as such rather than quietly reported as a wrong group.
- Mark the shots. Auto-detection proposes holes and you confirm or adjust; Surface and Sensitivity tune it, and a Detection Area box keeps it off the backing board. Where it cannot find them it says Couldn't confidently find your shots. Tap them in.
- Set your aim point. Optional, and it is what turns a group measurement into a zero correction.
- Review. It lights up at two marked shots and stays disabled below that, because one shot is not a group.
| Figure | What it is |
|---|---|
| Extreme Spread | The distance between your two farthest-apart shots, center to center. It uses two shots and ignores the rest, so one flyer sets it alone. |
| Mean Radius | The average distance from your shots to the group's center. Every shot counts, which is what separates two loads with a similar extreme spread. |
| CEP (50%) | The radius of the circle, centered on your group, that half your shots fall within. |
| Zero correction | The scope adjustment that moves your group's center onto your point of aim. Directions are dial directions, so Up means dial up, and clicks appear only when your scope's per-click value is known. |
Every figure reads in inches or in angles, and the difference matters: an inch is an inch only at the distance you shot it, while an angle carries. The Impact Map plots each shot relative to your point of aim, with the group center and dispersion on top.
Free the measurements above, the impact map, marking, the zero correction and saving. Pro Full Group Analysis adds the full statistics panel, the flyer comparison, the ladder comparison and the analytics charts, most of it shown to free users blurred rather than blank. Two of them behave differently: the dispersion ellipse is simply not drawn without Pro, and the shot-order animation opens the paywall when you tap it.
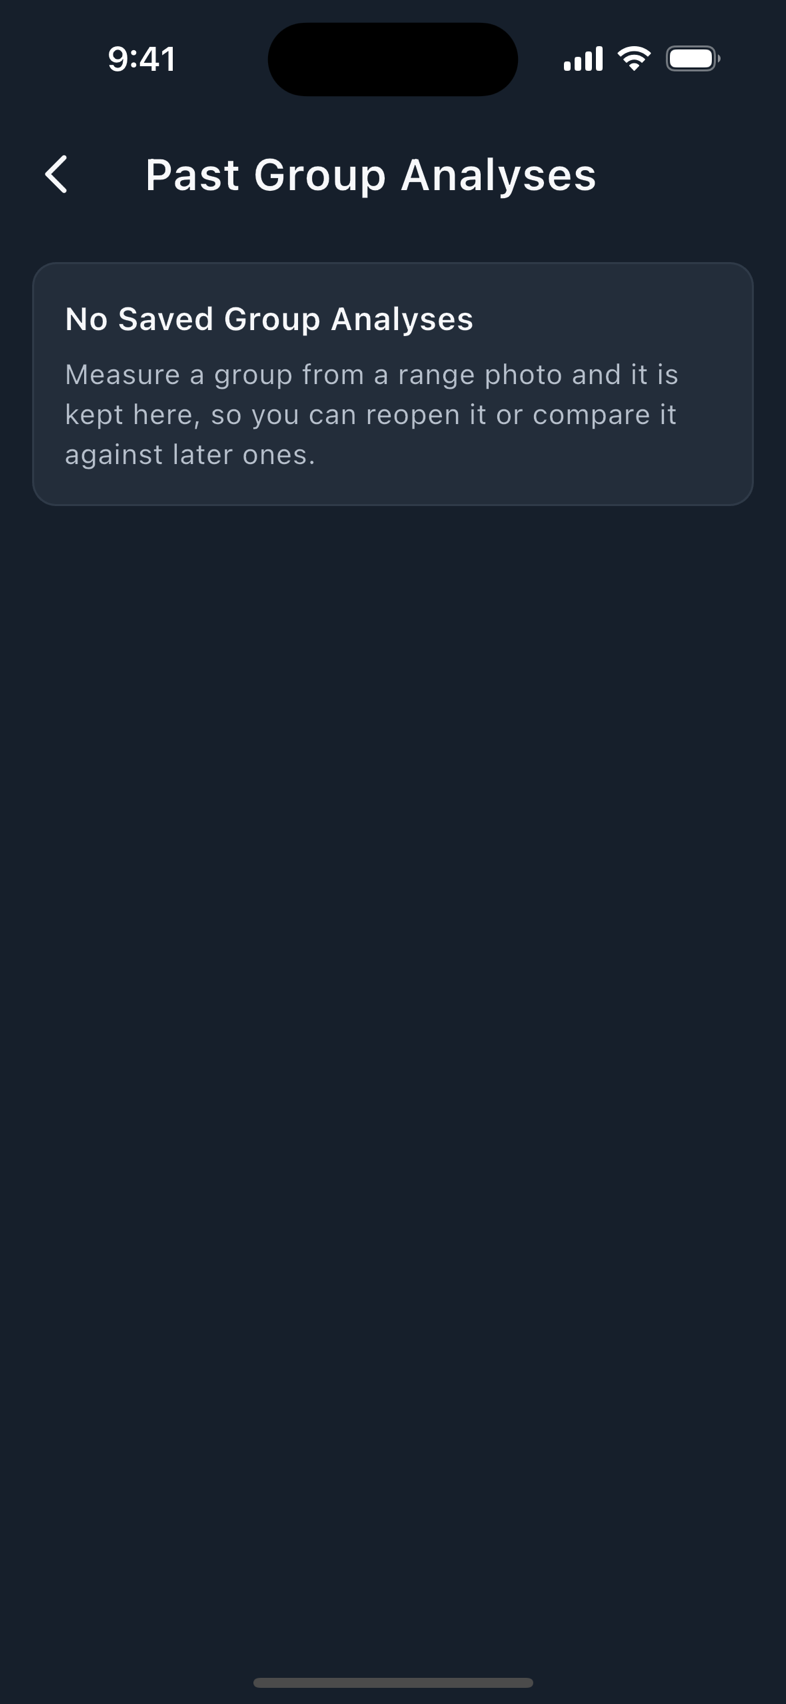
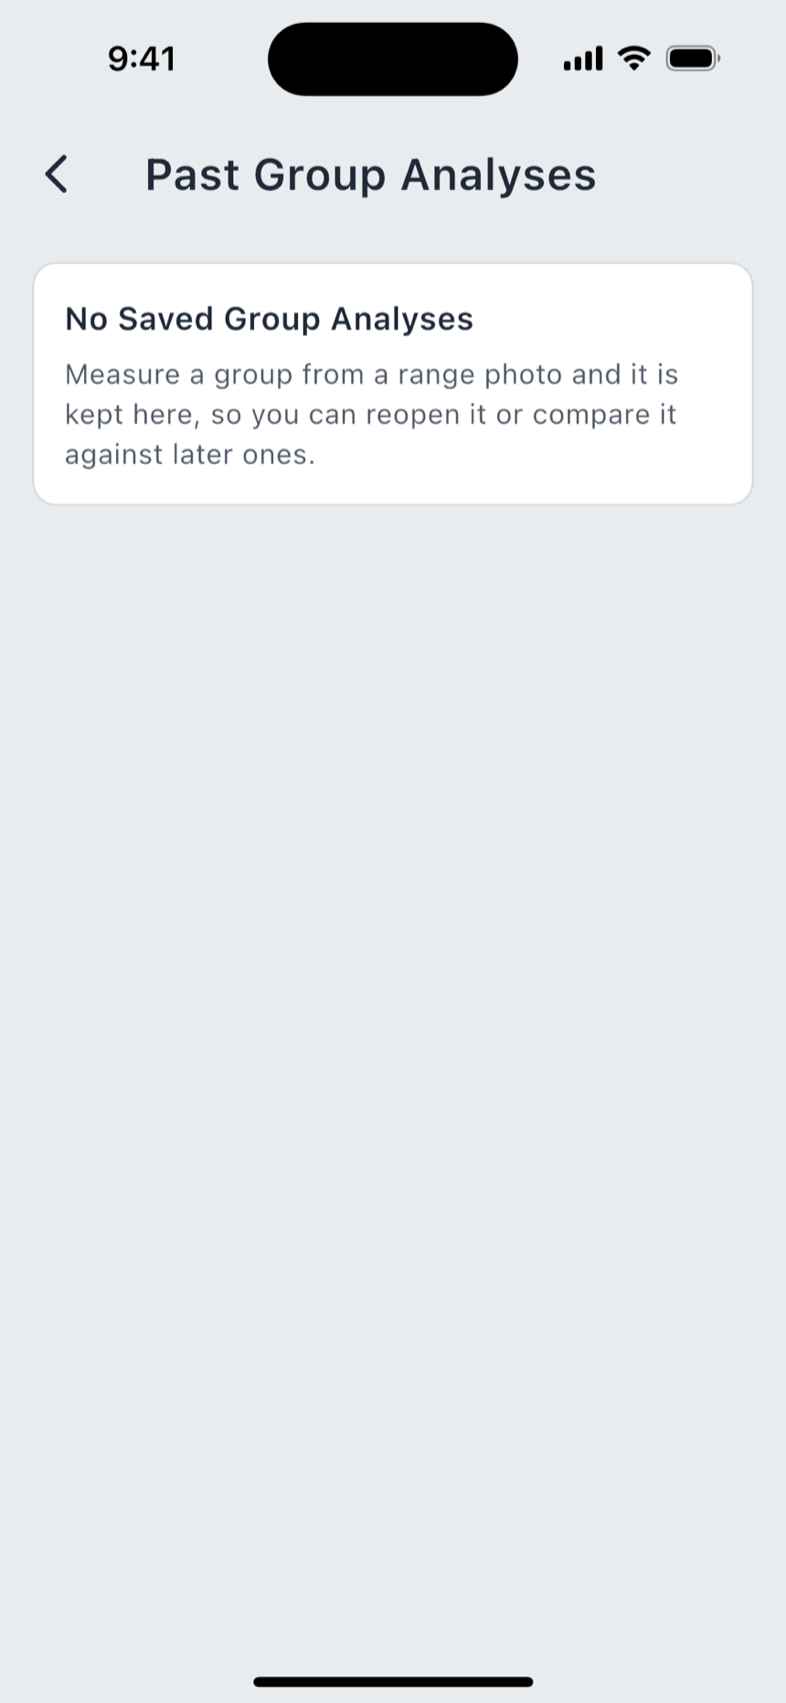
Saved analyses land in Past Group Analyses, reachable from Tools & Resources and from Import & Export. Saving warns you before it removes a group you previously saved on the same photo, names which one and how many shots go with it, and says plainly that it cannot be undone.
Analytics and Advanced
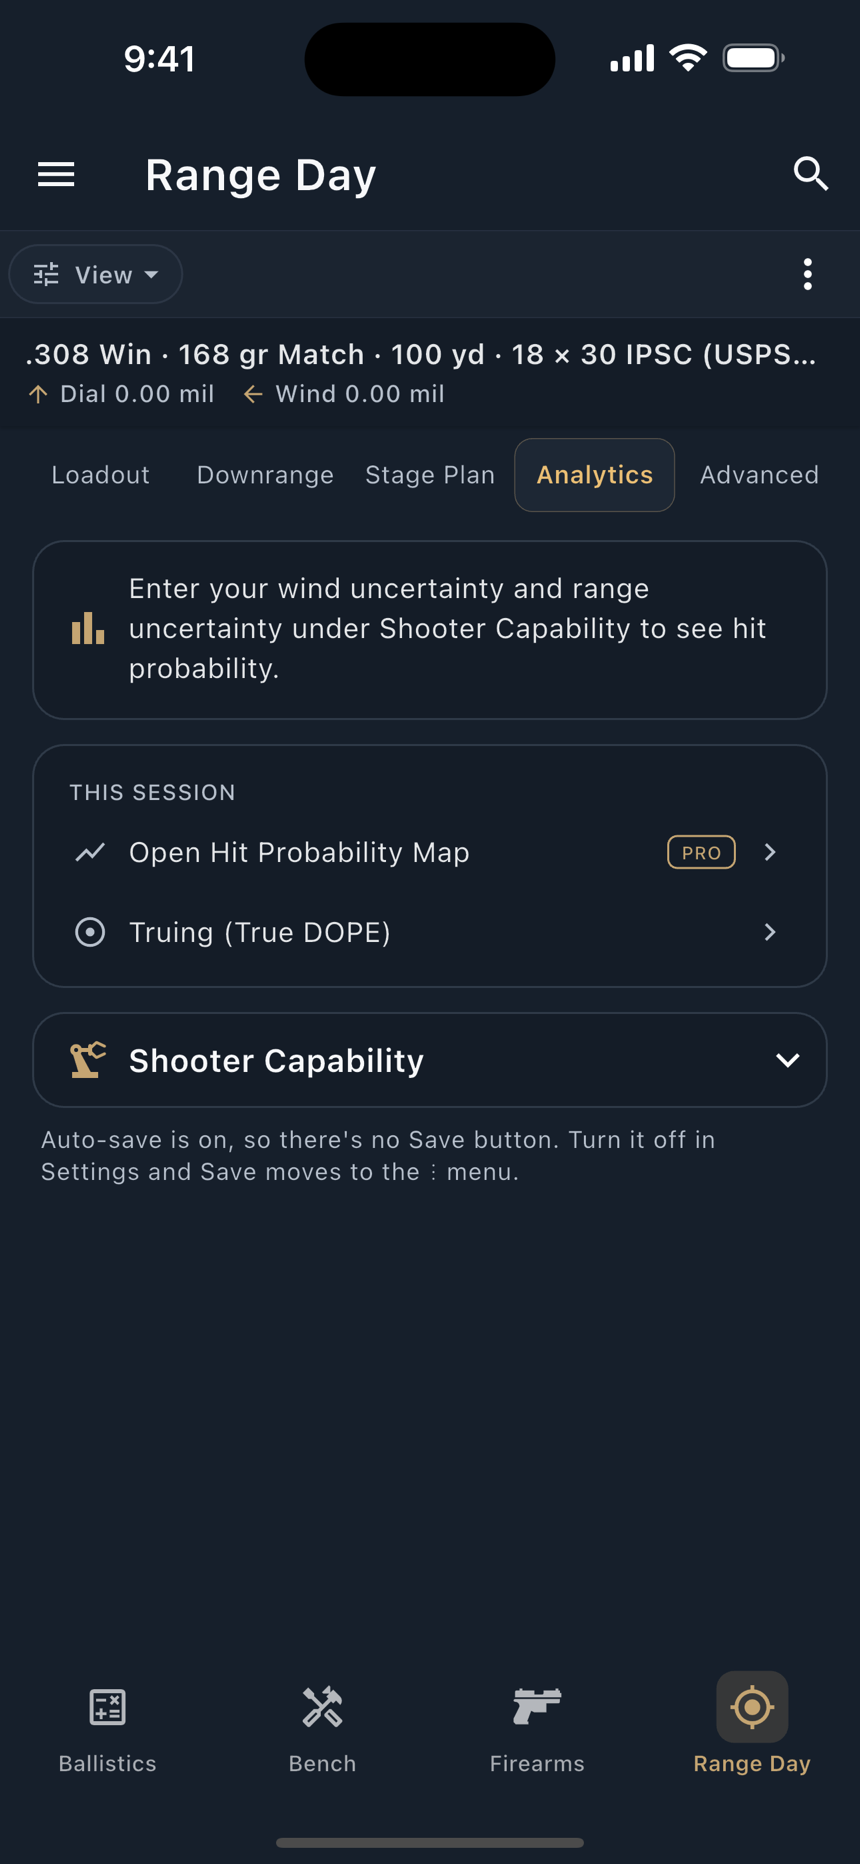
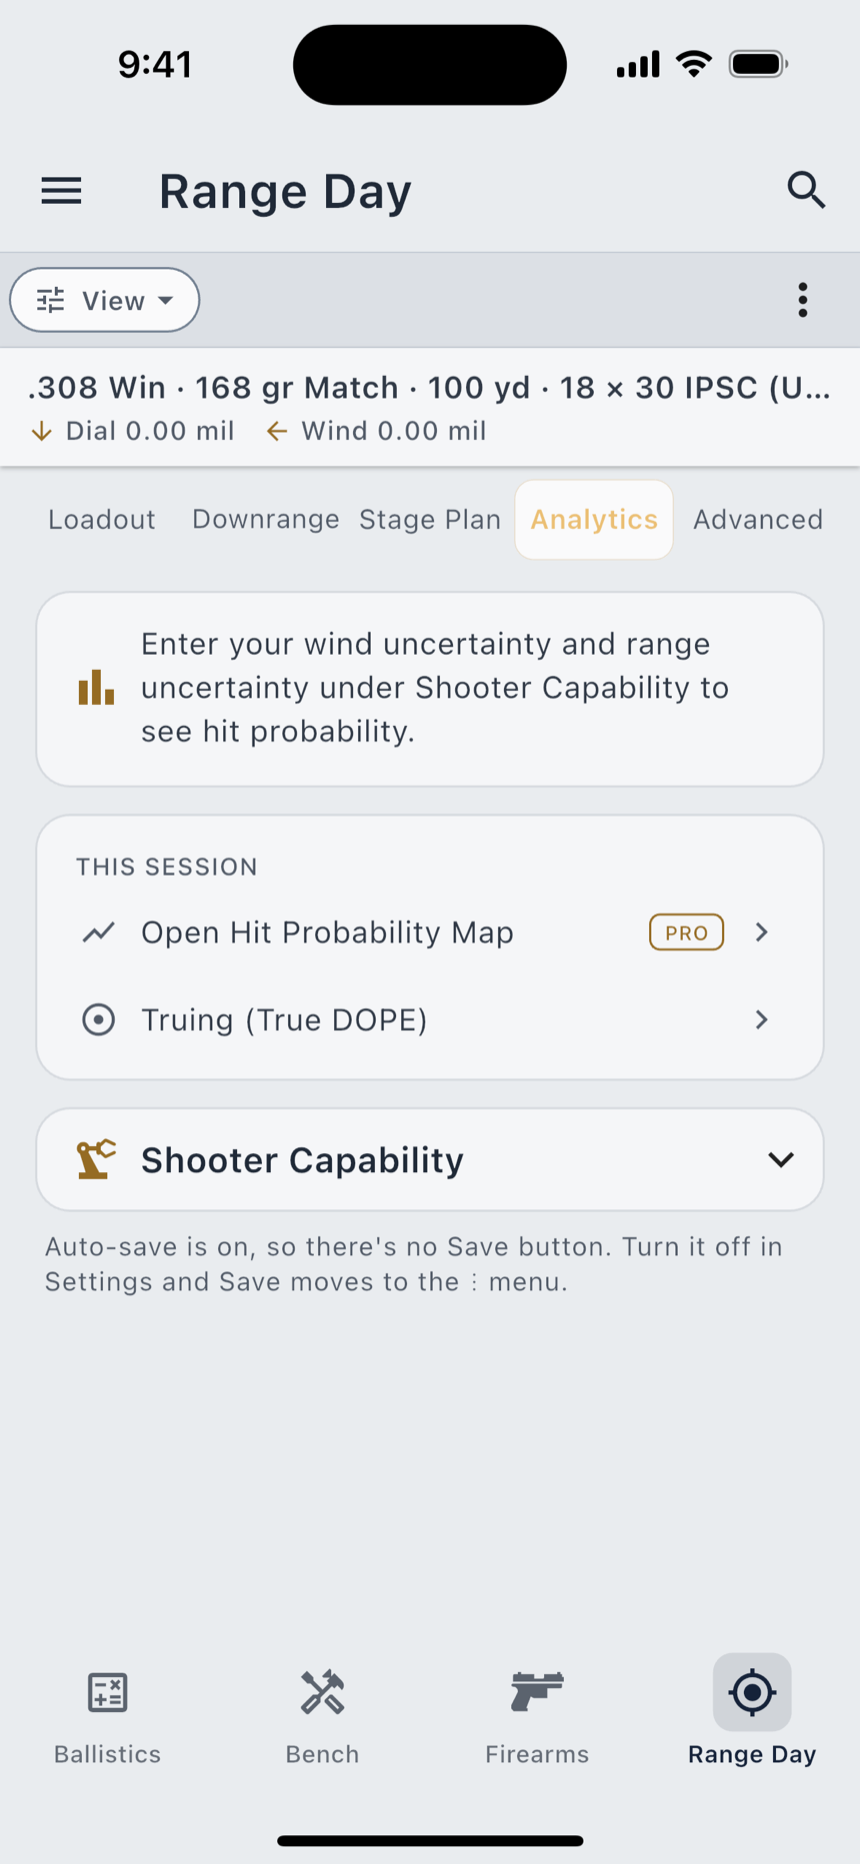
The Analytics tab leads with the hit-probability gauge, then up to four launchers (Open Hit Probability Map, Truing (True DOPE), and, once there are shots on a picked target, Group Stats, plus Load Development when a load is selected), then a shot-splits card that appears once the session has shots, then Shooter Capability. Every launcher is navigation; none writes a value.
The Advanced tab holds the precision inputs: Environment, shot azimuth, incline and decline, cant and heading, and the notes that reference this session.
The moving target trainer
Pro Moving Target is the full-screen sibling of Mover mode. Set a speed, a width, a shape (square, rectangle, circle or IPSC) and a direction (left to right, right to left, or both), and it gives you the lead two ways: Center Lead, to the middle of the target, and Front-edge Lead, to its leading edge. Both directions are shown when a mover crosses both ways.
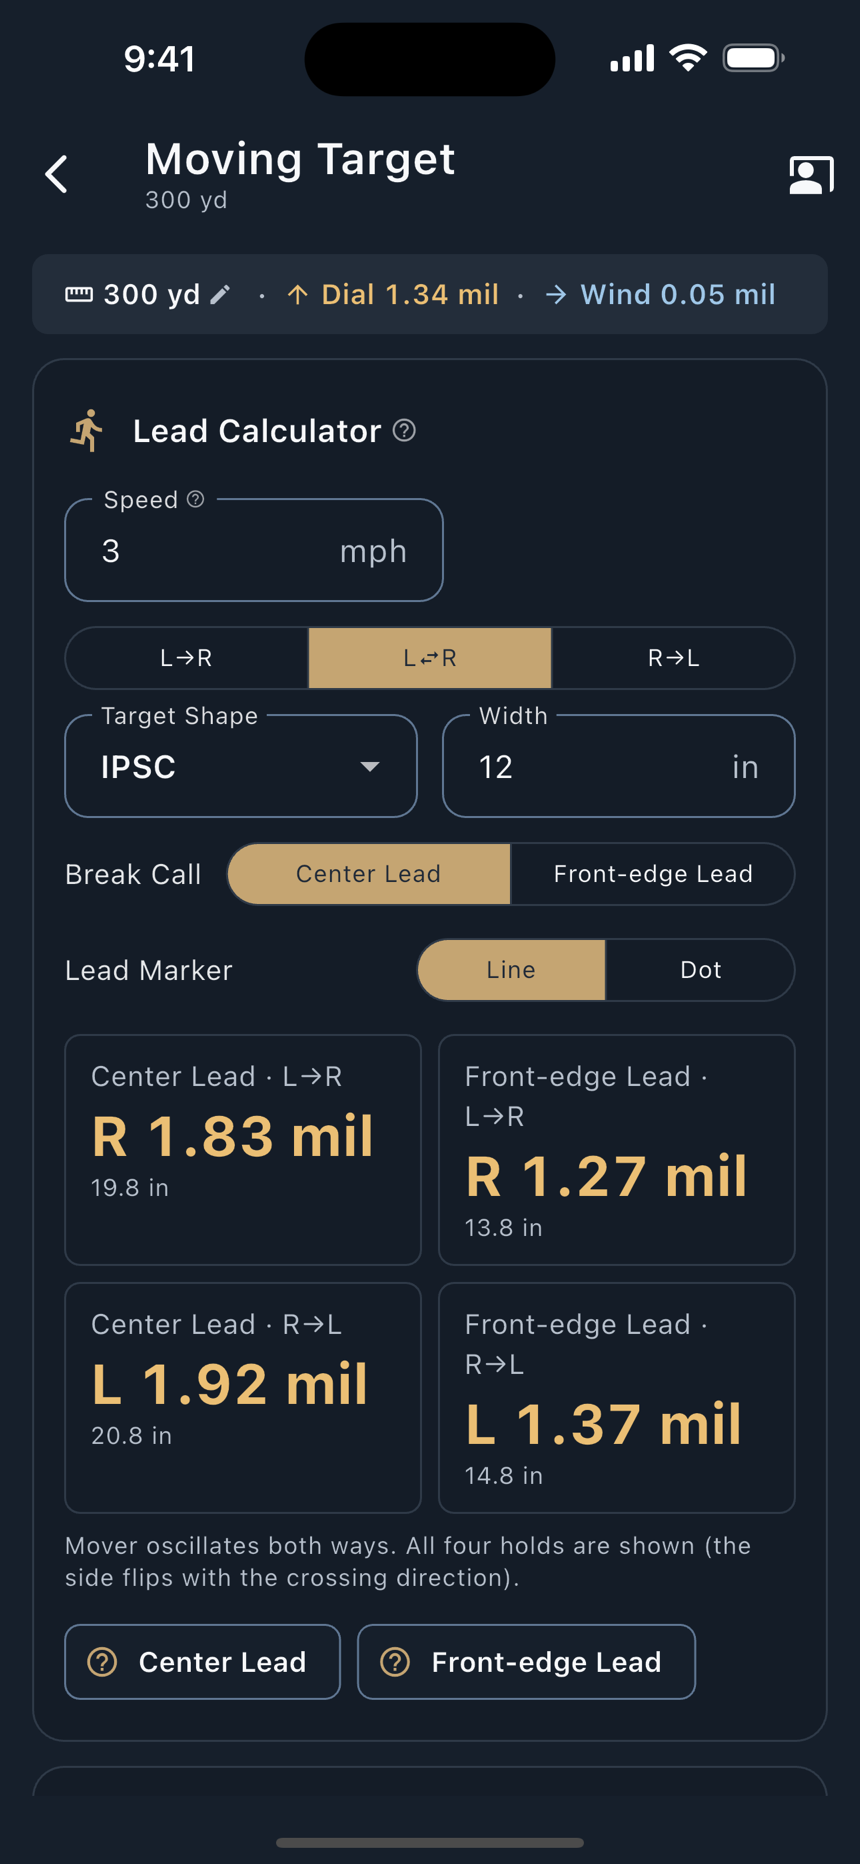
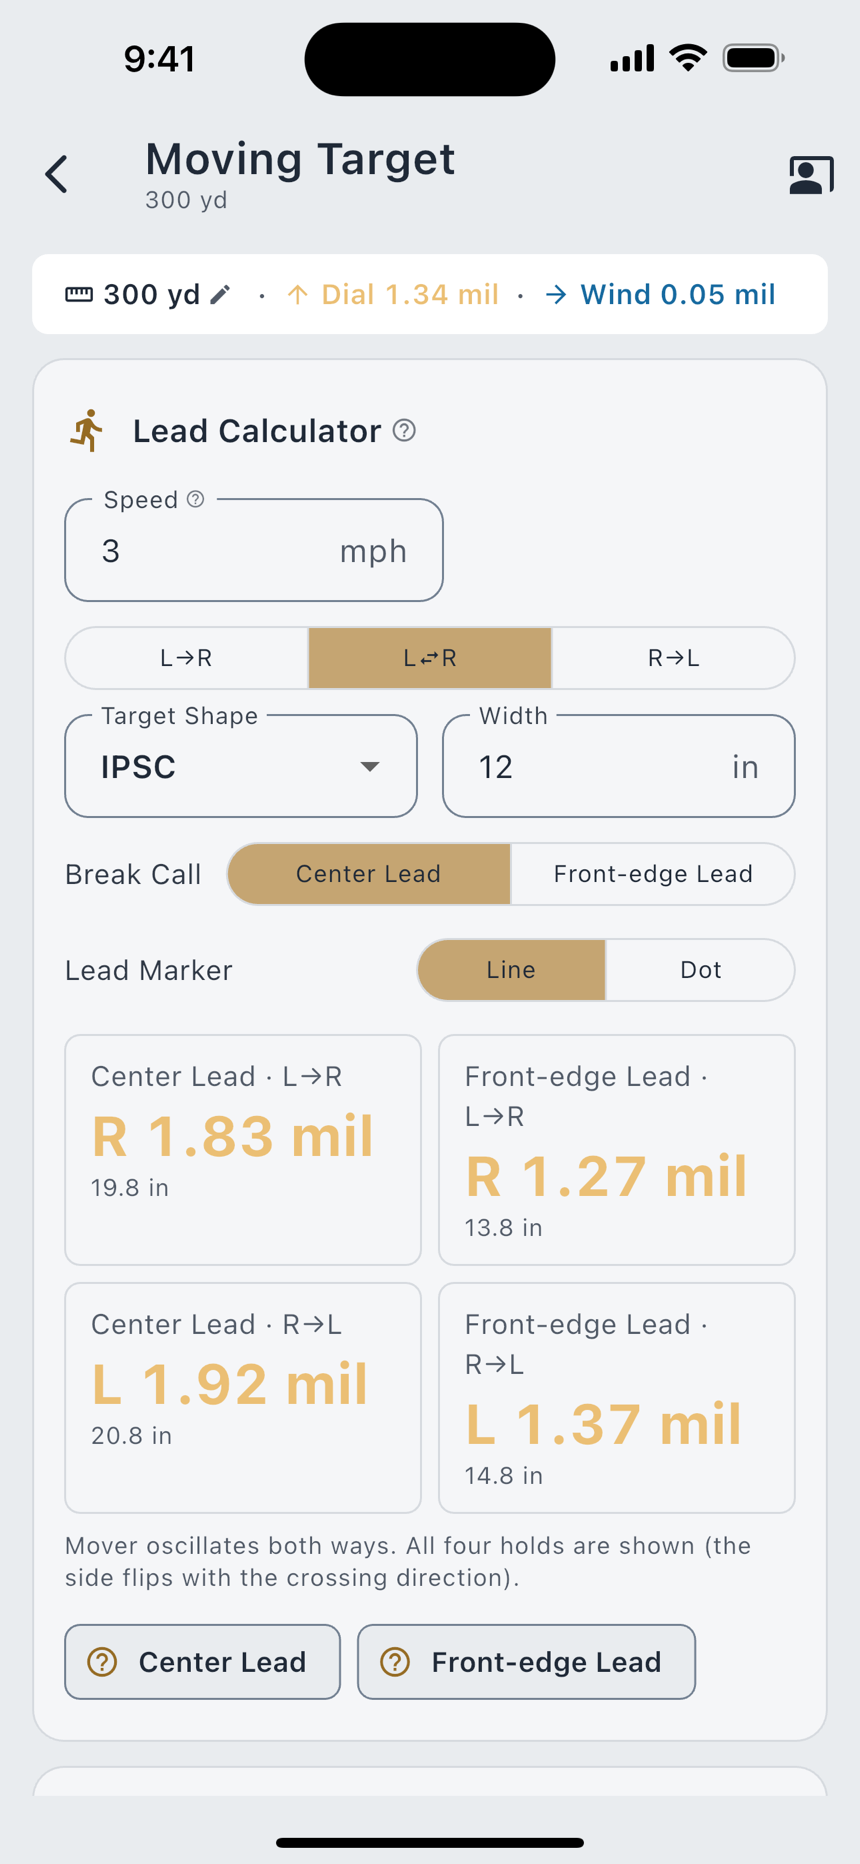
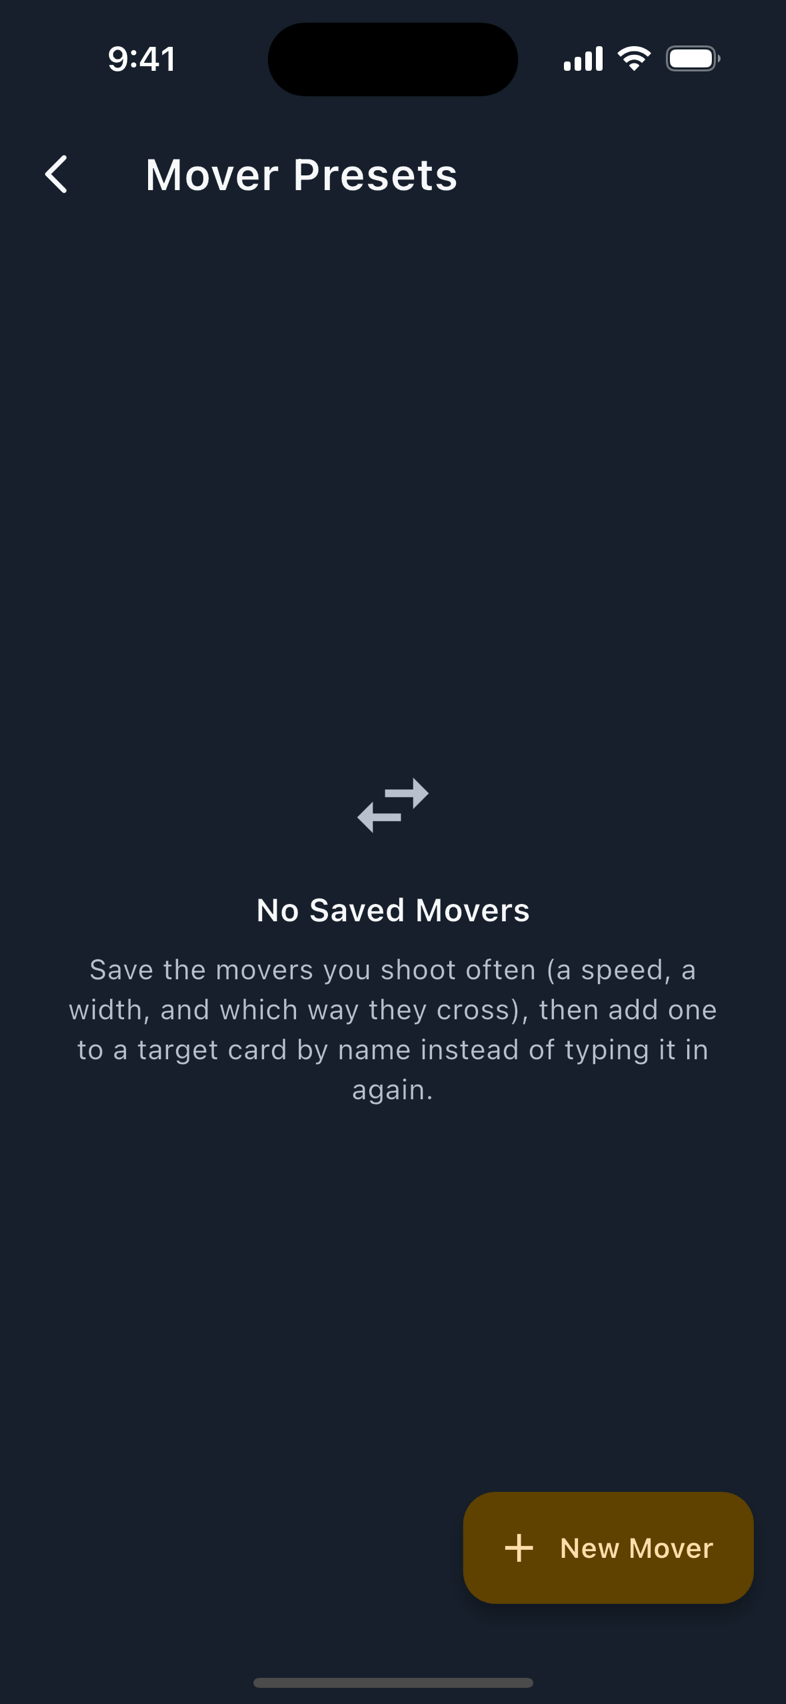
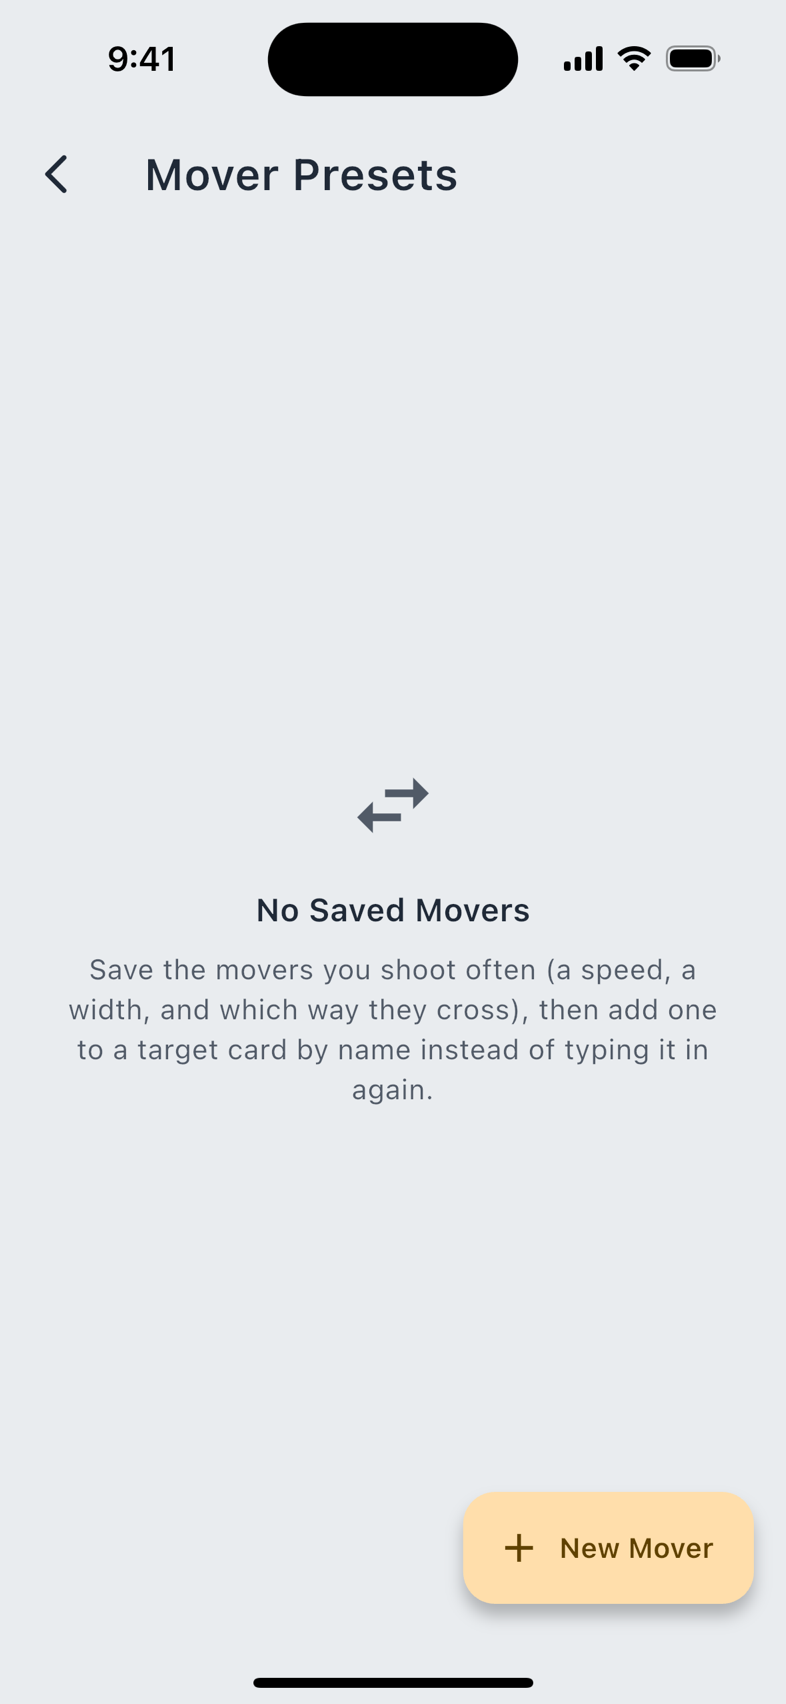
Movers you shoot regularly go in Settings › Mover Presets, and Save Current as Preset puts the one in front of you into that list.
Saving a session
Range Day sessions are saved on this device. Auto-save is on by default, and the Analytics tab says which way yours is set: Auto-save is on, so there's no Save button. Turn it off in Settings and Save moves to the ⋮ menu.
A saved session keeps the profile, load and firearm it was bound to; the target, scope and reticle; the distance; the conditions you entered or captured, including coordinates if you used the location pull; your wind call and its bracket; every shot with its impact point; the hit tally; and the notes tied to it. The list carries New Session and an honest empty state, No range sessions yet, rather than a worked example. A deleted session goes to Recently Deleted for 30 days.
Open Range Day with nothing picked and the solution reads as dashes and the cards stay empty. That is not a broken screen. The app has nothing to solve with yet, and it will not make something up to fill the gap.